If you’re a Hello Kitty lover you are definitely going to love these Hello Kitty macarons filled with strawberry buttercream! Complete with a template for piping the batter, this recipe & tutorial will walk you through the process of making your own Hello Kitty Macarons!
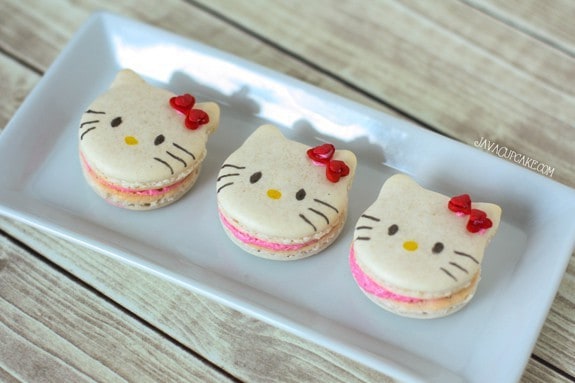
Last month my friend’s daughter celebrated her 7th birthday with a Hello Kitty themed party. My friend is known for going all-out when it comes to her kids birthdays so I knew this party would be no exception. Typically, I’d offer to help with the cake or cupcakes for birthdayp arties, but my friend had that covered for this party… so I offered to make macarons!
Hello Kitty Macarons!
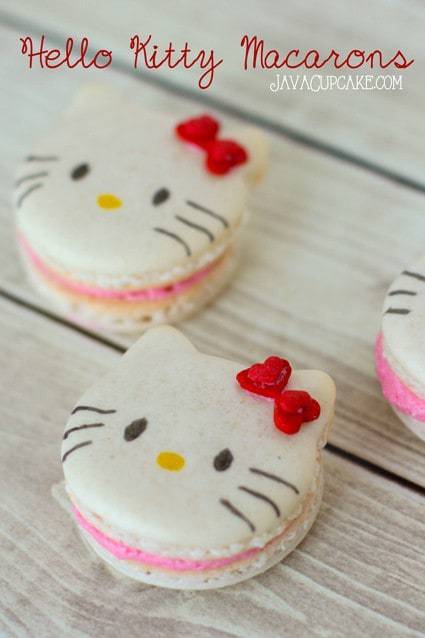
Macarons are all the rage right now. I see them all over the internet and with the release of Mindy Cone’s book, Gourmet French Macarons, unique and fun shaped French cookies are popping up everywhere!
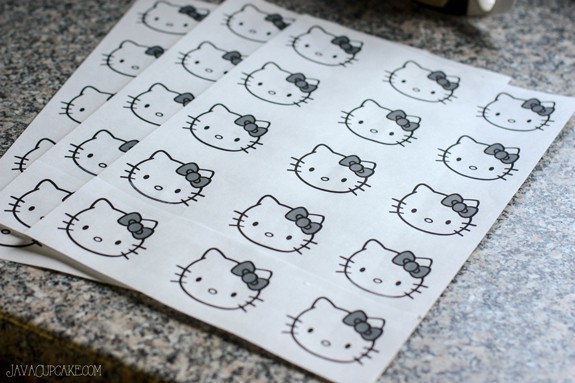
I started with Mindy’s basic recipe for the macaron shells and used a template I created to pipe the batter in the shape of Hello Kitty’s head. Using a Wilton #12 tip, I piped the head and a smaller Wilton #4 tip to pipe on the pointed ears.
What made this successful was having the perfect lava-like consistency of batter so that the two parts, ears and face, came together smoothly. I actually tried to use a toothpick to pull out the batter into the shape of the ears, but that method created an uneven and unsmooth surface of the shell.
Get the Hello Kitty Macaron Template here!
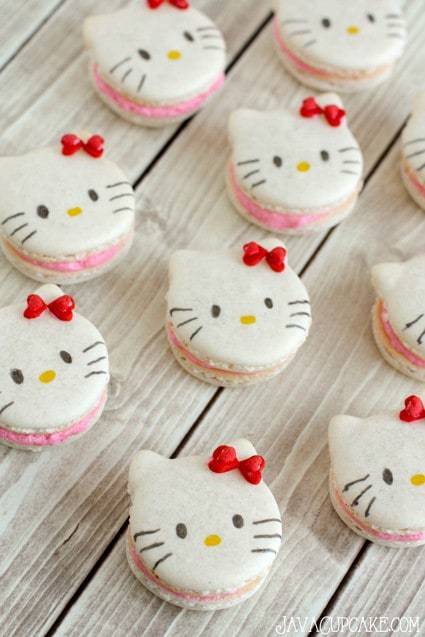
After the shells rested and baked, I drew on the face of Hello Kitty using edible food pens and “glued” on red heart candies with frosting as the bow. Finally, the shells were filled with a pink strawberry buttercream and put together.
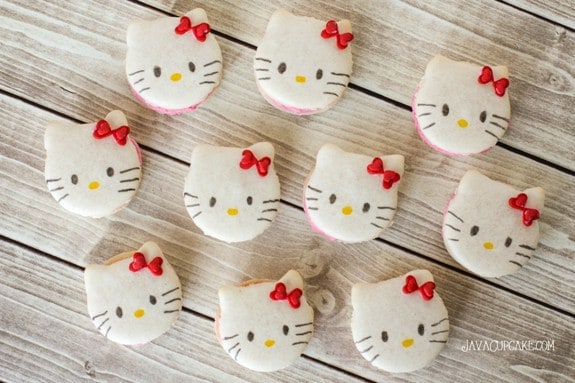
With the right tools, proper consistency of the batter and patience these Hello Kitty Macarons were really quite simple to create!
And the birthday girl LOVED them!
Happy Baking!

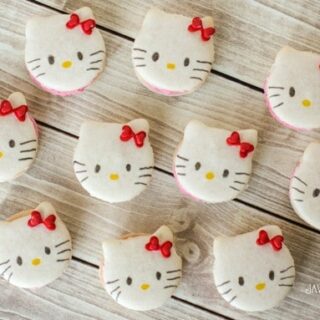
Hello Kitty Macarons
Ingredients
Macaron Shells
- 110g almond flour
- 200g powdered sugar
- 100g egg whites
- pinch of cream of tartar
- 35g super fine sugar
- 2 disposable piping bags
- Wilton #12 piping tip
- Wilton #4 piping tip
- Black & yellow edible food pens
- Red heart shaped candy sprinkles
- Hello Kitty template (Download template HERE )
Filling
- 1/4 cup unsalted butter, room temperature
- 2 cups powdered sugar
- 1 Tbsp strawberry extract
- 1/4 cup heavy cream
- pinch of salt
Instructions
Shells
- Line baking sheet with Hello Kitty template with parchment paper over it.
- Sift together the almond flour and powdered sugar several times, discarding the large chunks of almonds that remain in the sifter.
- In the bowl of your stand mixer, beat the egg whites until they begin to foam on medium high speed.
- Add the cream of tartar and sugar very slowly while the eggs continue to beat. Beat the eggs until stiff peaks form.
- Pour half of the flour/sugar mixture into the egg whites and gently fold until just incorporated. Add the remaining flour/sugar and fold until the batter is smooth and falls back on itself. It should have a "lava" like consistency.
- Fill a piping bag fitted with the #4 tip with about 1/4 cup of batter and set aside
- Fill a second piping bag fitted with the #12 tip with remaining batter and pipe circles onto each hello kitty face.
- Using the bag with the #4 tip, pipe the ears of Hello Kitty onto the already piped circles.
- Tap pan on your counter 2-3 times to get the air bubbles out. This will also help flatten out the shells.
- Let the shells rest 30 minutes, untouched.
- Preheat oven to 350 F degrees. Reduce heat to 300 F degrees and bake the shells for 11-13 minutes or until they are firm to the touch. NOTE: Do not over bake. You do not want any brown edges.
- Remove from the oven and allow to cool completely before removing from the baking sheet.
Filling
- In the bowl of your stand mixer, cream together the butter and powdered sugar until smooth.
- Add the extract, heavy cream and salt and beat until flight and fluffy.
Assembly
- Pair the shells together.
- Using a toothpick, apply a small dab of frosting to the back of 2 red heart candy sprinkles and "glue" them to the corner of the right ear on one Hello Kitty shell from each pair. On the same shell, with the black edible food pen, draw eyes and whiskers on Hello Kitty. Use the yellow food pen to draw the nose.
- Fill a piping bag fitting with a #12 tip with the frosting. Squeeze about 1-2 tsp of frosting on to the bottom of the undecorated shell. Place the decorated shell, flat side down on top of the frosting and GENTLY press until the frosting reaches the edges.
- Repeat this process until all the shells are decorated and filled.
- Store the macarons in an air tight container in the refrigerator until ready to serve. Remove from the refrigerator 20 minutes before serving.
- Macarons will last 3-4 days chilled.
These are absolutely adorable! My little daughter will go crazy for these! So clever!! Pinned!
Totally adorable!!
These are so adorable. What a great way to celebrate your friend’s daughters birthday.
I bet the birthday girl and guests were amazed! They are so cute!
These are absolutely adorable Betsy! My niece is such a Hello Kitty fan and would love these! I’m sure these were a huge hit at the party too :)
These are so adorable and fun! I love them!
I have never ever seen cuter macarons!
WOW. these are the most adorable macaroons i have ever seen! what a great idea to use a template too… i’ve never thought of that before! thanks for sharing another great recipe.
Using a template really helps to ensure each Hello Kitty head is the same size. It also helps with placement of the ears! :)
wow,so cute.
sooo cute! i have nvr made them before, now I may!
THANK YOU! for your help . every one will love these kitty cupcake toppers. You have made this easy for me.