
Smartphone Photography Workflow
This shop has been compensated by Collective Bias, Inc. and its advertiser.
All opinions are mine alone. #SamsungUnlocked #CollectiveBias
Recently, I hosted a Smartphone Photography Workshop for a small event planning firm in the DC area. While getting ready to host this workshop, I realized a few things about my process of taking and editing photos that I thought would be really fun to share with my fellow foodies!
Not only are these smartphone photography workflow tips great for event planners, but they are excellent for foodies, bloggers, and entrepreneurs!
Smartphone
Before I can take amazing photos, I must have the best tools for the job. Although any smartphone can take photos, starting with a phone like an unlocked Samsung Galaxy GS8 will guarantee quality photos every time!
I've been a Samsung Galaxy user since the S5, my daughter has the S6 and my husband is chomping at the bit to get his hands on the new Note 8. So yeah, when Samsung asked if I wanted a GS8 use and write about I said absolutely yes!
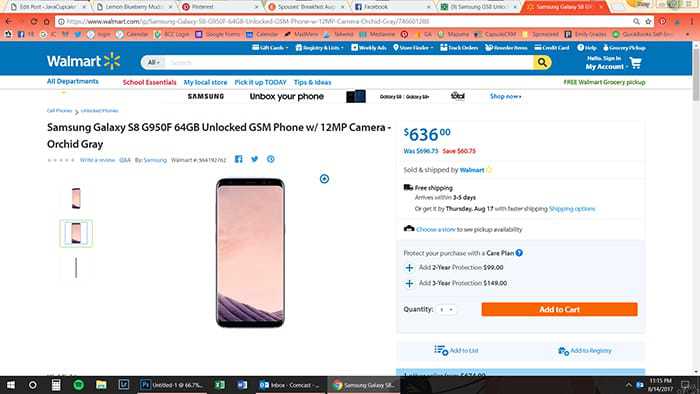
Purchasing an unlocked GS8 was so easy on the Walmart website. I was so excited that I could buy the GS8 online unlocked because you can choose your carrier, data plan, services, features and apps, so you can get your phone exactly the way you want it! ¹
Here's what I love most about the GS8...
- The Infinity Screen: The GS8 display stretches from edge to edge meaning there is no wasted space on your screen.
- Water Resistance: This is my favorite thing about the GS8 because I know that no matter rain, a spill, or drop... my phone will be protected from water!
- Micro SD Card: I take a TON of pictures so being able to expand my storage up to 256GB with a microSD makes all the difference. MicroSD card sold separately.
Smartphone Photography Workflow
Taking photos for social media is a part of my job as a blogger. Over the years with changing technology it's gotten easier to take the best possible photos using my smartphone. Following along with my Smartphone Photography Workflow and you'll be on your way to amazing photos!
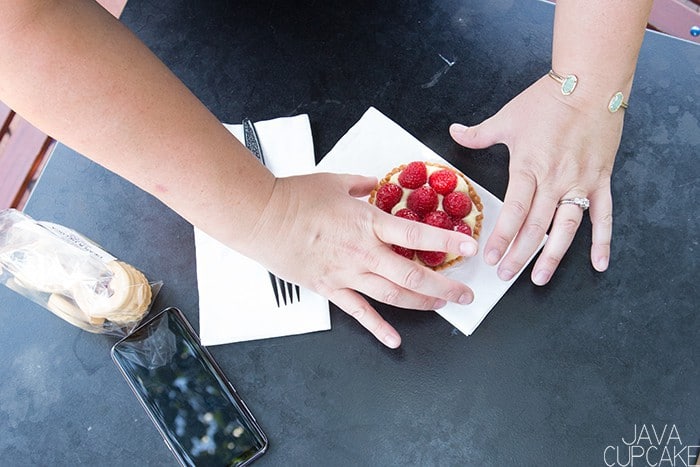
1: Take your Time; Set up the Shot
If you only have a moment to snap a photo, use the most of that time by thinking about composition and lighting before you snap the photo. Taking the time to do that, will make sure you produce photos worthy of being the industry standard.
2: Clear the Clutter
Is there food spilled on the table? What is in the background - is there an ugly trash can or an eye sore? Clear all the unnecessary out of the frame before you take the photo. 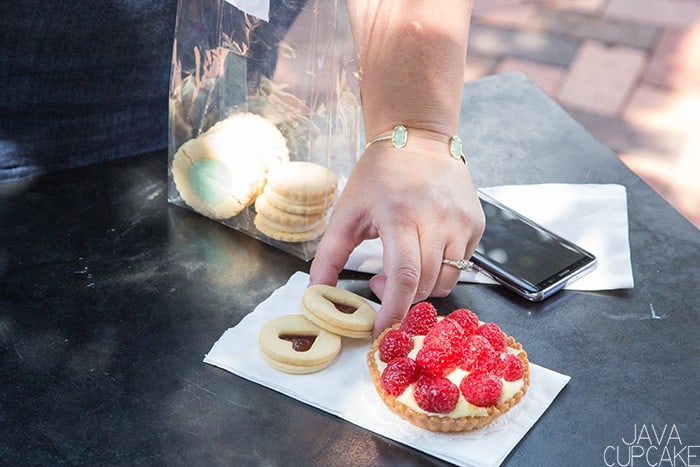
3: Horizontal or Vertical?
Horizontal images are best used when:
- When the subject is horizontal
- When your subject is wider than it is tall, a horizontal image compliments the subject.
- To convey a sense of space
- Horizontal images can be used to suggest a sense of largeness in landscapes. If a small subject is placed in a large field, it can also be used to suggest loneliness.
Vertical images are best used when: - When the subject is vertical
- When your subject is taller than it is wide, a vertical image compliments the subject.
- To focus attention
- Vertical images can be used to focus a viewer's attention on a single subject by removing almost all sense of peripheral vision. This is the theory behind portraits and other single-object compositions and can be combined with either the rule of thirds or centering to intensify impact.If you are unsure, take the photo both ways
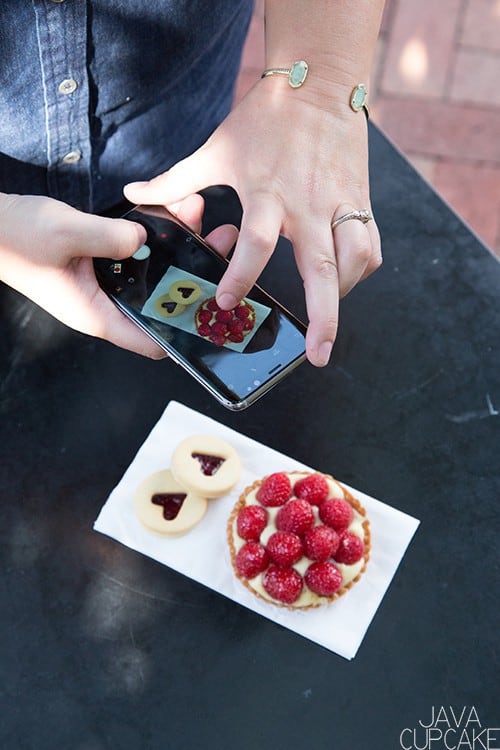
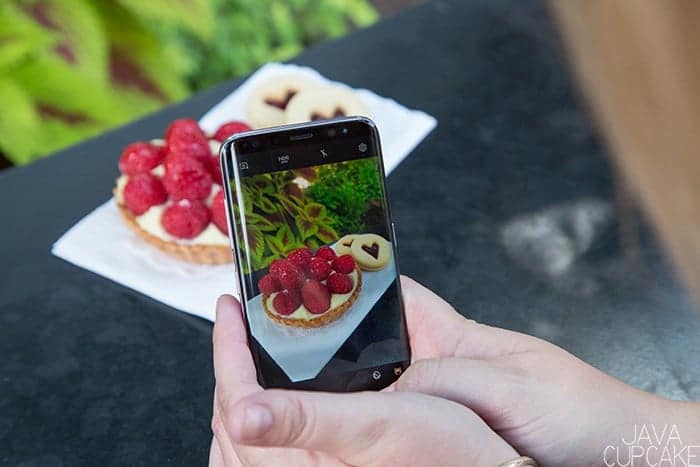
4: Get Close and Fill the Viewfinder
Details, details, details - always take shots of the small things! Sometimes when you try to capture the big, all-encompassing picture you miss out on a really great photo.
When you're too far away from your subject, you get a tiny, unrecognizable figure and far too much background. Instead, make sure you get close and fill the viewfinder. Avoid zoom, which can cut the image quality.
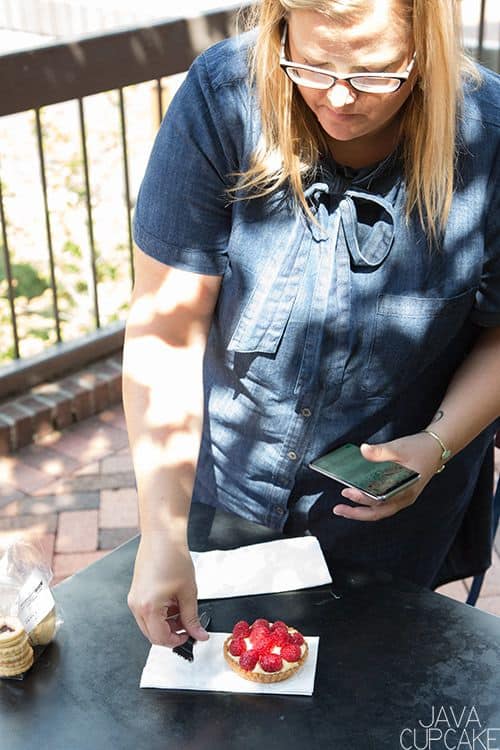
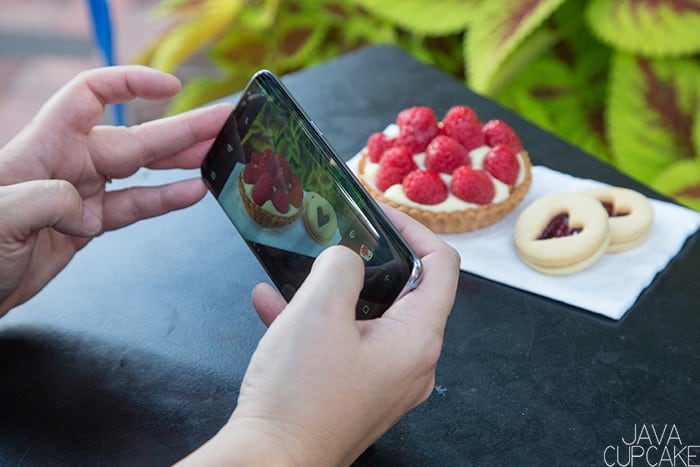
5: Take Photos with Native Camera
There are a lot of editing apps out there that will enable you to fine tune your photos. However, I've found that with the Samsung S8, the photos are already such high quality using the native camera that I have found myself only using the editing tools in the Instagram app.
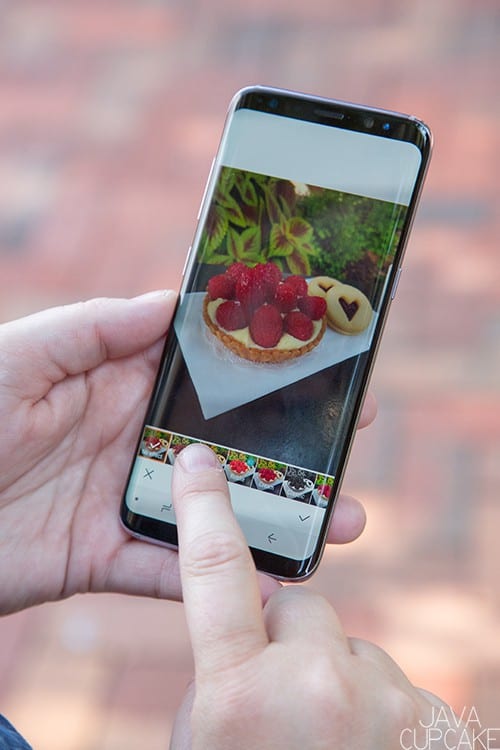
6: Edit Photos
The GS8 comes with some great photos editing tools. However, I really loving that I can download any app I want with this smartphone and use that to edit.
100% of the time, I use the tools in the Instagram app to edit my photos. The tools are easy to use and pretty straight forward.
My Instagram Editing Workflow:
- Brightness: Brighten up a dark image and darken an image that is too bright.
- Contrast: When turned up, it exaggerates the dark and light in an image, and softens them when turned down. I use this when I have black/dark areas I really want to pop.
- Saturation: Increasing this adds strength/intensity to the colors in your image, and vice versa.
- Warmth: Turning this up brings out "warm" colors (oranges, red, and yellows, generally); turning it down brings out "cool" colors (like blues, purples, and greens). I typically use this tool when there is too much light come a bulb and it makes my photo yellow.
- Highlights: Adjusting this will affect all of the brightest parts of your image -- bumping it up will make the brightest parts of your image even more vibrant, and moving it down will bring down the brightness in those sections to reveal more detail in them that may have been washed out by excessive light. This can be a huge help if a particular section of your image is blown out by a too-bright light source or the sun.
- Shadows: This does essentially the same thing as Highlights, but for the dark areas of an image. So turn it up to see what's hiding in the shadows, or turn it down to darken.
- Sharpen: Turning this up focuses and clarifies your image and makes everything a little crisper.
7: Share on Social Media
Finally, share your perfect photo on social media! Since I use the Instagram app to edit, I typically share there first then to the other platforms. Here's my final shot!
Following these simple tips, you'll be able to share your smartphone photos like a pro!
Photos of me taking photos by Frenchly Photography.
Disclaimers
¹ Wireless voice, data and messaging services on Samsung Unlocked Galaxy S8, Galaxy S8+, Galaxy S7 and Galaxy S7 edge devices are compatible with most major U.S. GSM and CDMA networks. For these devices, wireless services are available on GSM networks such as AT&T and T-Mobile and CDMA networks such as Verizon, Sprint, and US Cellular®. Visit www.samsung.com for more information on your device. Support for certain features and services such as VoWiFi and hotspot, vary by wireless service provider. Wireless voice, data and messaging services on Samsung Unlocked Galaxy S6 and Galaxy J3 devices are compatible with most major U.S. GSM networks. For these devices, wireless services are available on GSM networks such as AT&T and T-Mobile. Visit www.samsung.com for more information on your device. Support for certain features and services such as VoWiFi and hotspot, vary by wireless service provider.
SIM card must be compatible with area's available networks. International calling, data services and coverage vary by network provider. Contact provider for details.
.² This Samsung Unlocked phone will work on any GSM or CDMA compatible network. For these devices, wireless services are available on GSM networks such as AT&T and T-Mobile and CDMA networks such as Verizon, Sprint, US Cellular®. Support for certain rate plans, features, and services such as VoWiFi and hotspot vary by wireless service provider. SIM card must be compatible with area's available networks. International calling, data services and coverage vary by network provider. Contact provider for details.
³ For more information on Samsung standard U.S. limited warranty, go to samsung.com/customersupport/xxx


These are some great tips! I like the section on vertical vs. horizontal. It's good to have a clear guide as to when each works best. Amazing pictures taken on the GS8! #client
Thank you, Stephanie. I'm glad you found them helpful!
I also use the Instagram app to edit my photos. I find that bumping up the color saturation and sharpening just a tad improves just about any pic. I also use the vignette tool quite often. I think it gives a lovely, almost framed, quality to most photos.
Yes!!! I do too! IG is great for simple edits!
I love your info on Photography with a Phone. I have the Samsung 6 and love it as it takes great "anti shake" photos however the color I see with my eyes is more brilliant than what the photo shows on the camera and when I post them. Can you help me? Will you be teaching any more on photography,I missed the first one? Thanks
Where are you posting? Photos ALWAYS lose quality when uploaded to FB so I always try to up the saturation and vibrancy before posting.