
Ice Cream Cone Sugar Cookies
Ice Cream Cone Sugar Cookies!
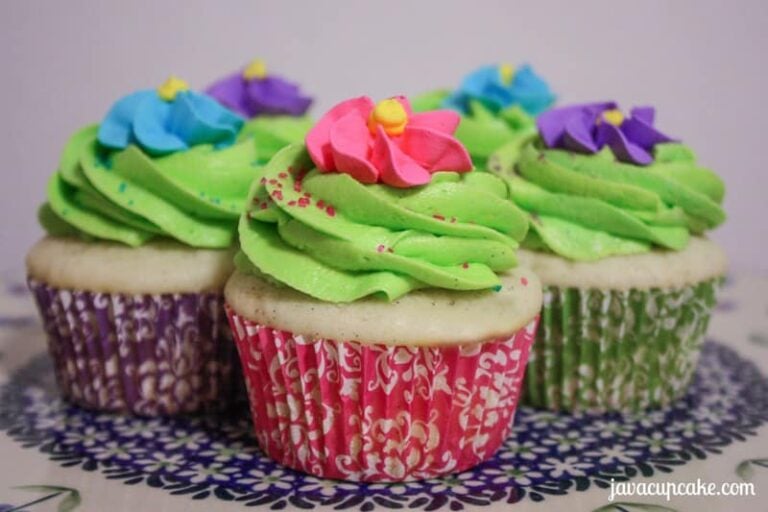
If you've been a follower of my blog for the last few years, you'll know that I love this recipe for sugar cookies!
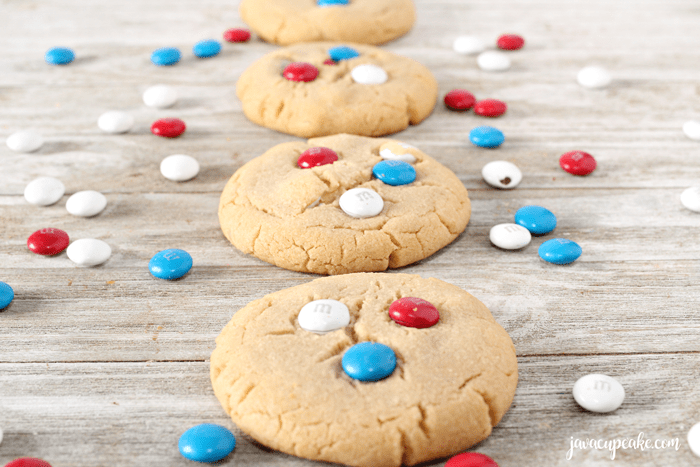
I've made buttercream rose sugar cookies, baseball sugar cookies, pretzel cinnamon sugar cookies, donut sugar cookies, stamped sugar cookies, and classic frosted sugar cookies... just to name a few!
My husband thinks I'm a little obsessed with it because I'm always searching for new cookie cutters to buy when we're out shopping just so I can make this dough again!
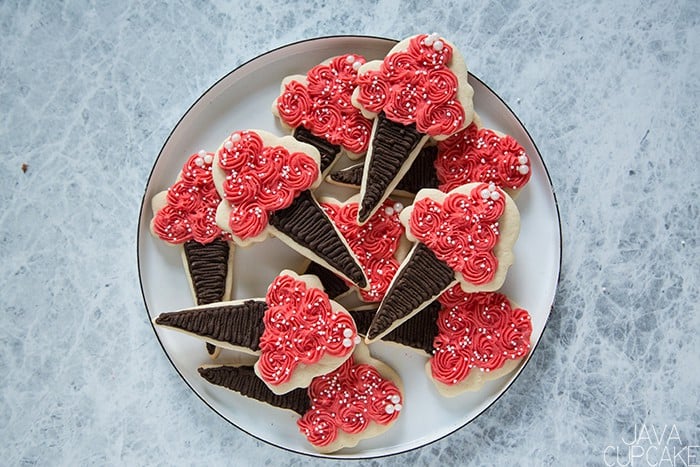
The most recent cookie cutter purchase was in this super cute ice cream cone shape! I love the way jenny cookies bakeshop decorates their ice cream cone sugar cookies and was inspired to make my version.
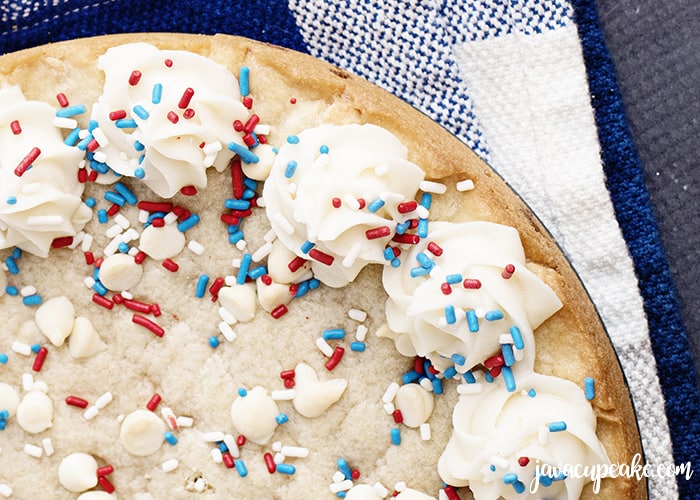
I'm not a huge fan of royal icing on sugar cookies, so I exclusively use buttercream to decorate cookies. I love the flavor of buttercream so much more than royal icing and I feel like you get a much more rustic looking cookie - which I like!
To make these cookies, you'll need these three tools to be successful...
- Ice cream cone cookie cutter
- Small round piping tip
- Small star piping tip
Unlike royal icing, buttercream doesn't "flood". You'll need to cover the entire cookie by piping the frosting on.
Traditionally, sugar cookies were frosted by spreading the buttercream with a knife or spatula, however it's difficult to achieve a finished look with that technique.
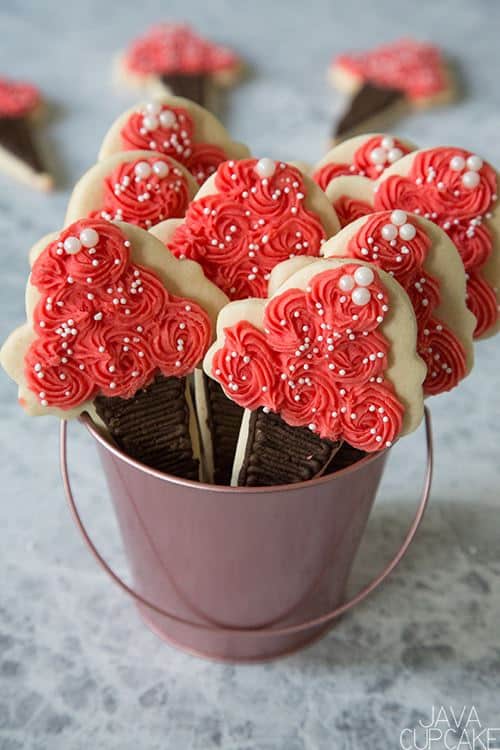
Piping the buttercream onto the cookies using different piping tips allows you to get detailed with your design and create some super cute cookies. These ice cream cone sugar cookies were pretty quick to put together and the result is total cuteness!
So get out there and squeeze the last few days of sunshine and fun out of the summer and whip up a batch of these ice cream cone sugar cookies for your kids!
Photos by Frenchly Photography.

Ice Cream Cone Sugar Cookies
Ingredients
Cookies
- ½ cup unsalted butter, room temperature
- ¼ cup shortening
- 1 cup sugar
- 2 eggs
- 1 tablespoon vanilla extract
- 2½ cups all-purpose flour
- 1 teaspoon baking powder
- 1 teaspoon salt
- ice cream cone cookie cutter
Buttercream Frosting
- ½ cup unsalted butter, room temperature
- 2 tablespoon vegetable shortening
- 1lb powdered sugar
- 1 teaspoon vanilla
- pinch of salt
- up to ⅓ cup heavy cream
- 2 tablespoon cocoa powder
- gel food coloring
- sprinkles
- Wilton tip #2 (very small round) and #21 (small star)
Instructions
Cookies
- Cookies
- In the bowl of your stand mixer, cream the butter and shortening together until smooth. Scrape the sides of the bowl.
- Add the sugar and beat on high until incorporated.
- One at a time, add the eggs and beat well after each addition. Mix on high for 1 minute until pale yellow and fluffy.
- Mix in the vanilla.
- In another bowl, whisk together the flour, baking powder and salt.
- Add this mixture to the butter and sugar and mix until just combined.
- Cover with plastic and freeze 2 hours or chill over night.
- When ready to bake, preheat oven to 400 F degrees and line a cookie sheet with parchment paper.
- On a floured counter, knead the dough 2-3 times until smooth. Roll out cookie dough to about ⅛" thick. Cut out with ice cream cone cutter and place on the cookie sheet 1" apart. Repeat until all the dough has been used.
- Bake for 6 minutes or until the edges are SLIGHTLY brown. DO NOT OVER BAKE!!
- Allow to cool on the pan for 1-2 minutes before removing to a wire rack to cool completely.
- Buttercream
- In the bowl of a stand mixer, cream the butter.
- Add the powdered sugar and mix on high until smooth.
- Mix in the vanilla and salt. Scrape the sides of the bowl.
- Add up to ½ cup of heavy whipping cream until you reach your desired consistency. If you like it thicker, add less cream. If you want it thinner, add more cream.
- Whip on high for 2 minutes.
- Separate frosting into two bowls. Add color to one bowl and stir to completely incorporate. Add the cocoa powder to the other bowl stir to completely incorporate.
Assembly
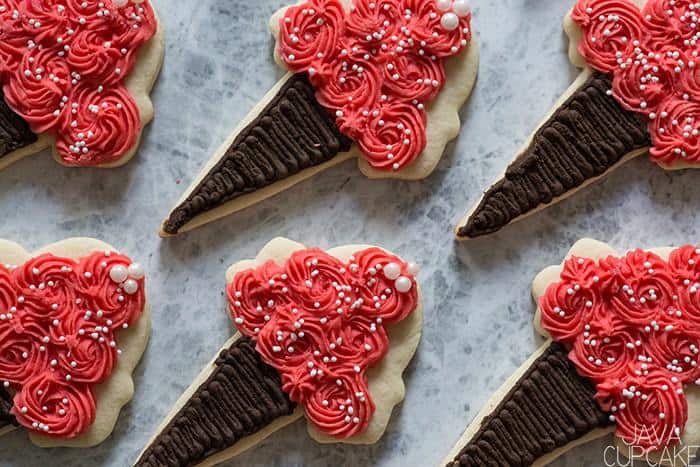
- Attach the small round piping tip to a piping bag and fill with the brown frosting.
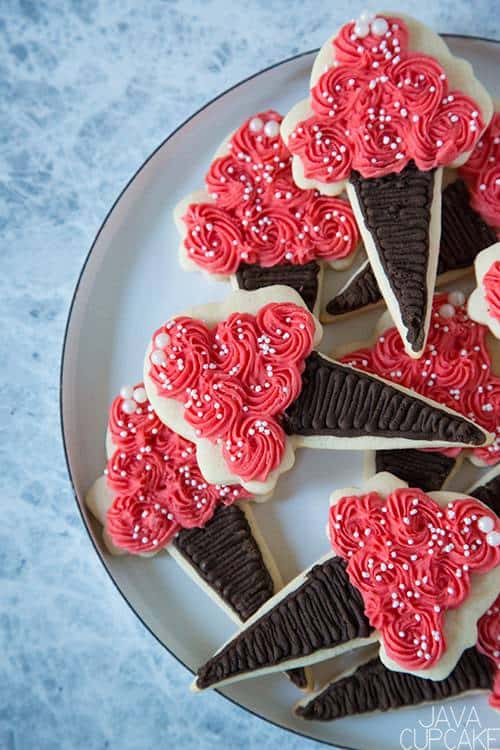
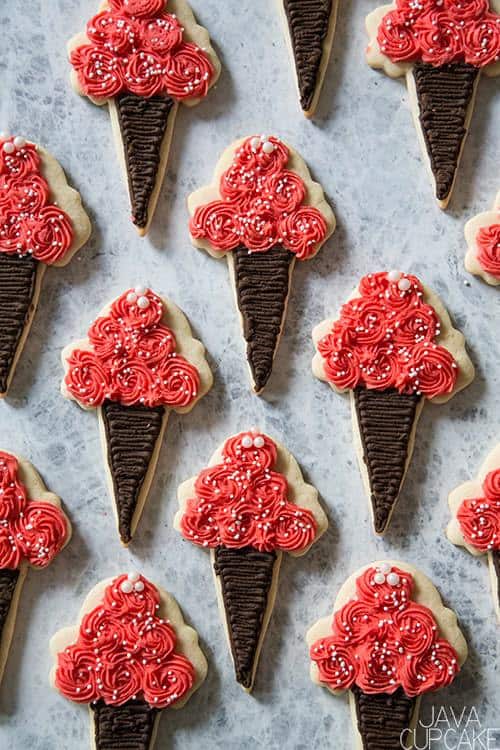
- Pipe the outline of a "V" shape onto the cone part of the cookie. Fill in the triangle with back and forth horizontal lines of frosting.
- Attach the small star tip to a piping bag and fill with the colored frosting.
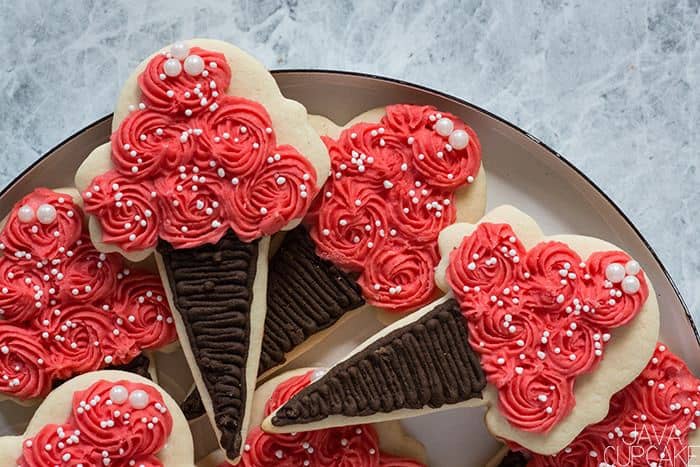
- Pipe a row of three small swirls just at the top of the cone, overlapping slightly. Repeat with a row of two and finish with one swirl on top.
- Decorate with sprinkles!
- Allow cookies to set for several hours or over night so the frosting hardens before storing.


These cookies are SOOOO pretty! They look super delicious as well!
Thanks, Betsy Shep!
These are very beautifully decorated.
If you are using buttercream to decorate them, how are you preventing the buttercream from being messed up when stacking/packaging as shown in your picture or otherwise? I see in the directions you state to have them sit overnight to harden but does your buttercream get that hard? I'm asking because I am not a fan of RI on cookies because it is so hard. Thanks.
Thank you! So, the buttercream I'm using for these includes shortening... which helps the frosting to form a crust. I only use shortening when I know I have to transport the cookies or want to stack them in some way. I always set them out overnight to crust over. The frosting doesn't get hard like royal icing does - it just gets a crust on the outter layer. The inside says soft and delicious! I've never had any complaints about these frosting!