
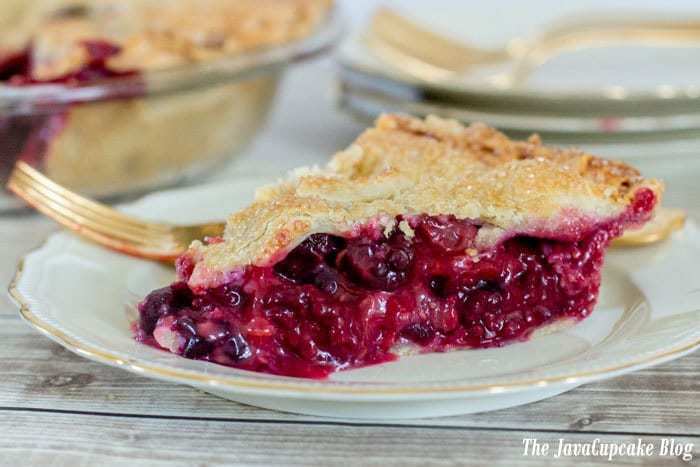
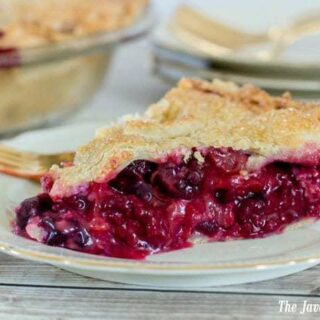
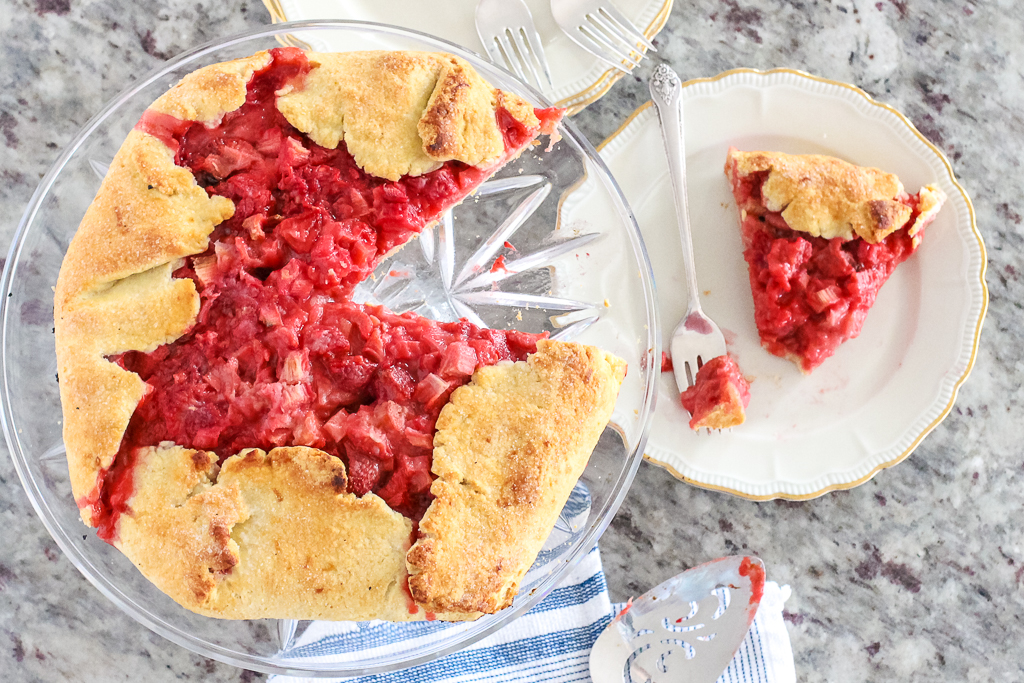
Four Berry Pie
Raspberries, blueberries, strawberries and blackberries make this Four Berry Pie a delightfully delicious dessert for your next family dinner!
I was provided with product from OXO, however the recipe and thoughts are all my own.
With Summer quickly approaching, berries are becoming less expensive at the grocery store enticing me to buy them! When OXO offered me a 14 Piece Glass Bake, Serve & Store Set, I knew I had to use the Glass Bakeware pie plate to make a Four Berry Pie!
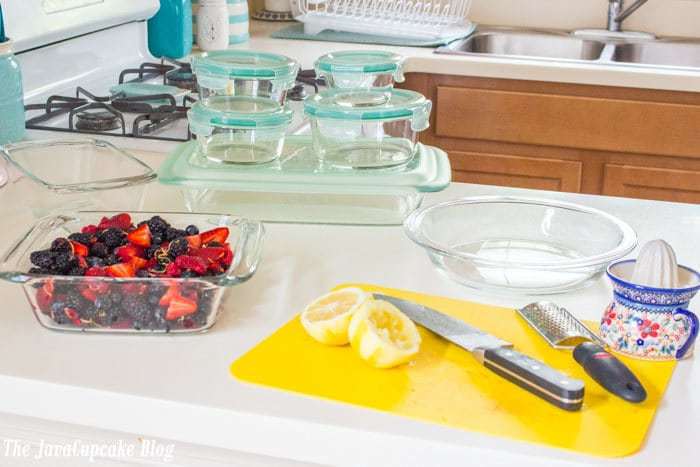 Both the Glass Bakeware and the SNAP Glass Food Storage are made of thermal shock resistant borosilicate glass, which means the Bakeware can go from freezer to oven or microwave without cracking - both lines can withstand up to 250 degrees Fahrenheit of temperature change!
So I can prep the berries in the baking dish, pop the lid on, and freeze until I'm ready to bake the pie! Easy and convenient!
If you prep too many berries to fit into your pie plate... no worries! Just pop the extra into a SNAP Glass Food Storage container with lid and store in the fridge!
These containers are stackable and nestable so they take up less room in the fridge and while storing!
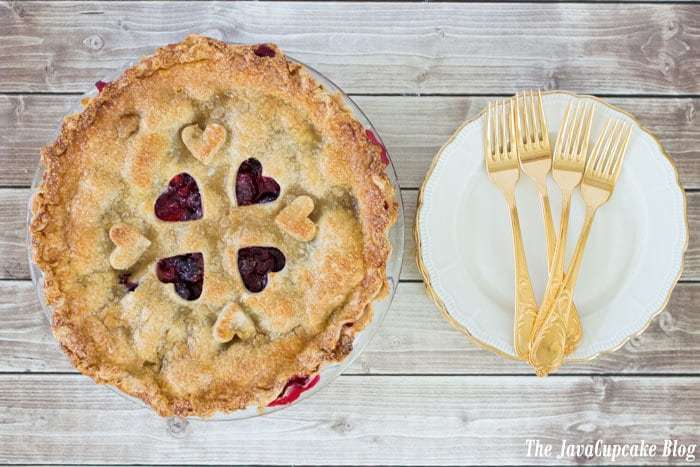
So let me tell you about this pie. It's TO DIE FOR.
Typically, I don't eat more than one of whatever it is I bake. Since I bake so often, I don't always need to eat an entire cake or a dozen cupcakes... just one is fine.
But this Four Berry Pie was different. After I served a slice of it to my family, I hoarded the rest for myself! Yeah. It was THAT good!
I'm not kidding either. I ate half a pie all by myself!
Not in one sitting though. Over the course of 4 days I ate half a pie. Breakfast. Lunch. Snack, Dessert. It didn't matter what time of the day it was, I was going to enjoy this pie!
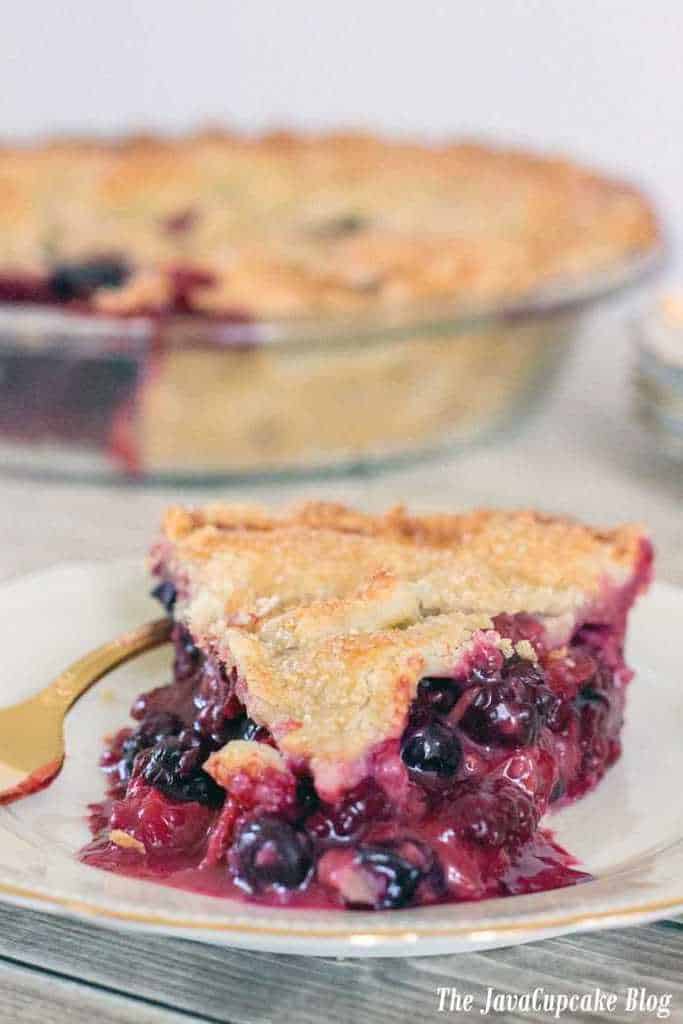
The berry flavor is sweet and tart without being over powering. The sugar on the crust creates a crispy top that is the perfect contrast to the soft berries.
Get your own 14 Piece Glass Bake, Serve & Store Set and make this Pure Pie Perfection!
Happy Baking!
Four Berry Pie
Four Berry Pie Recipe Type : Dessert Cuisine: American Author: JavaCupcake Prep time: 60 mins Cook time: 55 mins Total time: 1 hour 55 mins Serves: 1 pie
Ingredients
- Crust
- 1 cup unsalted butter, diced and chilled
- 2 ½ cups all-purpose flour
- ½ teaspoon salt
- 3-5 tablespoons ice water
- 1 egg + 1 tablespoon milk, whisked
- ½ cup Sugar in the Raw
- OXO 9" glass pie plate
- Filling
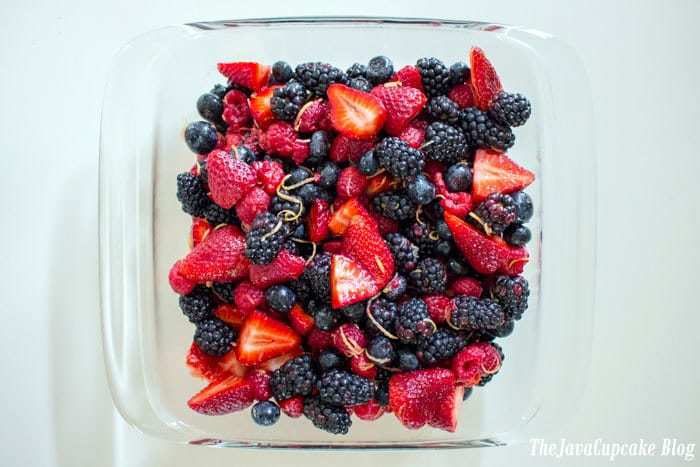
- 6-7 cups of mixed berries (I used strawberries, blueberries, raspberries, and blackberries)
- 1 lemon, zested and juiced
- ¼ cup sugar
- ½ cup all-purpose flour
- 2 teaspoon ground cinnamon
- ⅛ teaspoon salt
Instructions
- Crust
- Preheat oven to 400F and place rack in the center.
- Cut the butter into cubes and freeze for 20 minutes.
- Fill a 1 cup measuring cup with ice water and chill for 20 minutes.
- Once the butter and water are ice cold, get out your food processor. Pulse together the flour and salt in the food processor.
- Add the cold butter cube and process together until it resembles a course meal and no large chunks of butter remain.
- Spoon 3 tablespoon of water into the dough and mix until combined. Add 1-2 tablespoon more if the dough is too dry. Mix after each additional Tbsp. The dough will not come together as a complete ball, but you should be able to tell if it is crumbly or wet.
- Turn the dough out onto a floured surface and press into a ball. Divide the dough into two parts.
- Roll each piece of dough into a circle at about 12" wide (for a 9in" pie).
- Gently transfer one crust onto the OXO 9" glass pie plate and press into the sides.
- Filling
- In a large bowl, combine the 6-7 cups of mixed berries with the zest of of a lemon and the juice of half of the lemon.
- Sprinkle the flour, cinnamon, and salt over the fruit and toss to coat.
- Pour the filling into the crust.
- Crust
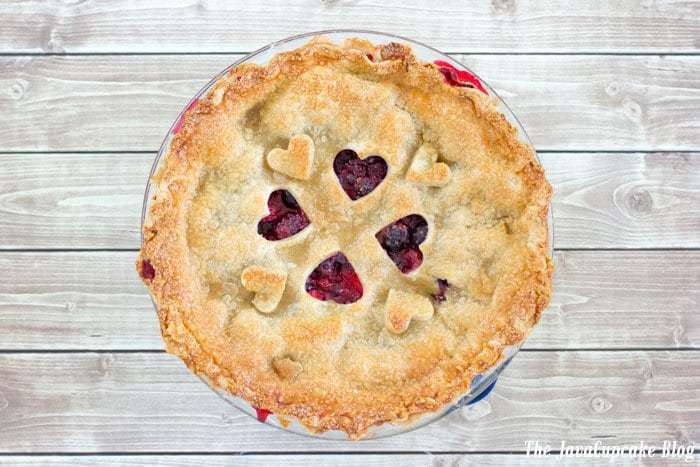
- Cut a few of your favorite shapes out of the second crust and set aside the cut-outs.
- Carefully place the crust over the berries, completely covering the entire pie plate.
- Trim the excess crust off the sides then crimp the edges together.
- Place the cut-out crust pieces on top.
- Brush the egg/milk mixture over the top of the crust making sure not to leave any puddles of egg.
- Sprinkle generously the entire crust of the pie with Sugar in the Raw.
- Chill the pie in the freezer for 20 minutes before baking.
- Bake
- Place the pie on a baking sheet and bake for 50-60 minutes. You'll know the pie is done with the filling is bubbling and the crust is a rich golden brown.
- NOTE: If the edges start to get too dark before the center, cover the edges with foil to prevent burning.
- Allow the pie to cool to room temperature to allow the filling to set before cutting.
- Serve with a scoop of vanilla ice cream!
Notes
Pie Crust Originally from Crazy for Crust.


Your pie is so pretty and just perfect for Memorial Day! Plus, pie for breakfast is a great idea! 😉
What do you suggest for processing if I don't have a food processor?
You can use a pastry cutter or forks to break up the butter. 🙂
I have the oxo set and I love them for storage containers, ive used for cassoroles, I will premake several cassoroles in them, store in freezer and then bake in same container, and then I store it in frig for left overs, way less dishes, I always make sure to spray them, I have never made a pie crust before, I always do cobbler, just always afraid to make a pie crust....happy pappy visit....
I'm always afraid to make pie crust too, but now that I know the Crazy for Crust method... I'll always make it form scratch!!!
What a beautiful, delicious looking pie!
The pie looks wonderful -- l love how colorful it is! Love that set of pans too!
Yes! This pie sounds amazing! Perfect summer dessert
haha you know it's good when you save most of it for yourself! I know what you mean about only eating a slice haha <3 Love the hearts in the top crust too!
Seriously!! I totally did not want to share!!
Oh man! This pie looks absolutely glorious!
Such a pretty pie and it looks like it tastes amazing! I'm swooning over the clear glass bakeware with lids too!
I am still swooning, Sandra!!! xxoo
Such a gorgeous pie.....and ALL THOSE BERRIES!!!
I know, right!! Give me ALL THE BERRIES!!! 🙂
I love the flavor of mixed berries in desserts! What a fabulous pie!
Love me some berries!
Yes yes yes to pie for all the meals. PS love the hearts on your pie!
Wow! What a great mix of berries. This pie is perfect for a lover of all things berry, like me. Thanks so much for sharing this recipe.