
When the strawberry season is at its peak, sweet and easy homemade strawberry preserves are a must-make for my family!

This classic jam recipe only requires 3 ingredients and a little bit of patience, I hope you enjoy it as much as me!
One of my favorite things to do in the summer is taking a road trip to the local farm and pick fresh berries with my kids.
This year we drove about an hour away to Westmoreland Berry Farm in Colonial Beach, VA.

Westmoreland Berry Farm not only has berries but it has goats and is actually quite famous for them!
I’m not going to lie here and tell you that my favorite part of the farm was the berries… cause let’s be real… the goats are so flipping cute! #becausegoats
Farm to Fork
This trip to the farm had me inspired to make homemade strawberry preserves and I knew I had to include the recipe as part of my Farm to Fork series on the blog!
In the first post of the series, I shared how easy it is to make farm-fresh bread. I had the pleasure of using the farmhouse at Good for You Farm to make that bread and these strawberry preserves!

Making the Jam
Know your Jam?
For hundreds of years, fresh fruits have been preserved in this way to keep the berries usable for the long term. Thus getting the name Strawberry Preserves.
This preparation of the berries, since they are left whole and the flesh is included in the preserves, can also be considered a jam.

Jelly is different because it’s made with only the juice of the berry and not the flesh like in jam.
How to make it
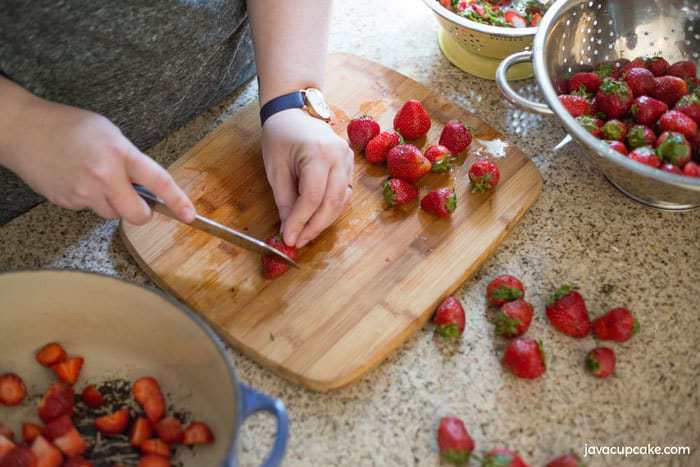
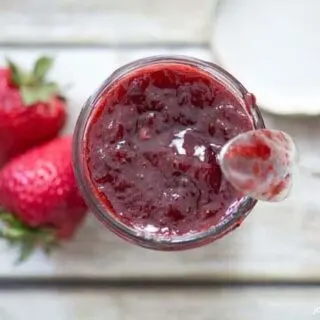
Starting with fresh, never frozen, strawberries is the only way you should ever make homemade strawberry preserves.
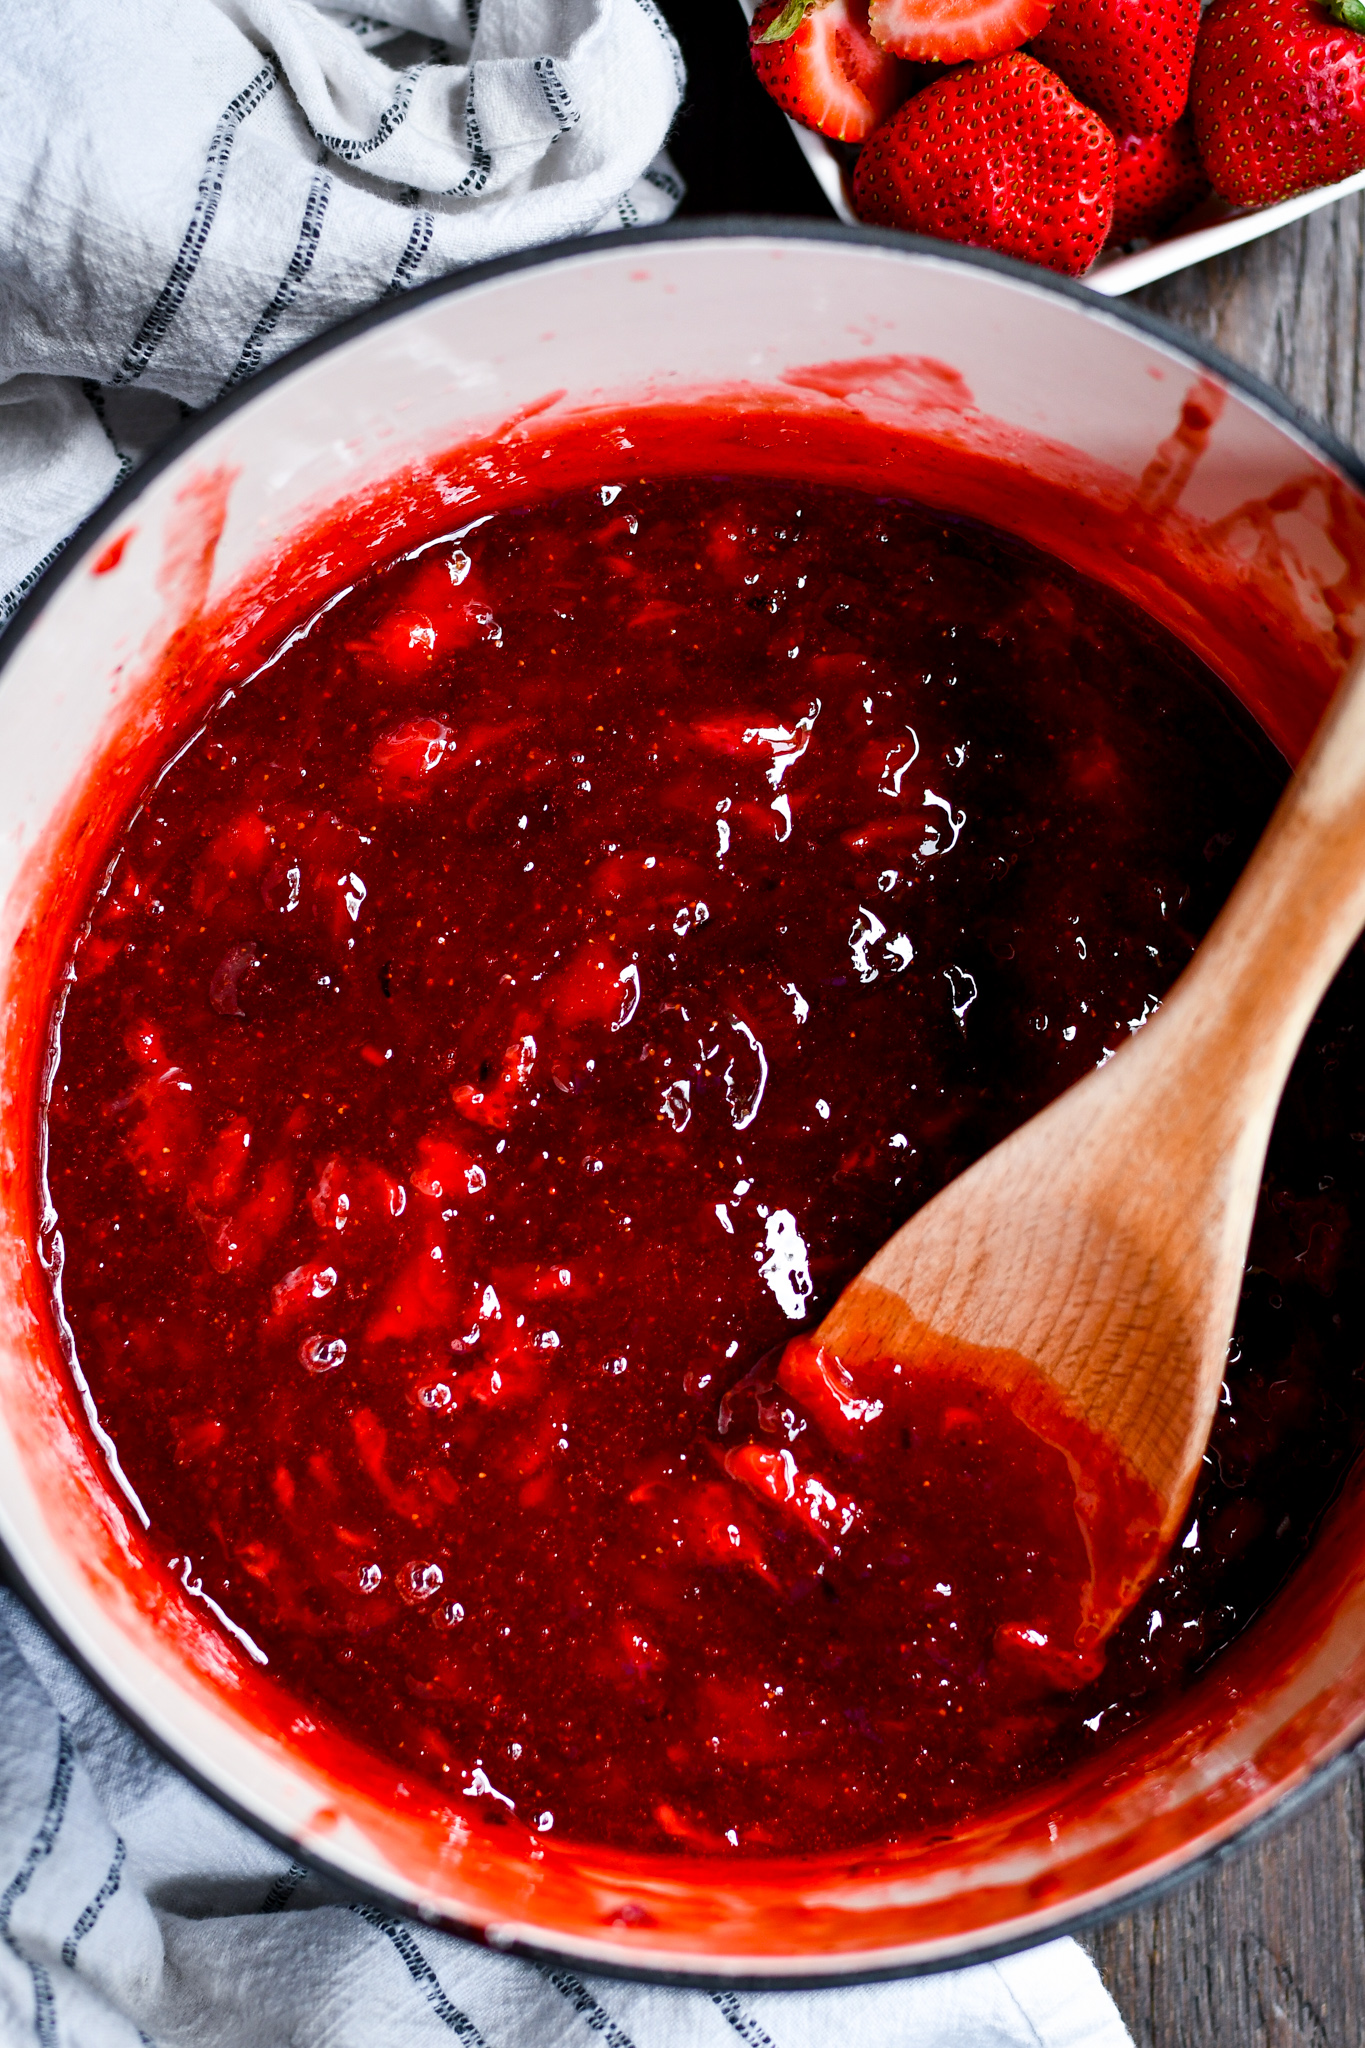
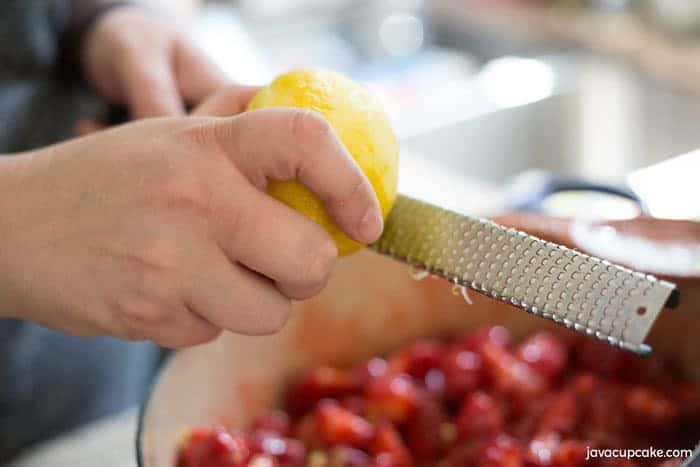
Some recipes call for the use of added pectin, however, mine does not. Sugar, lemon juice, and zest are all that is added to the berries.

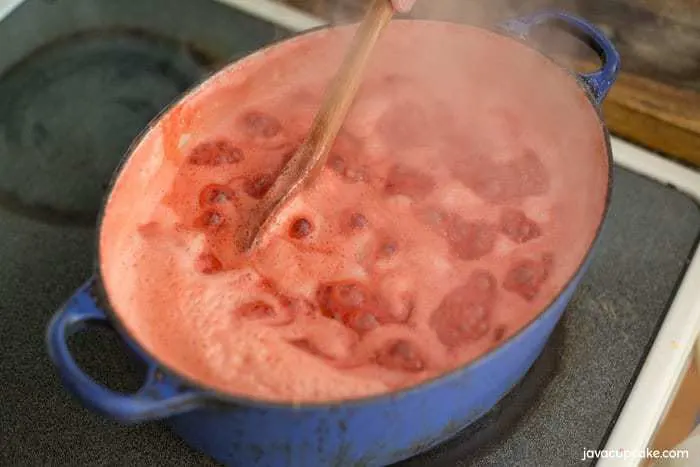
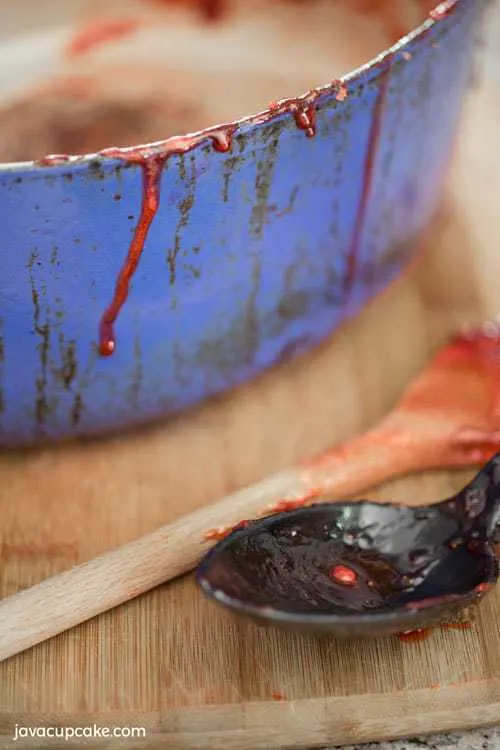
The berries and sugar together make natural pectin that can be seen while cooking. The white foam on top is the key indicator that the pectin is being made and the jam will be thick and perfect!
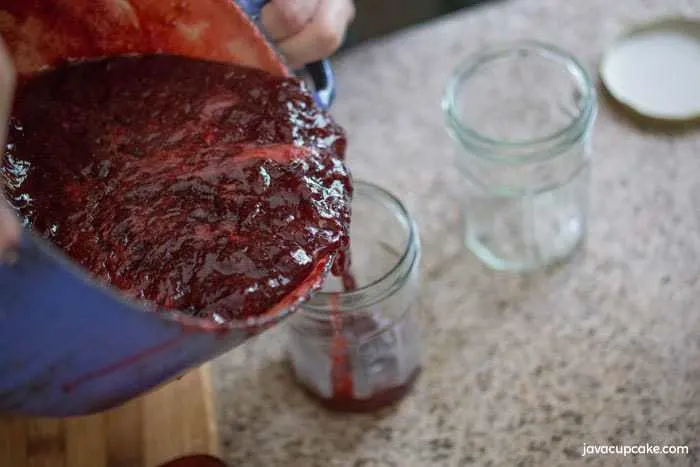
Ready to can??
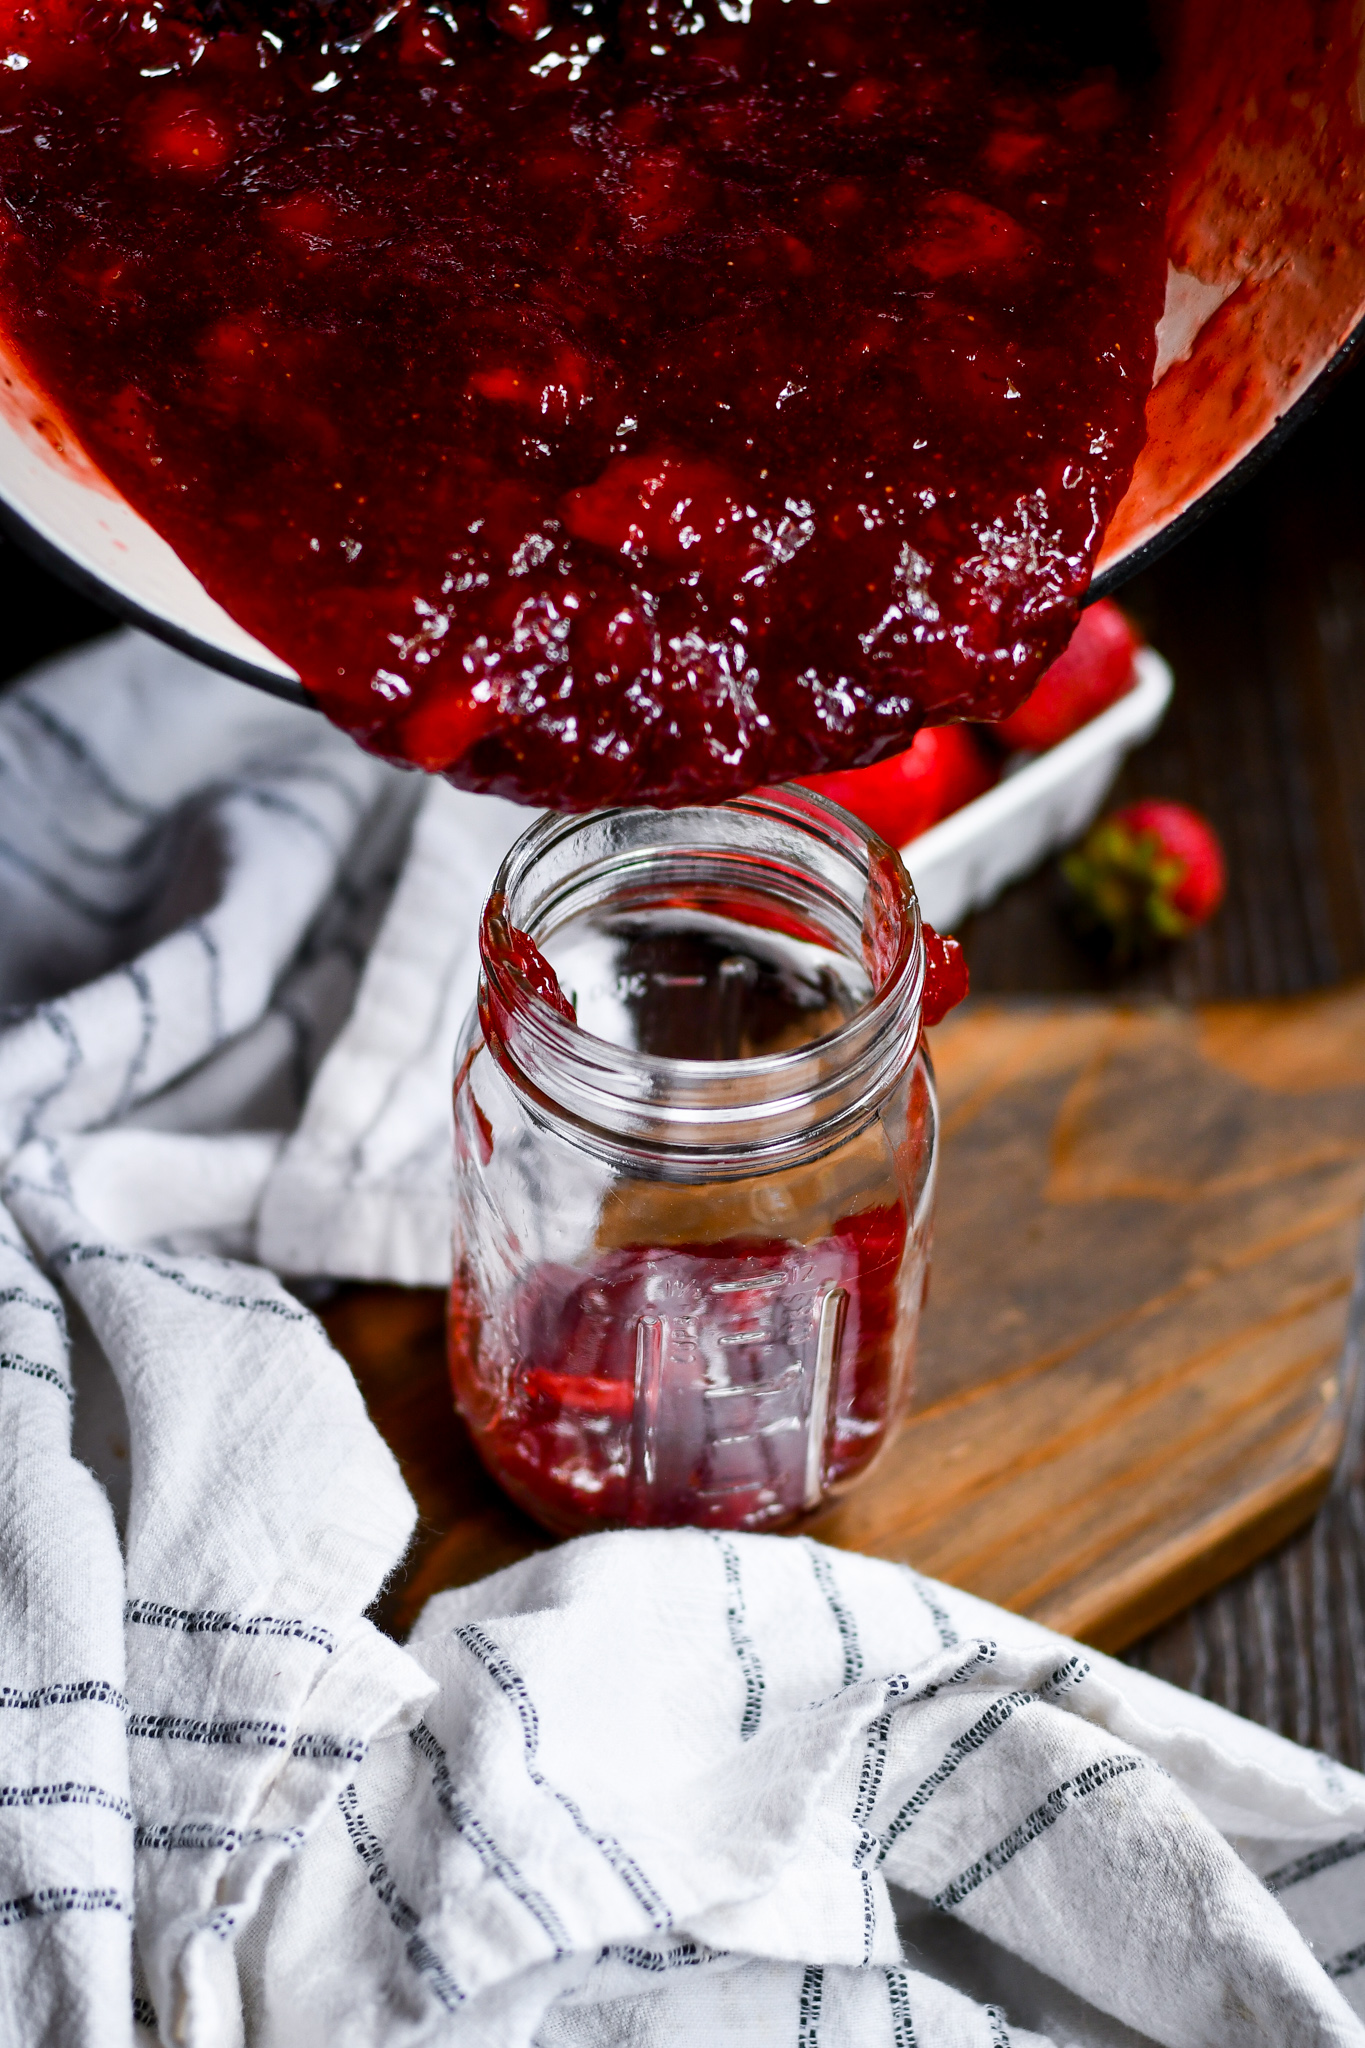
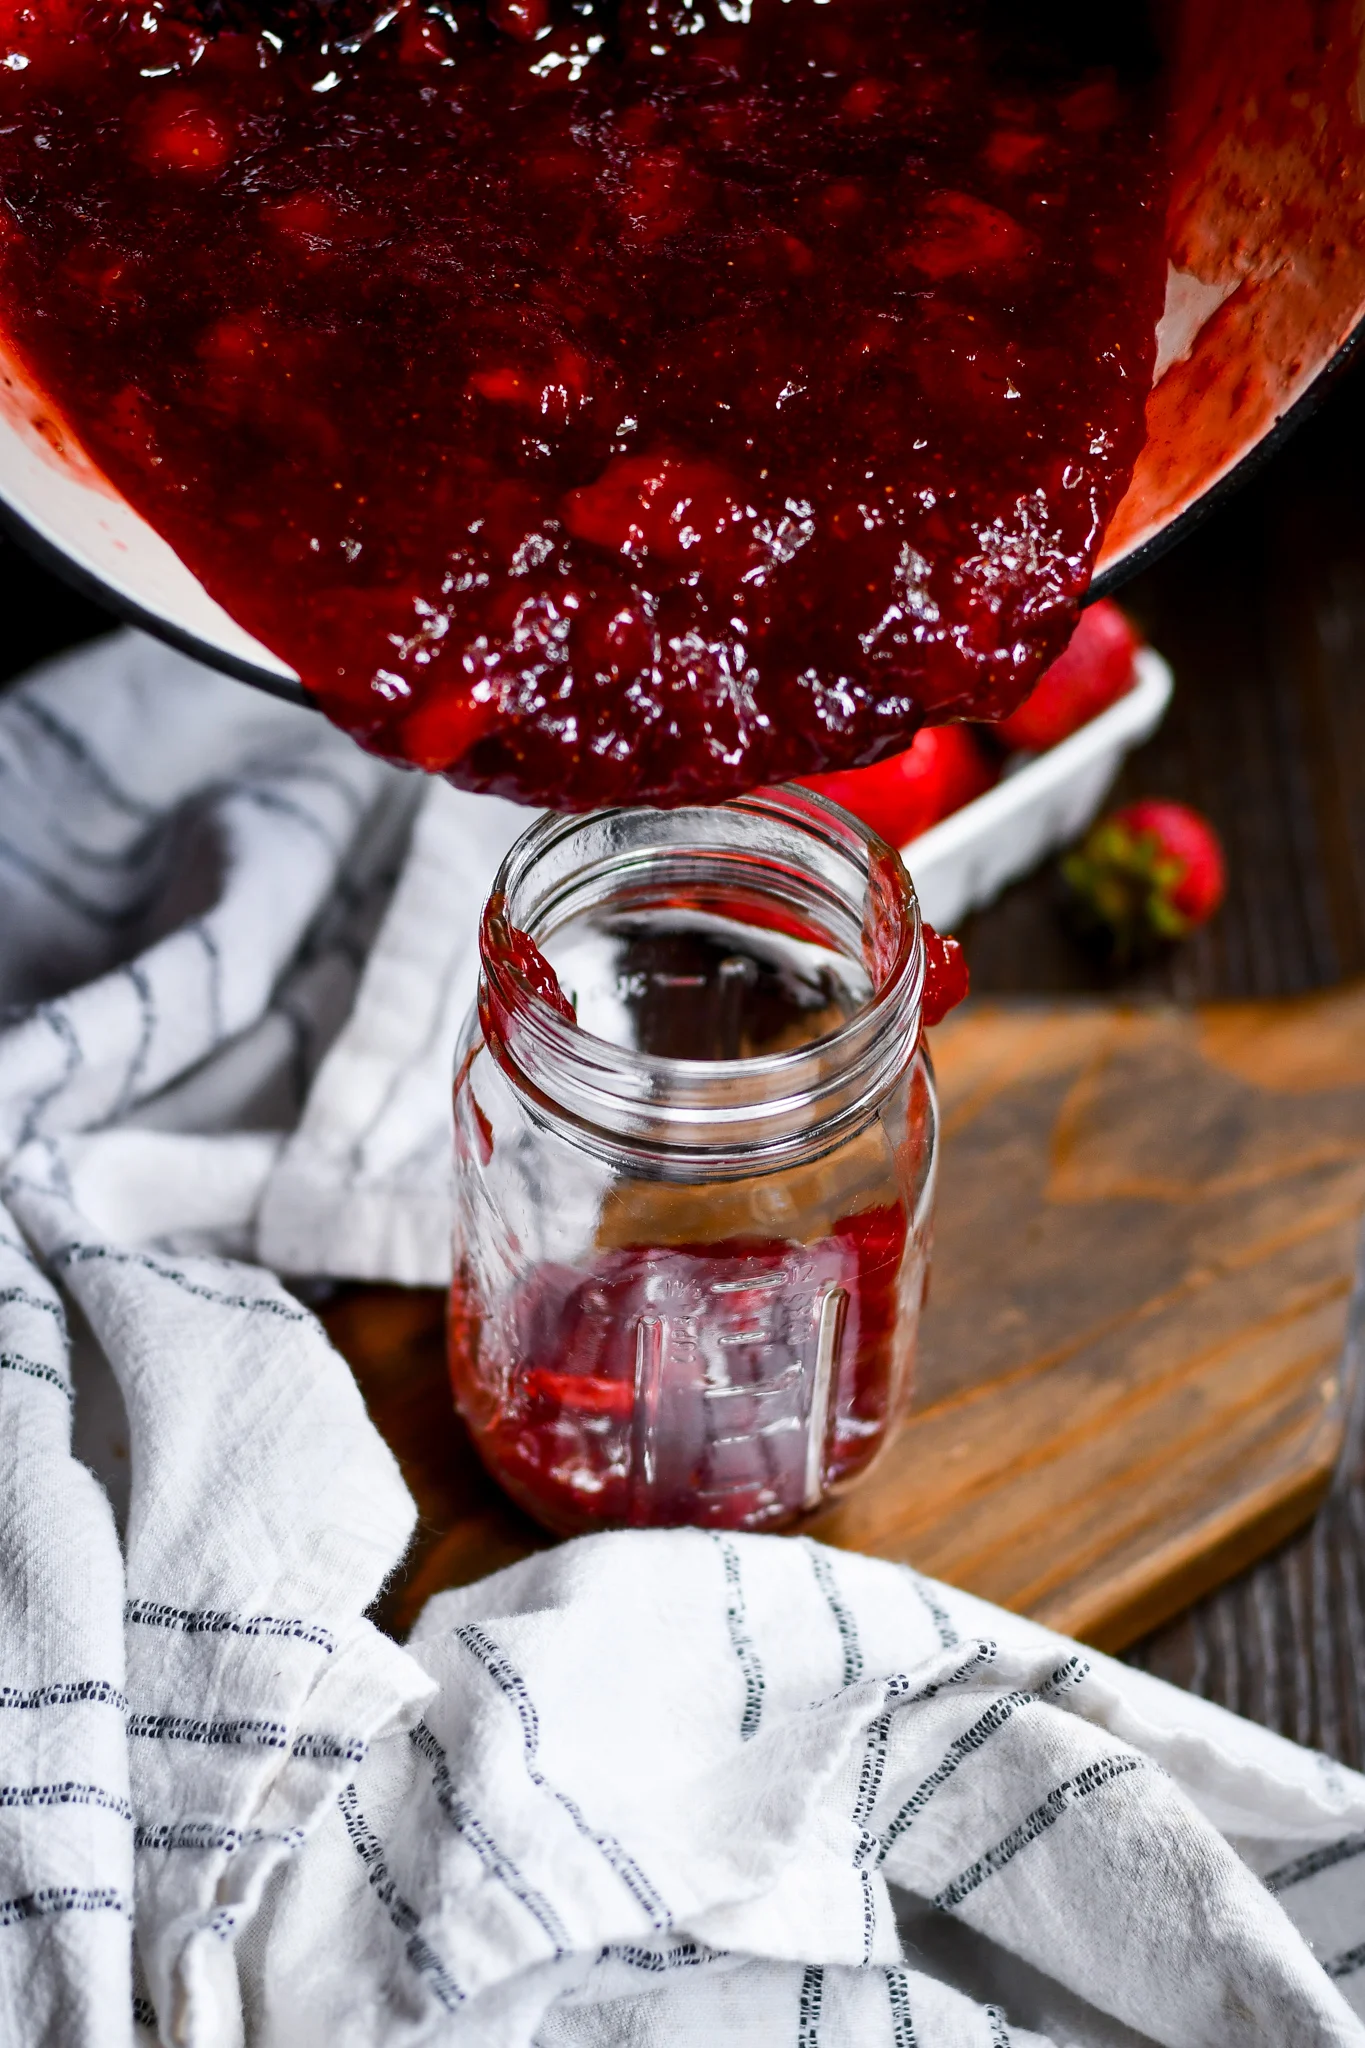
I’m not a master of canning jams, so I don’t follow all the typical rules for canning. I don’t boil my jars or do anything fancy with them.

Instead, I simply run the jars through the dishwasher and let them air dry before pouring the hot preserves into each jar.
I’ve never had any issue with the jars breaking or the preserves going bad because I didn’t boil the jars first.

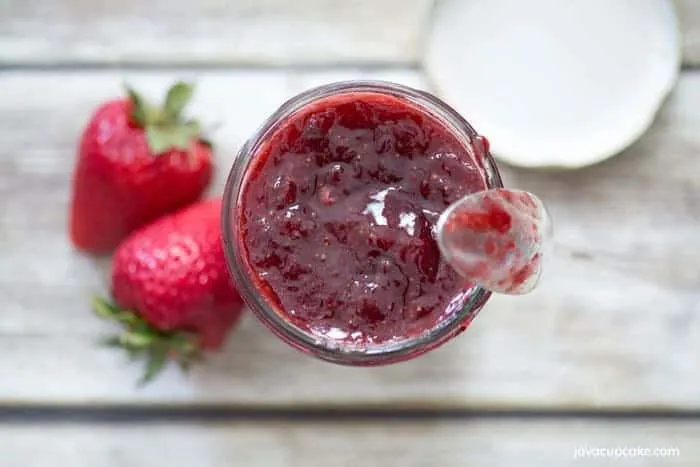
The result
After the mess has been cleaned and the preserves have cooled, I’m left with a thick, perfectly sweet, and a bit tart strawberry jam! These jars of homemade strawberry preserve also make wonderful gifts for friends or family, a truly thoughtful way of saying ‘I love you’.
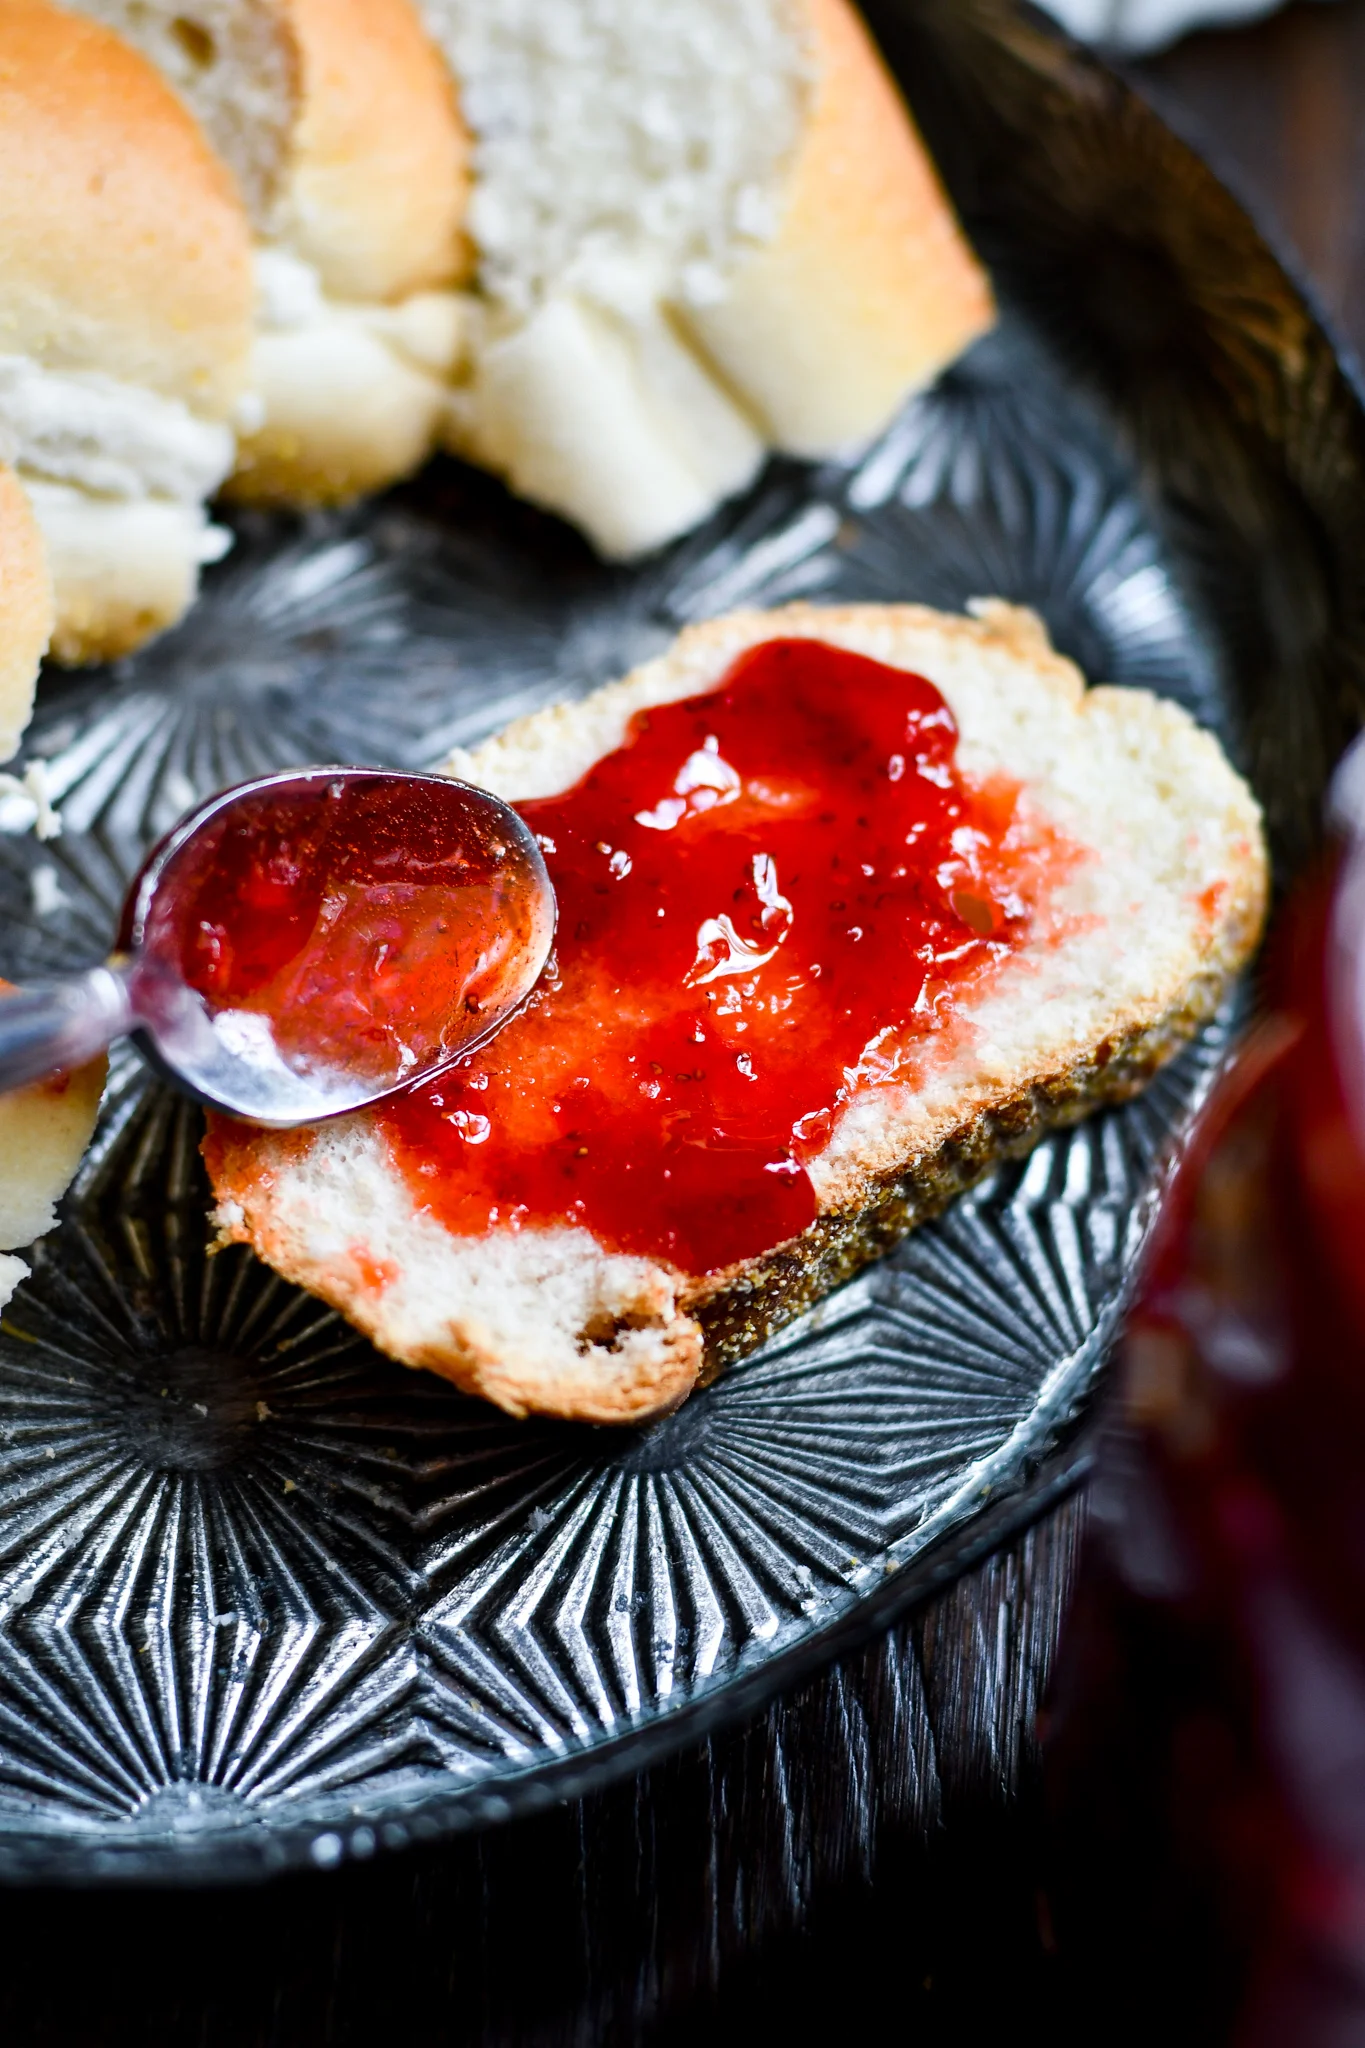
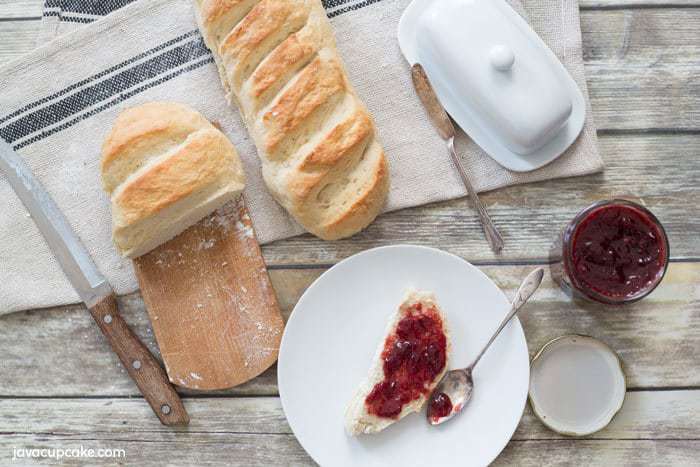
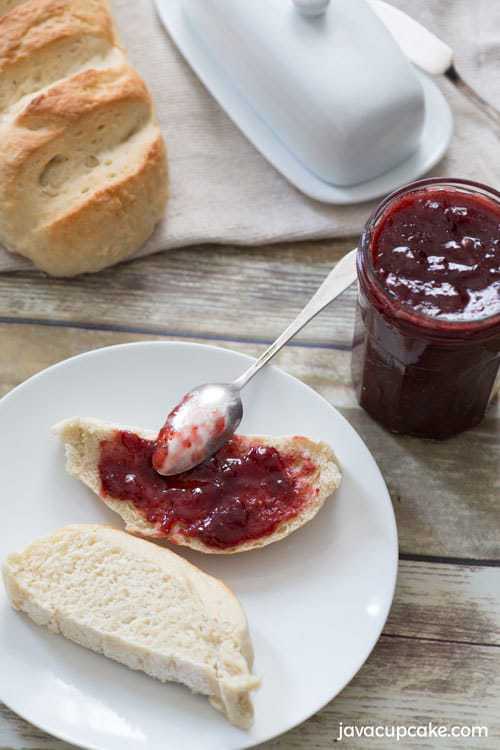
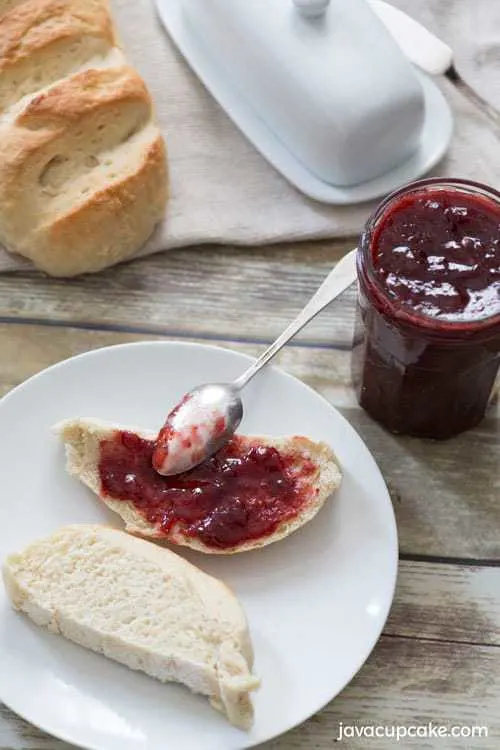
My favorite way to eat strawberry preserves is on warm farm fresh homemade bread!
There are seriously fewer things in life that make me as happy as I am when I’m eating bread smeared with homemade jam.
It’s the little things like this that truly bring me joy and I always stop to take a moment to enjoy each delicious bite.
Seriously, so good.

FAQS
I have tried to make this Homemade Strawberry Preserve recipe as easy as possible, however, I have received some questions, so I will answer them here. I hope this clears up any queries you had, you can leave a comment at the bottom of this blog if you want to know more!
I’d say around 24 hours to be completely cooled and set (sometimes it can take that long for pectin to reach the finished set)
This sounds like you have probably overboiled it and the sugar is solidifying like caramel. In this state, the preserve can taste quite bitter, unfortunately, I would recommend restarting as I don’t know of any way to save it
This could possibly be due to the fact your fruit is overripe. Overripe fruit contains less pectin, this recipe doesn’t use any additional pectin, so if you have accidentally left your strawberries a little longer than expected, you could try using commercial pectin. Make sure you follow the brand guidelines.

Substitutions
This recipe works great with other soft fruit too! You could make your own Homemade Raspberry Preserve, or try it with blueberries or blackberries, even peaches will make a delicious and unique jam!
Check this out
As an added treat, I’ve had my amazing photographer Fanette Rickert Photography create a video to accompany this recipe!
These are also all her photos… aren’t they amazing?
Want to see more?
If you enjoyed this recipe and want to see more like it, check out my strawberry freezer jam recipe, it was my first jam recipe, it’s a little bit simpler and it’s super yummy.
Are you looking for another pectin-free homemade preserve recipe? Then have a look at my post on Strawberry and Rhubarb Jam.
What about if you now want to find a way to bake with your homemade preserve? Check out my recipe for these yummy cookie slices, I used homemade red currant jam, but you can use any you like!!
Perhaps you are more of a savory person? If your sweet tooth isn’t as intense as mine, then check out this yummy looking onion and bacon jam form my friend over at I am Baker, I think it would be super tasty with cheese and crackers!
Leave a comment below and let me know if you enjoyed making this Homemade Strawberry Preserve as much as me! Did you gobble it all yourself or did you gift it to a friend?

Strawberry Preserves
This recipe for Homemade Strawberry Preserves uses only farm fresh berries, lemon, and sugar and is incredibly simple and delicious!
Ingredients
- 9 cups cleaned, halved fresh strawberries
- 6 cups granulated sugar
- 1 lemon, zested and juiced
- heavy bottomed pan or crock
- potato masher
- 3 jam jars with lids
Instructions
- Clean and half the berries and place them in the pot.
- Sprinkle over the sugar, zest, and juice. Stir to combine.
- Using a potato masher, gently break up the strawberries. Keep at least half of the berries intact.
- On high heat, cook the mixture for 5 minutes while stirring frequently to help break up berries and bring out the juices.
- Continue cooking until the mixture comes to a boil, stirring occasionally.
- Bring the temperature down to a medium/low simmer. Continue to stir occasionally.
- When a pink foam appears on the top of the mixer, use a spoon to scoop it off. This step isn't necessary; however, sometimes, chunks of pectin will be in the preserves if you skip it.
- Continue to cook on medium/low for about 90 minutes.
- After about 90 minutes or until it has reduced and thickened, pour the preserves into clean, dry jam jars. Allow the jam to cool completely before putting the lid on.
- Store in the refrigerator for up to 2 months.
Anna
Thursday 3rd of June 2021
Do you leave it on low heat for 90 minutes? Or do you remove from the heat for steps 7-8
Betsy Eves
Wednesday 7th of July 2021
Great question. I've updated the steps for clarity. :)
Taylor
Monday 17th of May 2021
When cooking, on step 8, do you remove the pot from heat for 90 minutes of keep on heat? Thanks.
Betsy Eves
Wednesday 7th of July 2021
Just updated the steps in the recipe for clarity. Check it out!
Reg
Monday 1st of March 2021
I followed the recipe to the "T" and they came out perfect for us! Spread evenly and not lumpy. I did skim the foam constantly and the preserve was beautiful! However....I think I need to curb/reduce the amount of sugar next time...maybe half! It was extremely sweet for us (sugar sweet, not fruit sweet) even though the strawberry intensity was there. Otherwise, it will be great a dessert topping more so than a spread.
Betsy Eves
Sunday 7th of March 2021
I get the comment about the sugar often - It's just a preference, I think. I like the way it came out with this recipe - but others may want to reduce sugar. :) Happy jam-making!
Susan Dubose
Wednesday 30th of December 2020
I've never made preserves before because I don't know how to can. However, I had a 1/2 flat of strawberries on my hands so I decided to try making preserves. This was the recipe with which to start. Absolutely delicious.
Anthony Allen
Wednesday 16th of December 2020
I love the intensity of the strawberry flavor and that I don’t have to worry about pectin. Highly recommend!