Author: Betsy Eves
-
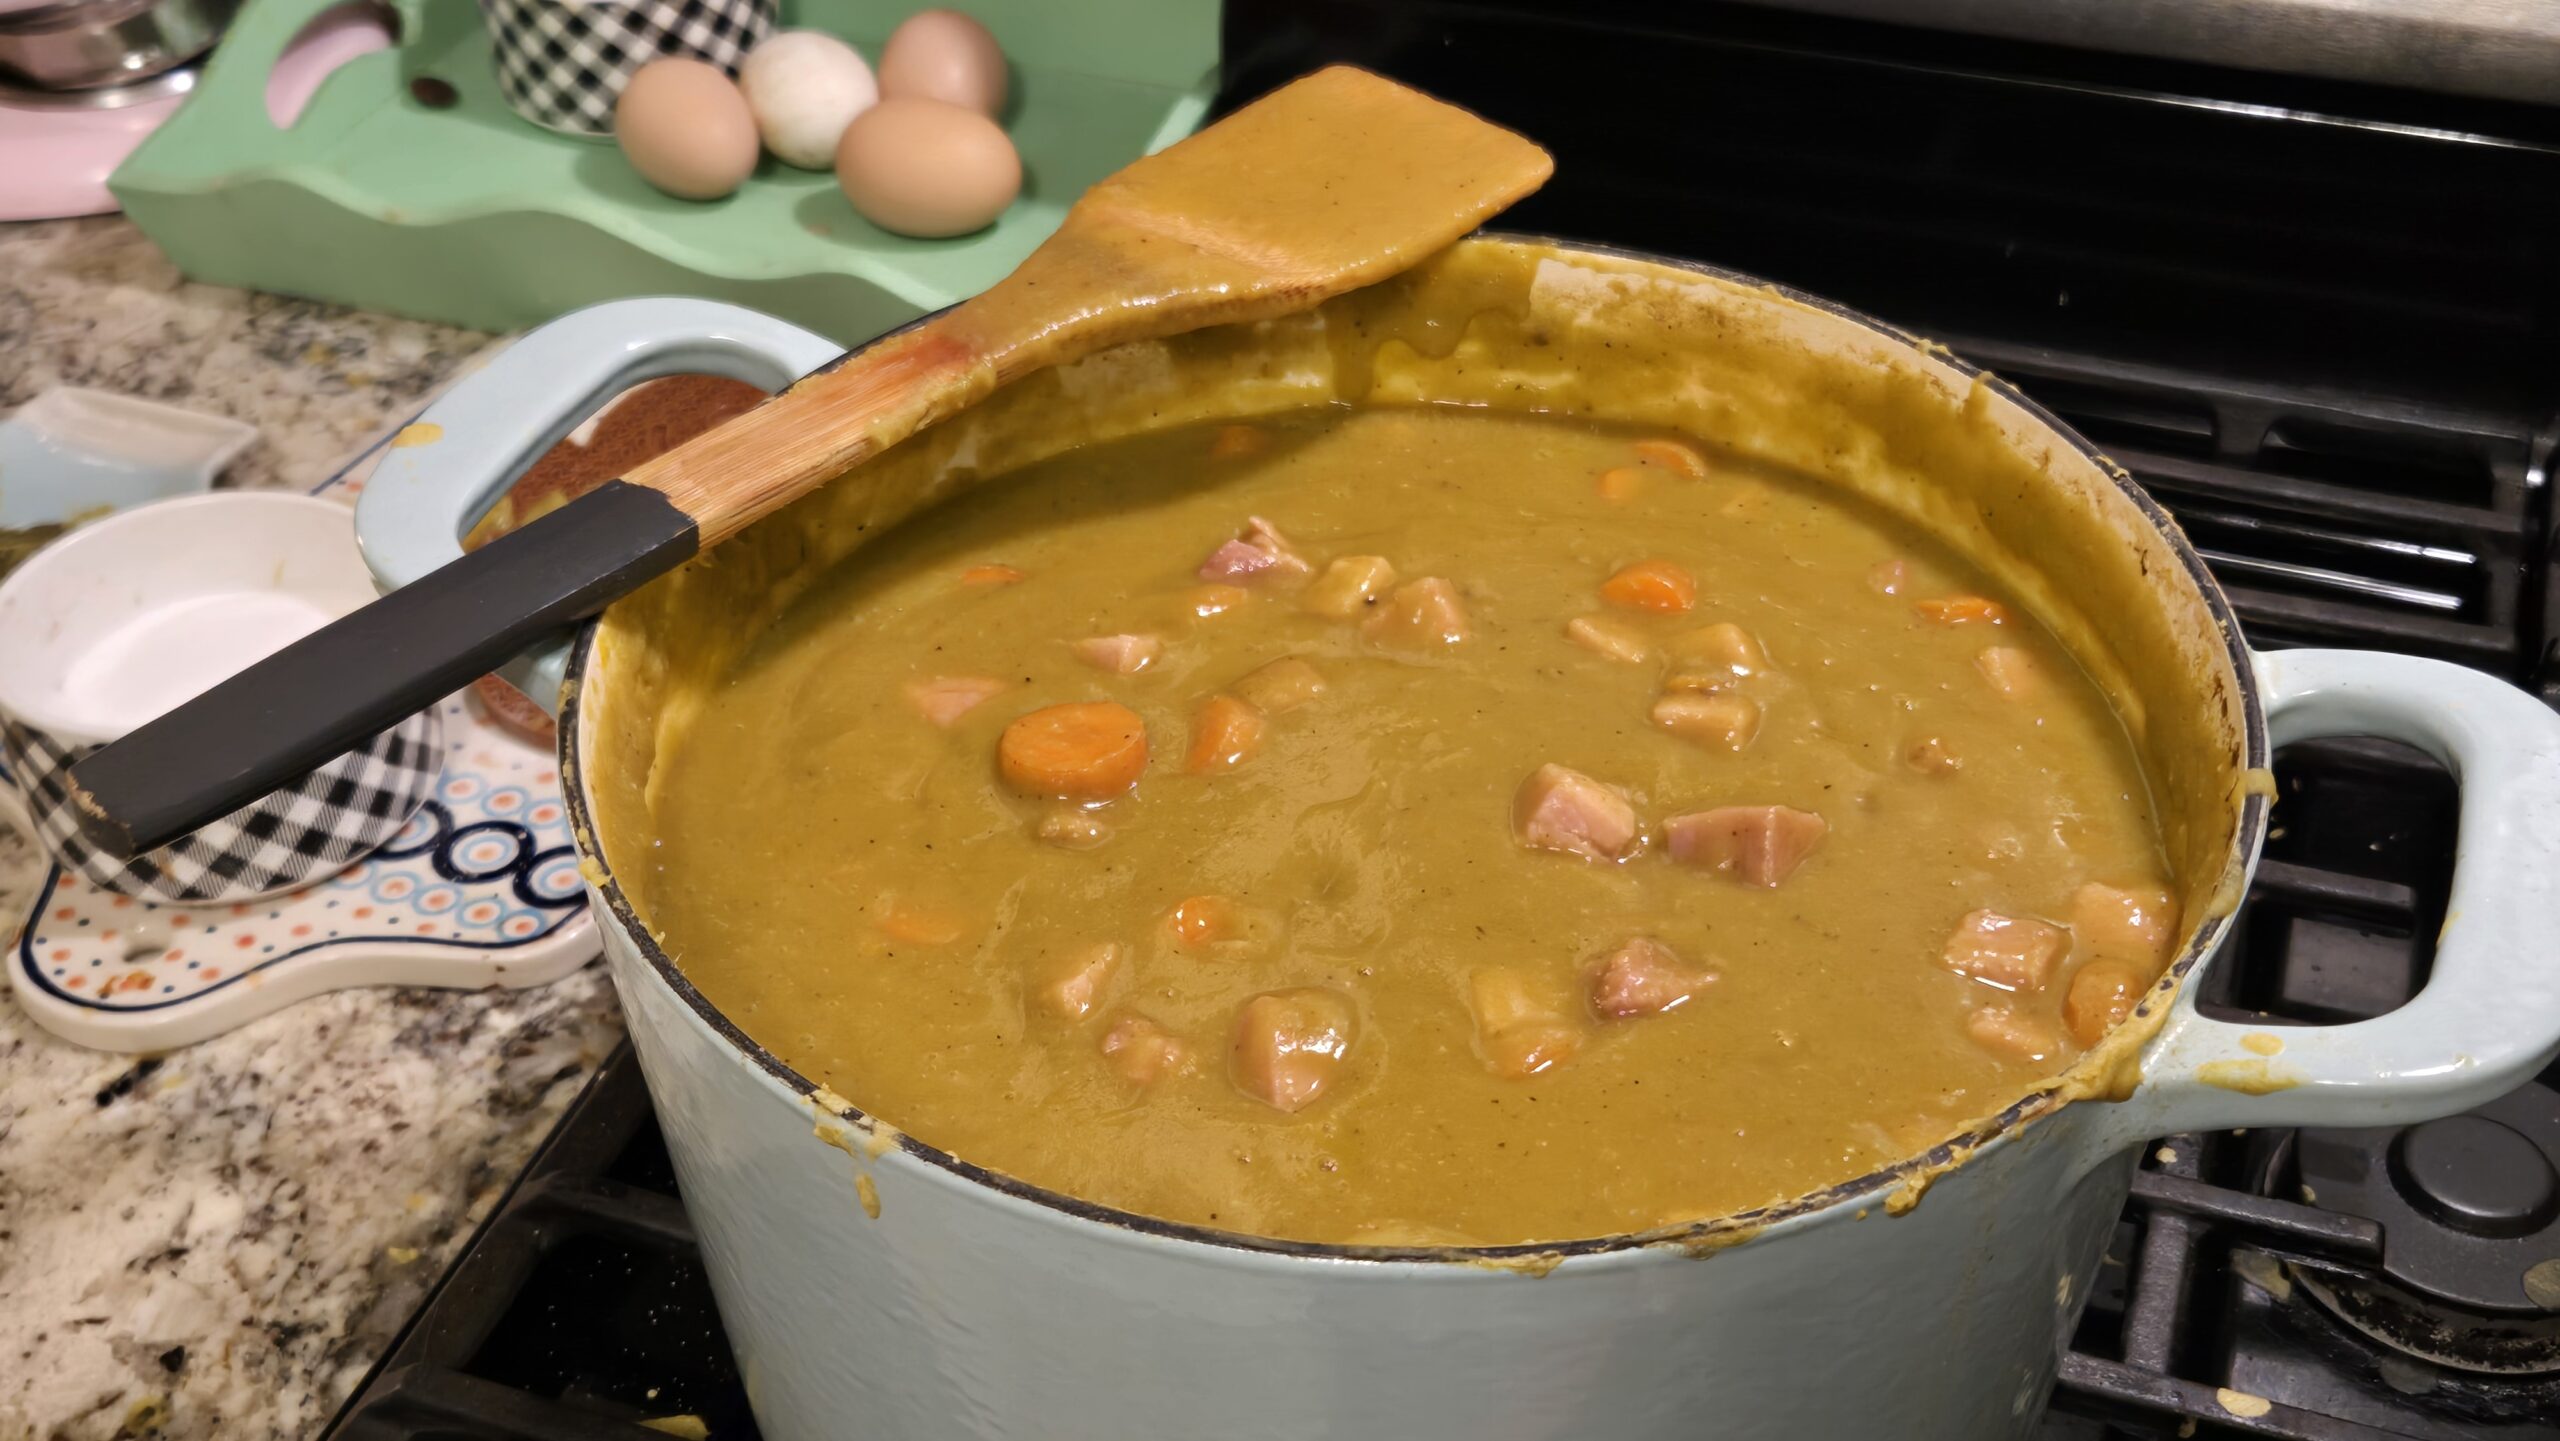
Chunky Split Pea Soup with Ham
-
Pumpkin Chocolate Chip Waffles
-
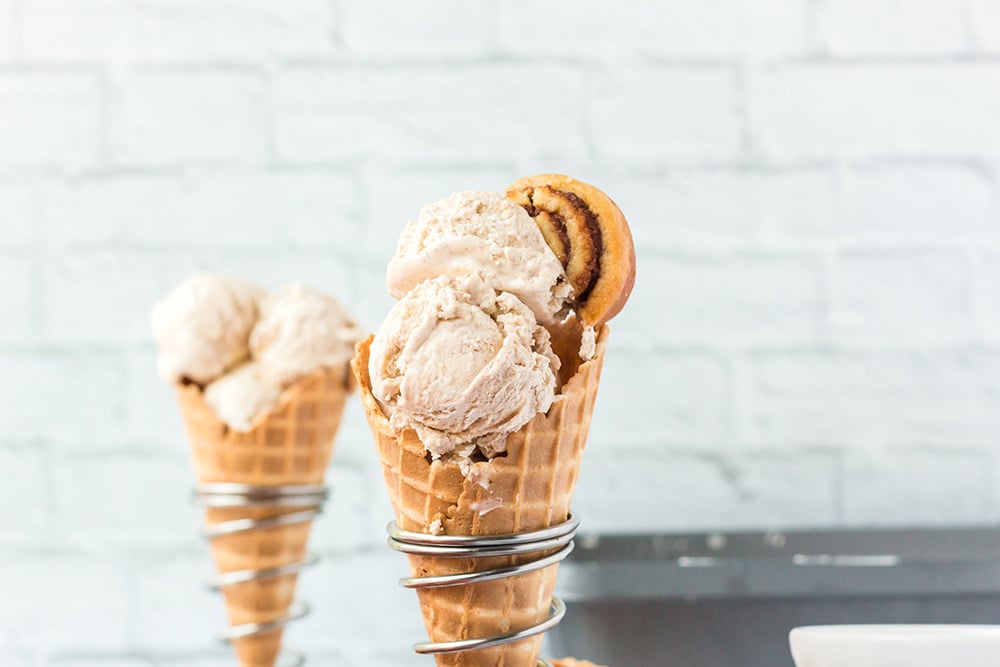
Cinnamon Roll Ice Cream
-
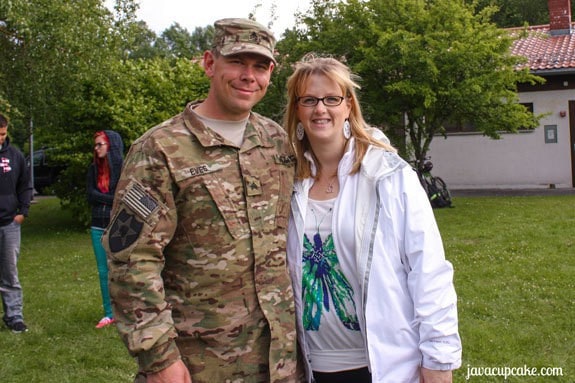
Love, PTSD, and Moving Forward - My Military Family Healing Journey
-
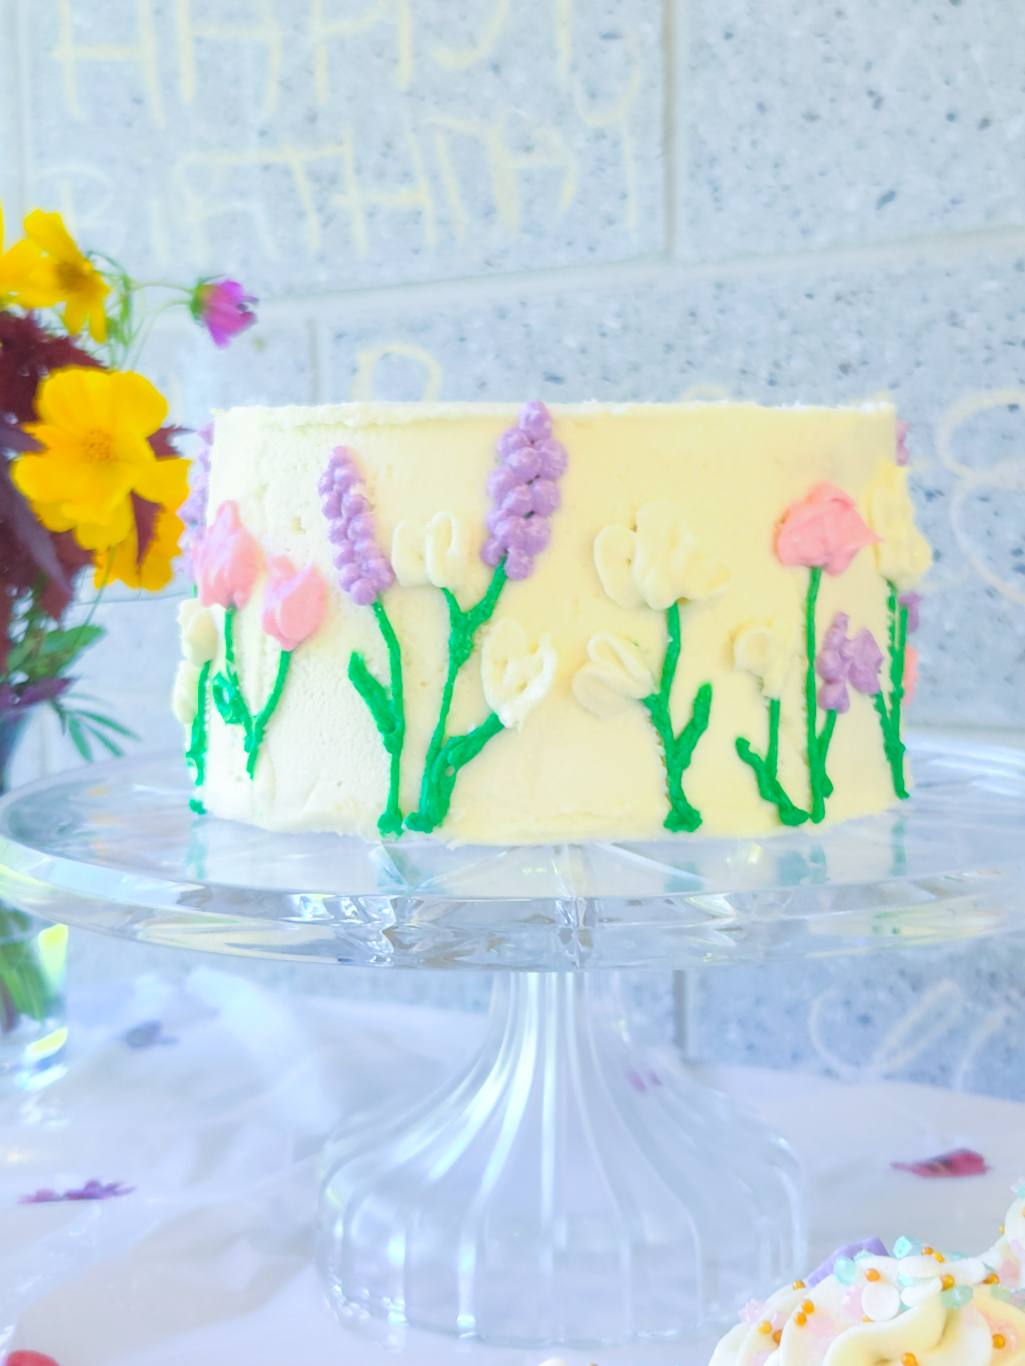
Wildflower Smash Cake
-
Gluten Free Pumpkin Cookies
-
Pumpkin Pie Trifle
-
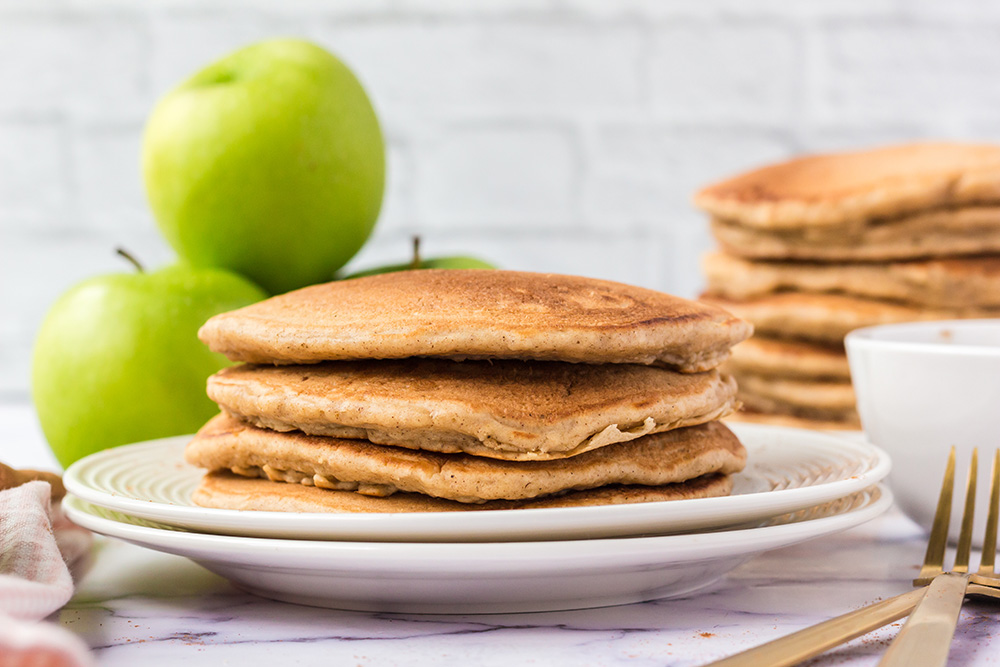
Apple Pie Pancakes
-
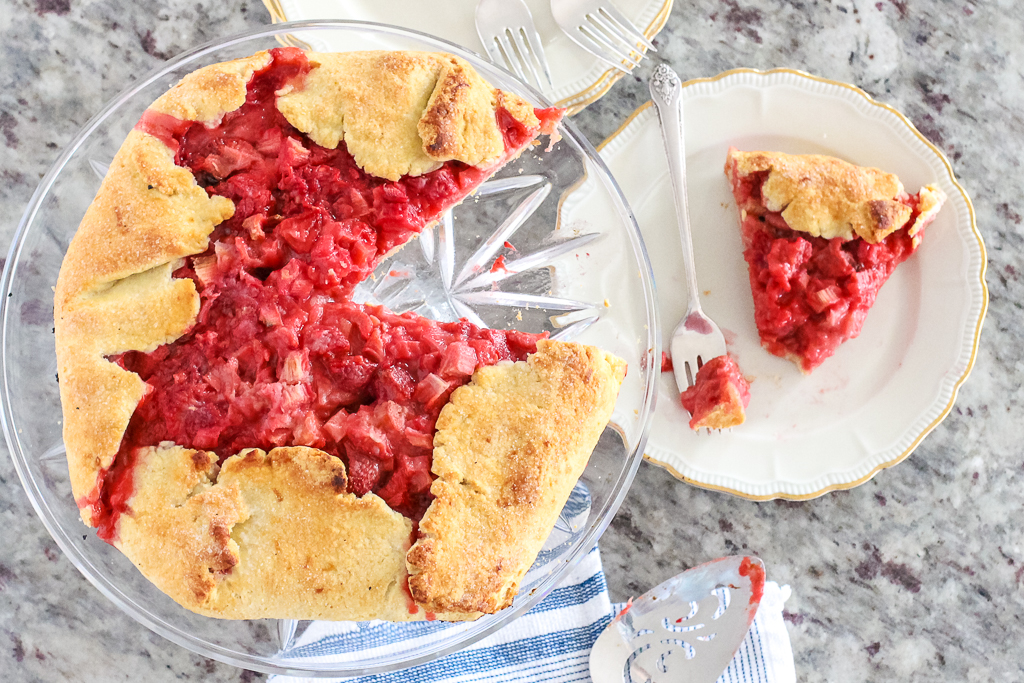
Rhubarb Berry Tart
-
Homemade Hot Chocolate
-
Maraschino Cherry Quick Bread
-
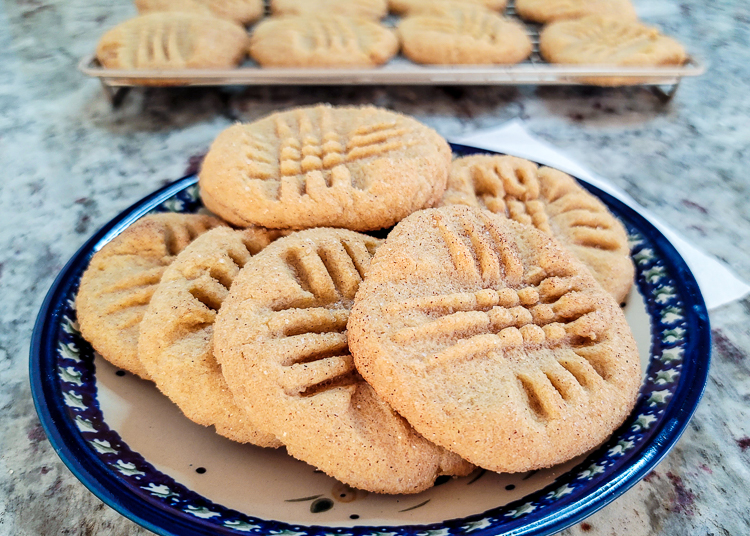
Peanut Butter Snickerdoodles
-
Easter Cupcakes
-
How to Make a Watercolor Cake with Recipe
-
Easy Holiday Recipes
-
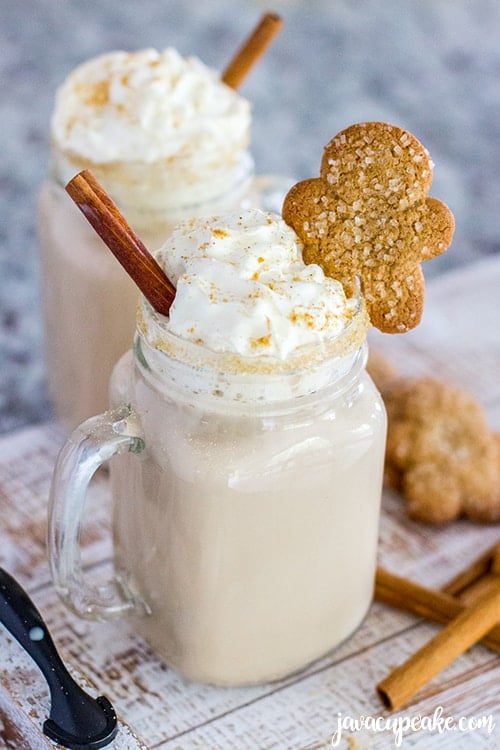
Spiced Gingerbread Coffee
-
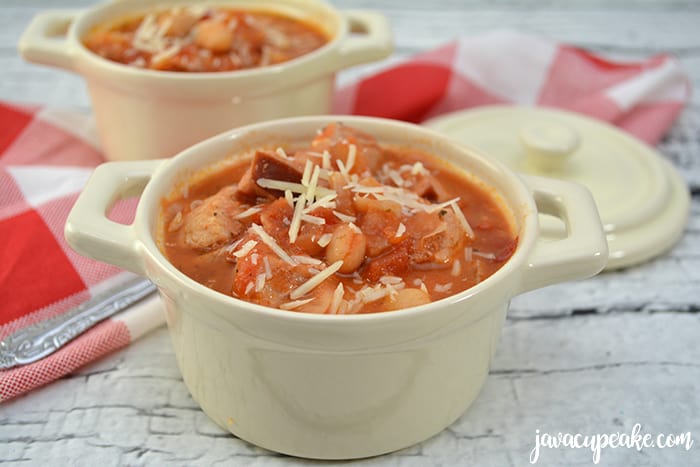
Instant Pot Soup with Pork, Smoked Sausage and Beans
-
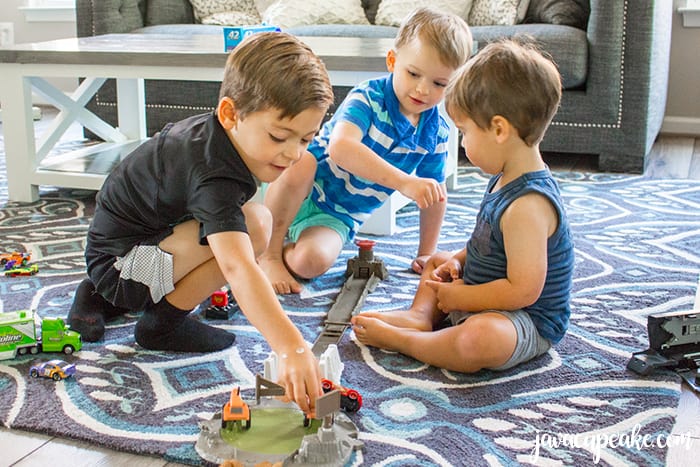
Cars 3 Play Date
-
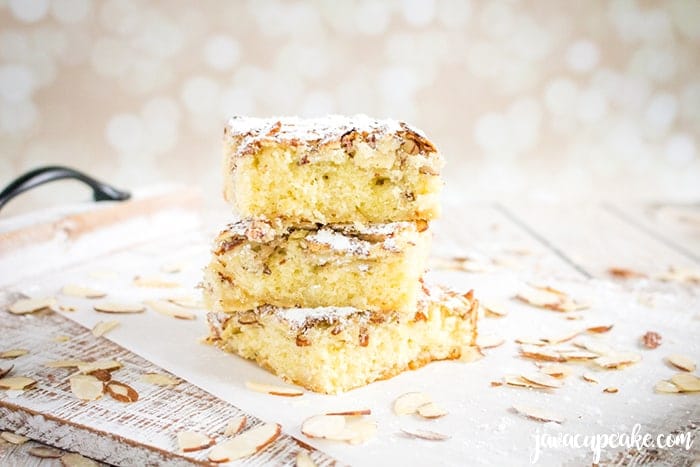
Swedish Visiting Cake Bars
-
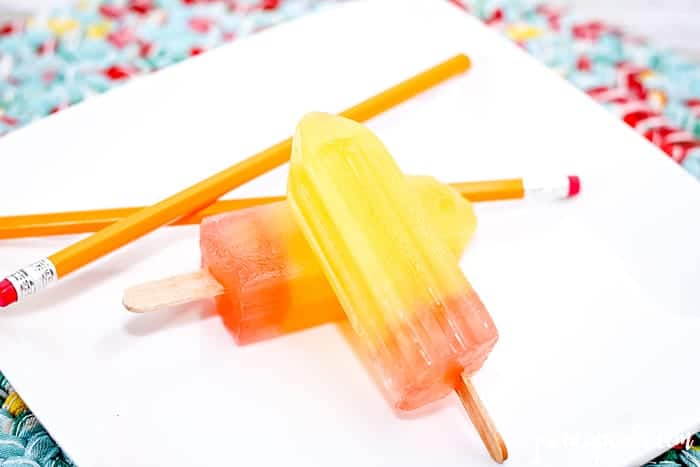
Back to School Pencil Pops
-
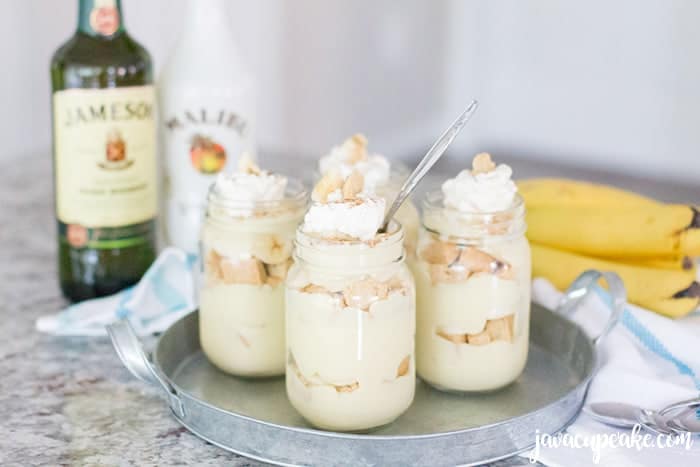
Boozy Banana Pudding
-
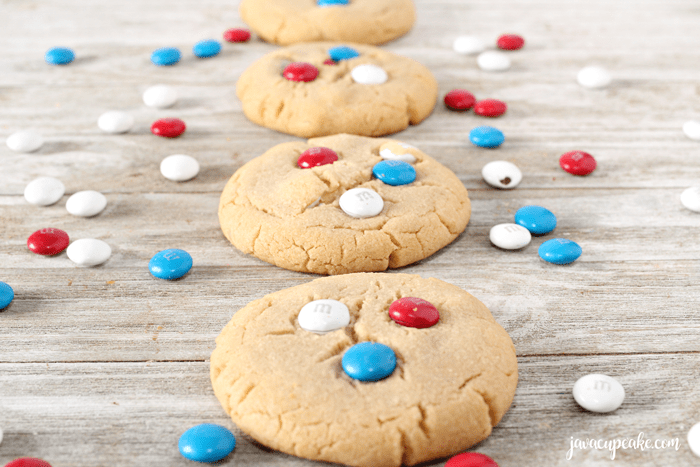
Peanut Butter M&M Cookies
-
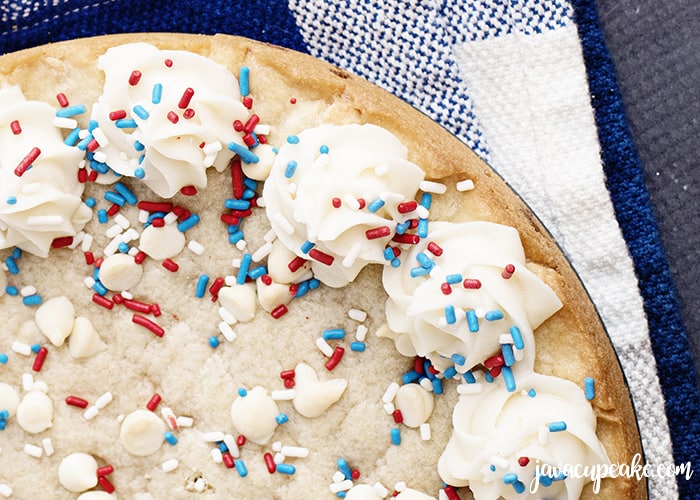
Patriotic Sugar Cookie Cake
-
Adorable Lamb Cookies
-
Dog Tag Bakery Brownie
-
Mocha Cookies and Cream Cake
-
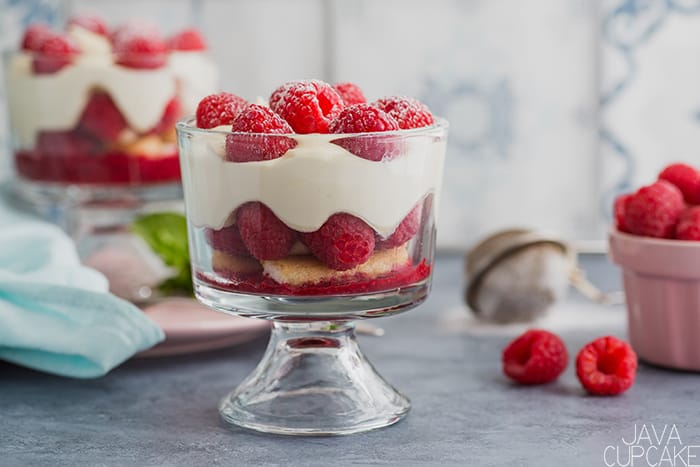
Raspberry Tiramisu #EasterSweetsWeek
-
French Apple Tarte #EasterSweetsWeek
-
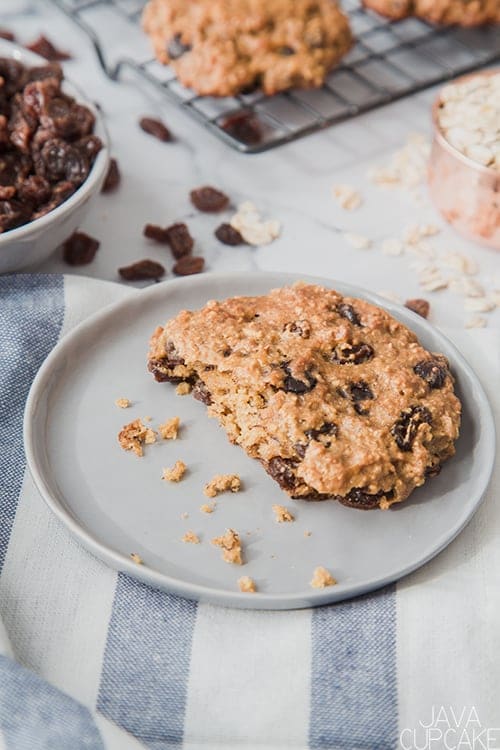
Peanut Butter Oatmeal Cookies
-
Hazelnut Fig Cake
-
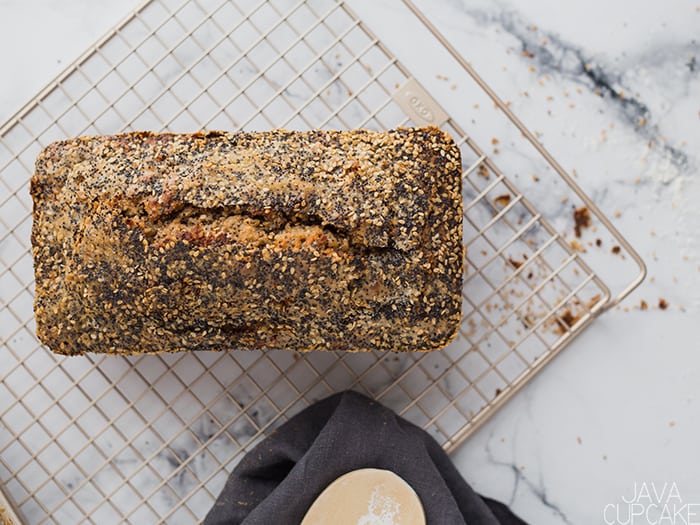
Banana Nut Bread
-
Valentine's Day Cat & Fish Cookies
-
Valentine's Day Sugar Cookies
-
4 Ways to Decompress a Stressful Day
-
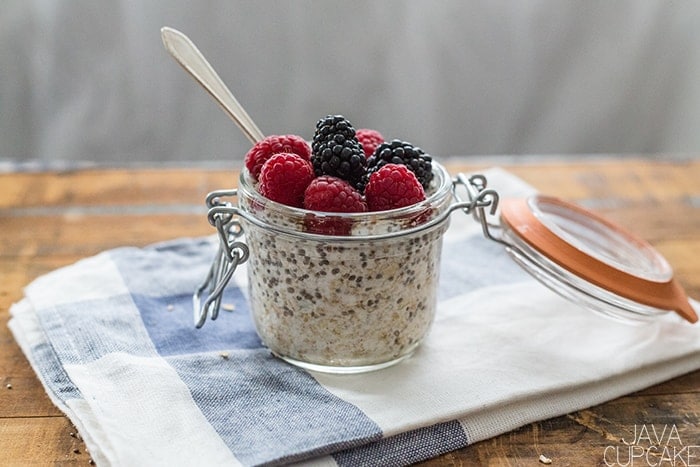
Overnight Oatmeal in a Jar
-
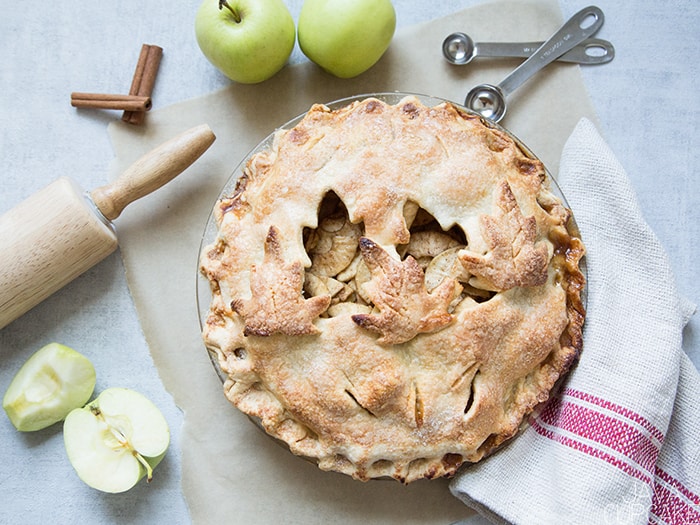
Apple Pie
-
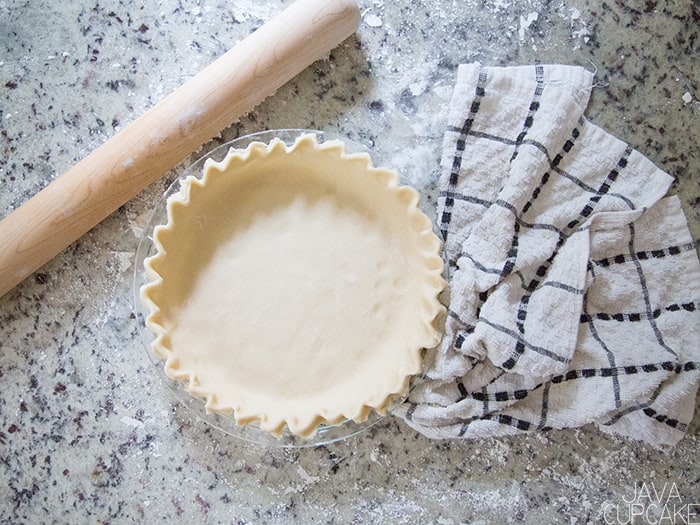
All-Butter Pie Crust (Flaky, Easy & Fool-Proof)
-
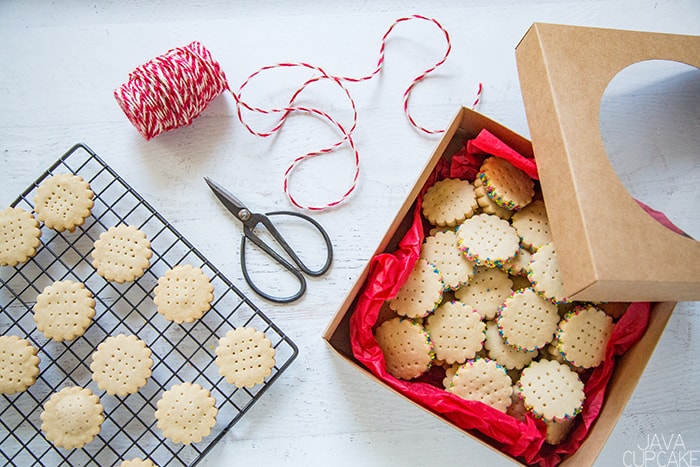
Shortbread Cookies
-
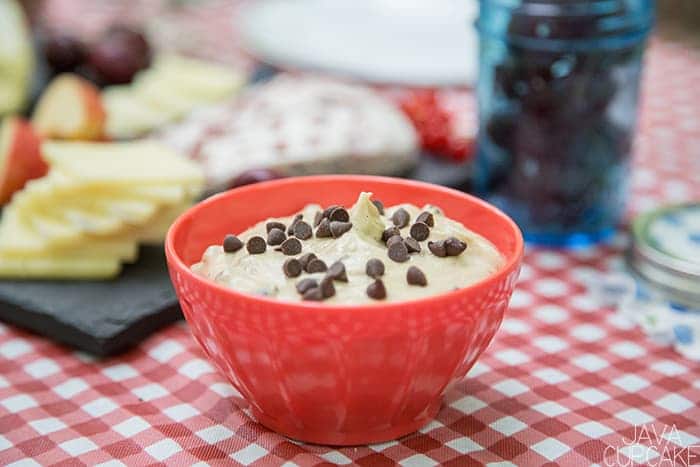
Brown Sugar Cinnamon Cream Cheese Fruit Dip
-
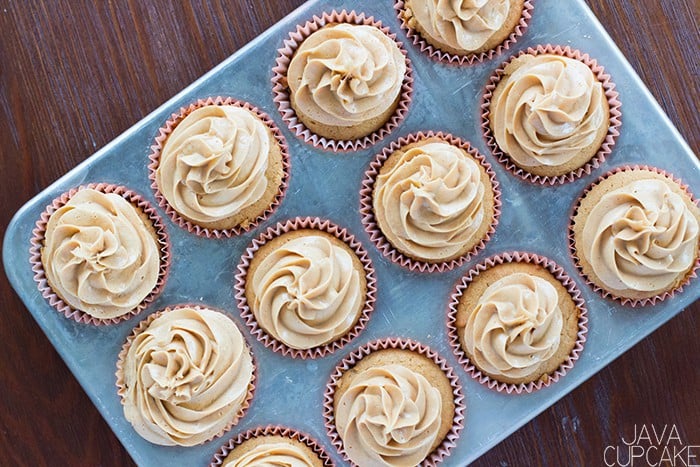
Peanut Butter Cupcakes
-
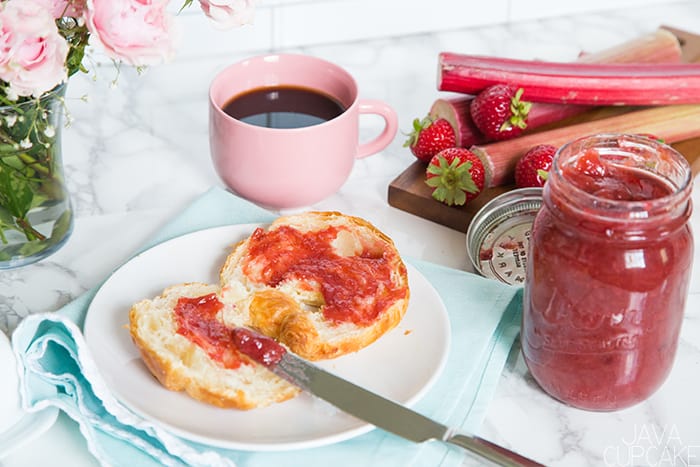
Small Batch Rhubarb Strawberry Jam
-
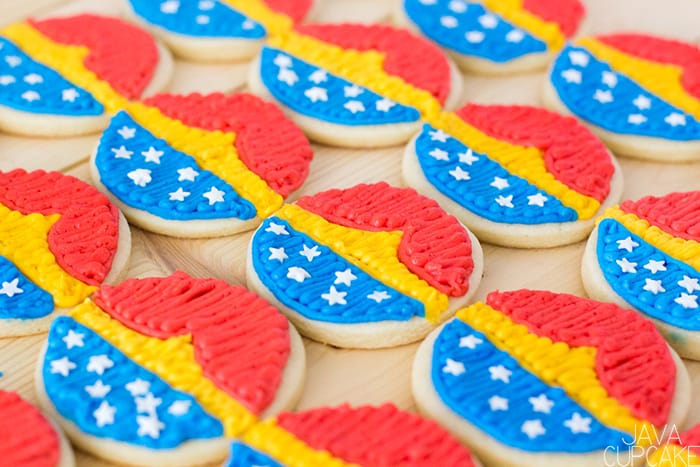
Wonder Woman Cookies