You don’t actually have to tie dye to host an exciting and fun Tie Dye Party! Learn how to throw a colorful, fun tie dye themed party with these decorating ideas, themed desserts, and party games!
In this second week of my Tie Dye Tuesday series, I’ll be sharing with you how I hosted a tie dye themed party with my family and friends. The ideas in this party could be easily transformed to suit any birthday, seasonal, baby shower, or themed party you’re hosting!
If you need a refresher on how to tie dye, check out the first week of this series for the complete how-to’s on tie dye!
Tie Dye Party Decorations
I knew that I wanted everything to be tie dyed when it came to the decor and look of this party. I also knew that I didn’t want to spend an arm and a leg making or buying the supplies for that. So, I decided on a few high-impact decor pieces that would really set the theme for the party.
Table Cover
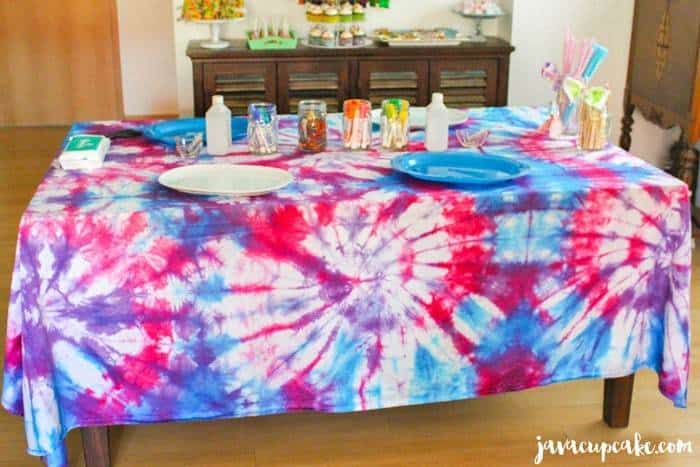
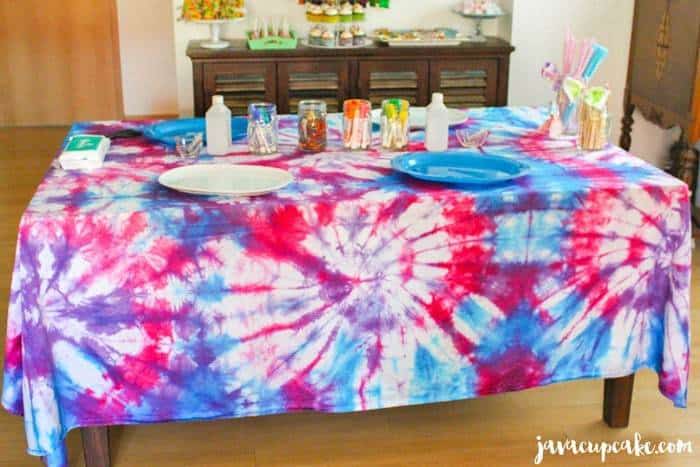
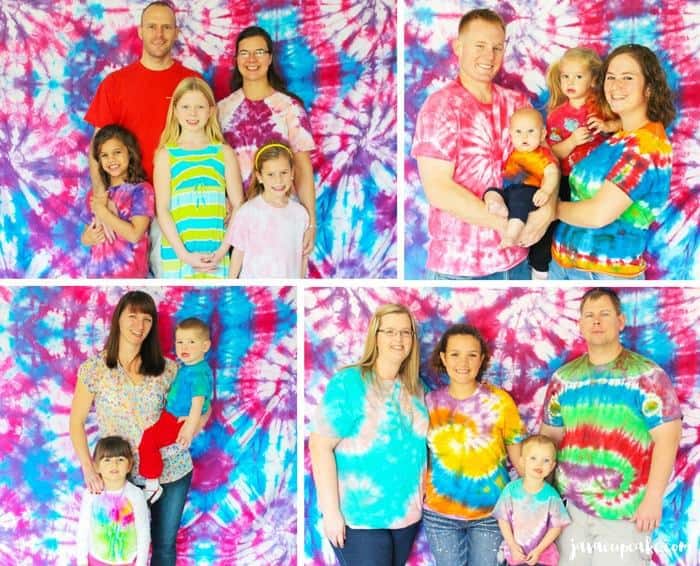
I created a table cover for my dining room table by tie-dying a 100% cotton white twin-size bed sheet. This was the perfect size sheet to cover my 6-person table. Later in the party, I was able to use the dyed sheet as a photo backdrop for family pictures.
Below is the technique I used to fold and dye the sheet to get this pattern. For a complete tutorial on how to tie dye, you’ll need to check out my DIY Tie Dye Shirts tutorial Instead of shirts, use a sheet and follow the below instructions on how to fold and tie it. I used raspberry, blue and orchid for colors, but you can use any colors you want. I suggest using at least 3 colors for the most dramatic effect.
Folding & Banding Technique:
- Fold a 100% cotton white twin-size top sheet into thirds the long way, then thirds again until it created a square.
- Pinch the center of the square and began twisting until all of the fabric has created a spiral.
- Tie 6-8 rubber bands across the spiral. For a visual, see this tutorial.
- Soak in a soda ash solution.
- When dying, make sure that each color is next to a different color. For example, do not put two pinks together.
- Since the fabric has been folded so many times, open the creases of the fabric to ensure that the dye gets into all the layers of the sheet. If you don’t do this, when it opens up you’ll have more white than color.
- Follow the complete instructions for dying on my tie dye tutorial.
T-shirt Bunting
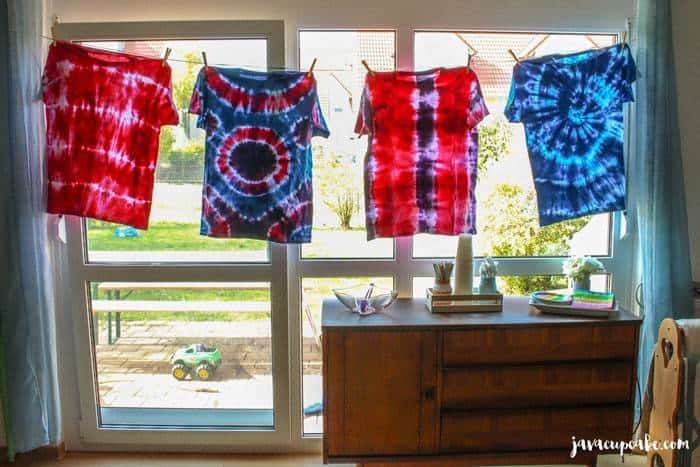
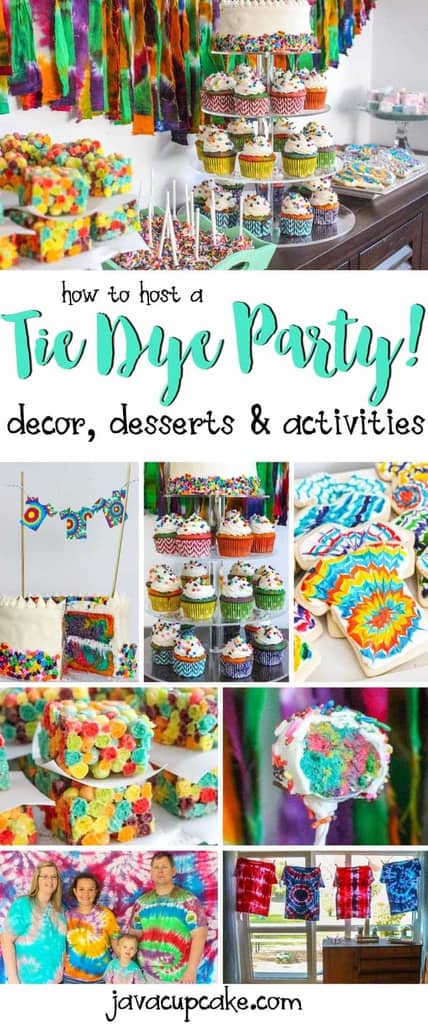
Since I had several tie dye shirts on hand, I decided to display them on the walls of my living room as decor. I fastened baker’s twine to two reusable hooks on either side of the largest window in my living room. Using clothes pins, I attached the shirts across the twine to look like bunting! I love how the sun shined through the shirts really bringing out their vibrant colors.
It really made a WOW factor when people walked in because it was in their immediate line of sight from the front door. This tie dye bunting could be done with any size shirt that has been dyed.
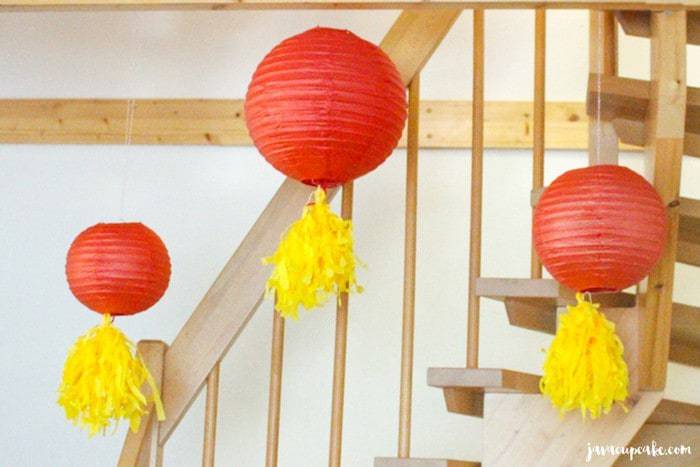
Not everything needs to be homemade. I had these red lanterns and yellow tissue paper tassels from a previous event and put the two together and hung them in front of my staircase to just add another place where a pop of color could be seen. Use whatever you have already in your house to create pops of color.
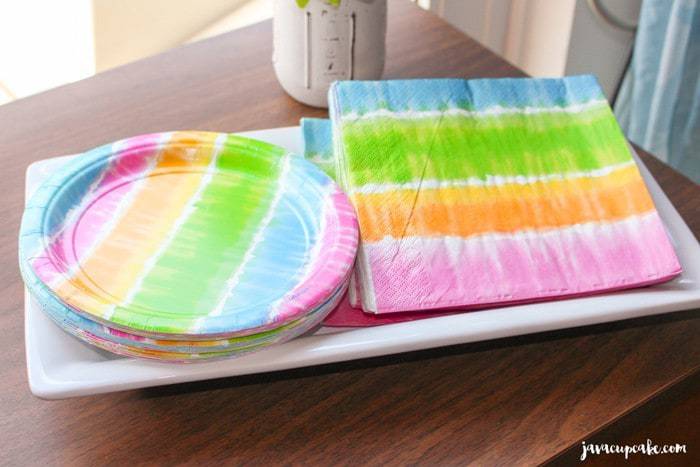
In addition to making the food tie dye… I picked up these fun tie dyed plates and napkins from the party section at my grocery store. If you can’t find these exactly, an assortment of colors or any bold colors would work perfectly!
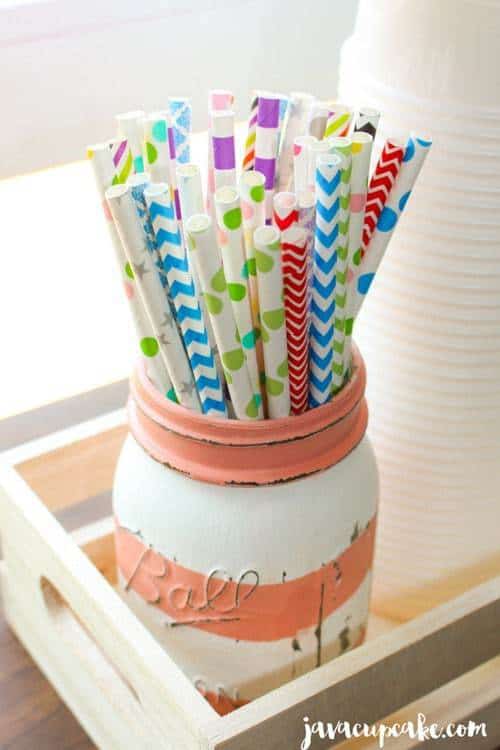
And of course, I had mason jars everywhere to add more color to the room! For this jar, I filled it with an assortment of paper straws from Sweets & Treats Boutique.
Fabric Garland
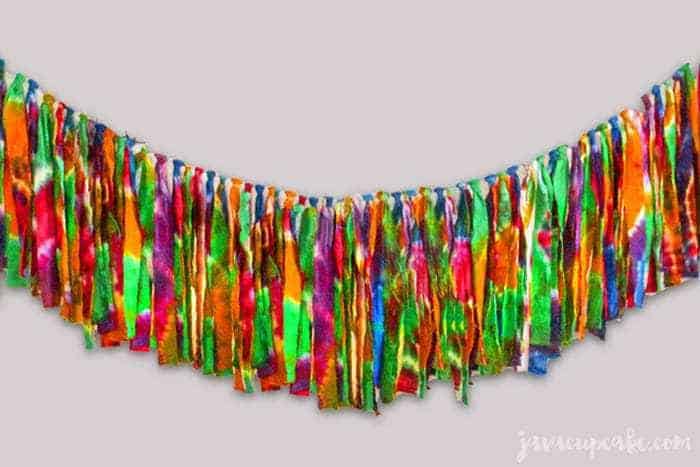
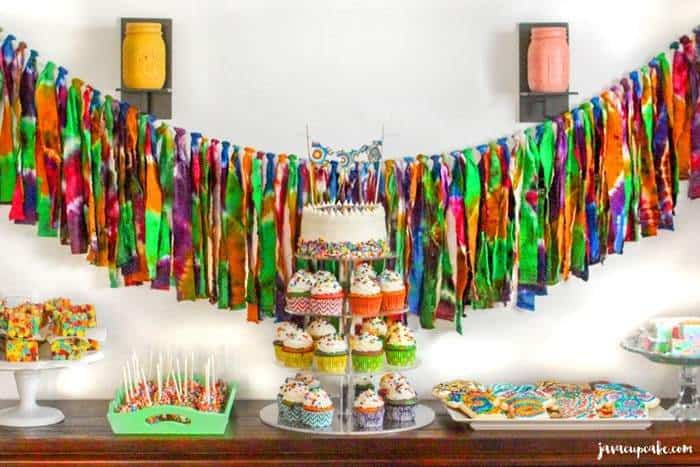
This fabric garland is made from 4 100% cotton flour sack towels that I dyed and then cut into strips. If you aren’t familiar with a flour sack towel, it’s simply a lightweight towel that doesn’t fray. It gets its name from the days when families used to bring home their flour in large 50-100lb bags and once empty, they would cut the bags into towel size and use them for cleaning around the house. These towels are the perfect size and texture to make a fabric garland! Plus, they are very inexpensive.
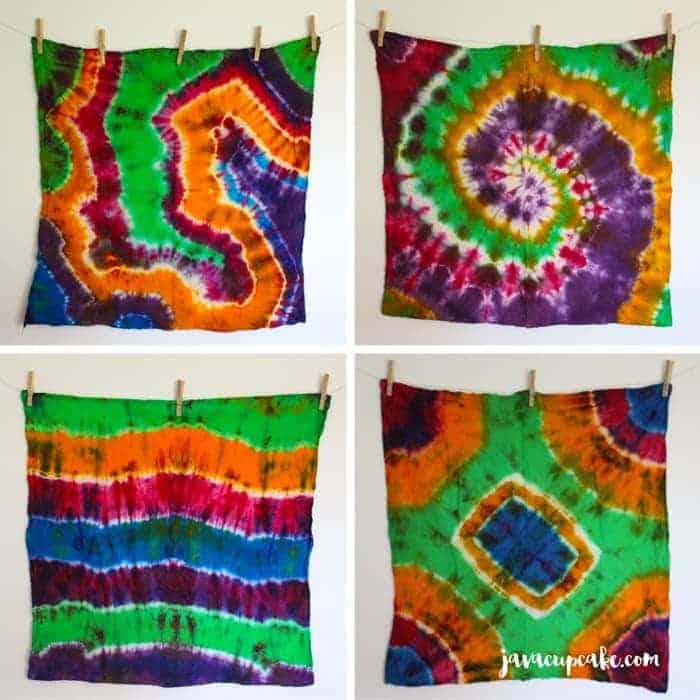
It doesn’t really matter what designs or patterns you dye the towels. The only suggestion I have is to make four different patterns so that the colors don’t lay the same on the garland.
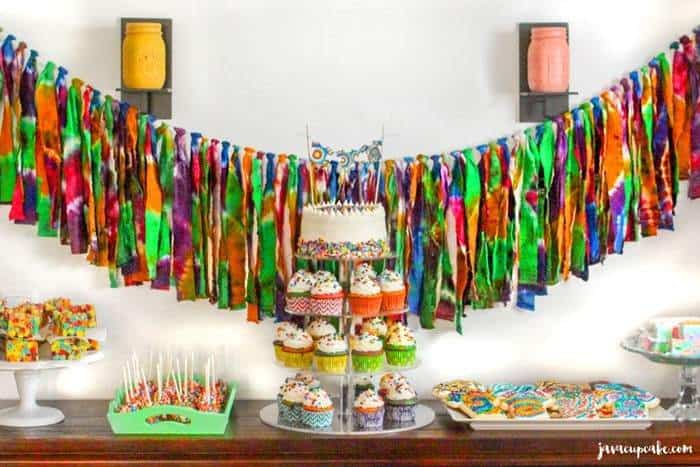
After the towels have been laundered, fold them in half then cut them into 1-inch strips. Tie each tassel around a piece of rope or twine (I used baker’s twine). These four towels made a garland that was about 8 feet long, but you can make it as short as you’d like. If you space the tassels out wider the garland would be longer.
Overall, this tie dye tassel garland made a great backdrop for my dessert table!
Tie Dye Desserts
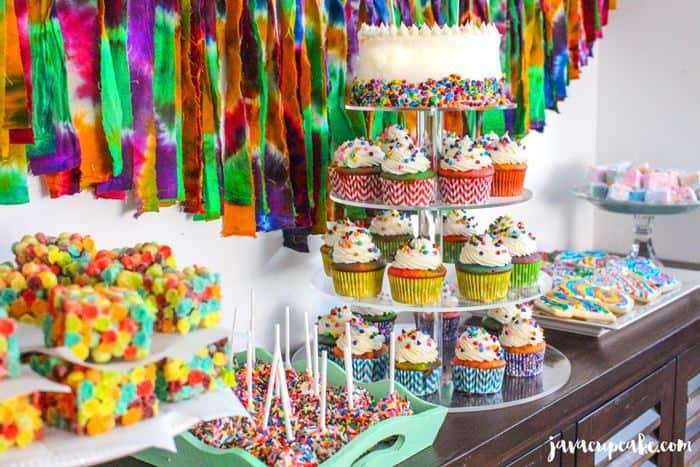
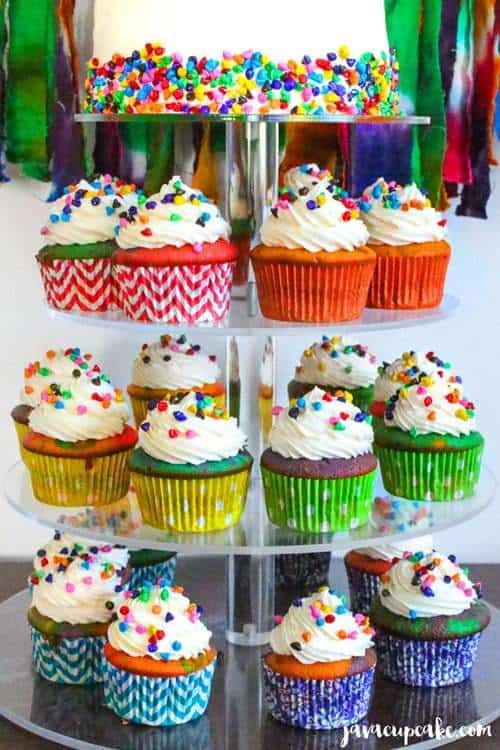
The party I hosted was an afternoon party, so a meal wasn’t necessary. I decided on a tie dye-themed dessert table that centered around a tower filled with two dozen cupcakes and a mini cake topper… all in a tie dye theme!
NOTE: Recipes for all the desserts will be on the next 4 Tie Dye Tuesdays!
So make sure you come back to see how I created all of this deliciousness!
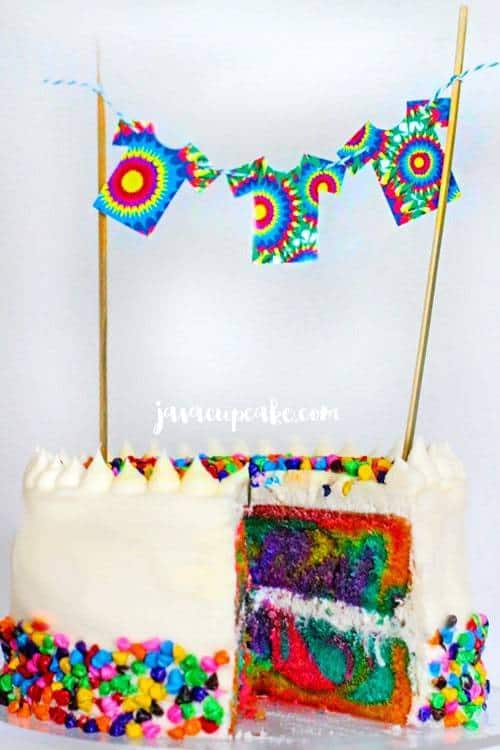
Tie Dye Cake: Using a box cake mix, I divided the cake into 6 colors and pour them into two 6in round cake pans creating a tie dye look. I covered the entire cake in classic buttercream and used rainbow candies to decorate the outside of the cake. A simple, fun way to create a tie dye cake! Topping the cake is a super cute tie dye shirt bunting.
Tie Dye Cupcakes: To complete the tower, I used the same dyed cake batter and made cupcakes in bright liners from Sweets & Treats Boutique. I made 4 cupcakes in each color and arranged them on the tower in rainbow order. I absolutely love how it all came together!
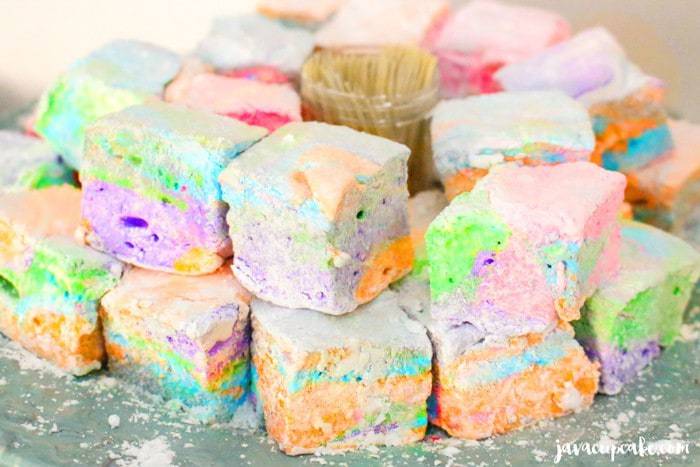
Tie Dye Marshmallows: Along with the cupcakes & cake, I made homemade tie dye marshmallows! These were a surprise to my guests and they could not believe I had actually made my own marshmallows. The process was quick and easier than I thought possible and the end result were the most delicious little cubes of marshmallow goodness!
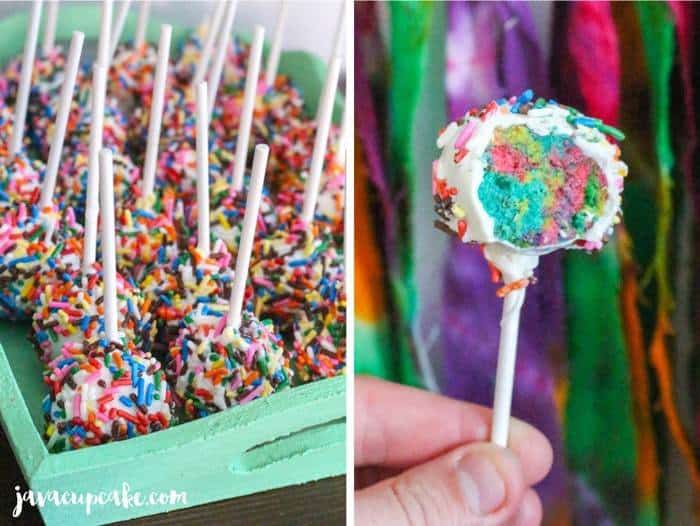
Tie Dye Cake Pops: My favorite dessert of the party were these cake pops! Although cake pops are my nemesis, they tasted so good! If you’ve been a reader of mine for a while, you’ll know that I despise making these little buggers… but I love eating them! Going along with the theme of the party, these cake pops were filled with tie dye cake and covered in rainbow sprinkles! YUM!
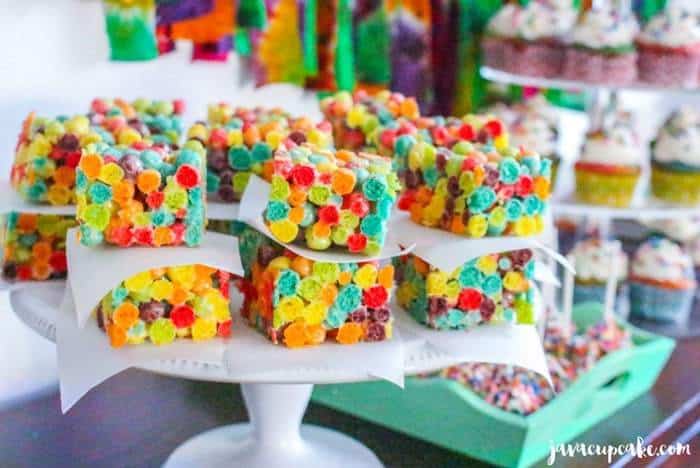
Tie Dye Trix Treats: It can’t be a party with out rice krispy treats. Well, not exactly rice krispies… but Trix Treats! I used Trix cereal to create a more colorful marshmallow treat for this party! A couple of people asked to take the extras of these home cause they loved them so much!
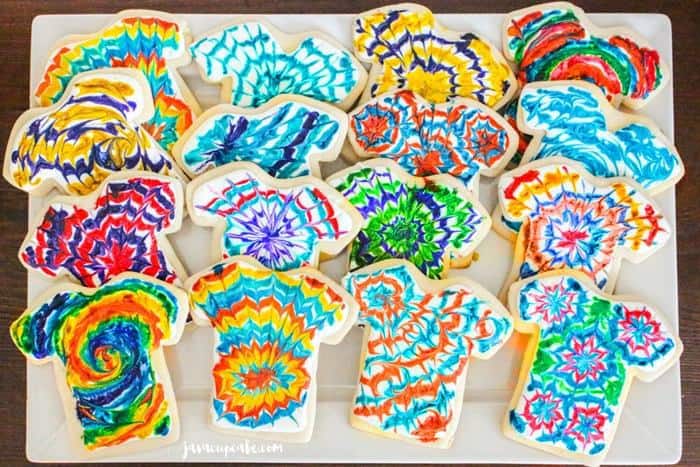
Tie Dye Sugar Cookies: I’m most proud of these tie dye sugar cookies! I’m not one to make sugar cookies with royal icing, I’m a buttercream girl… but I was not certain I could create the look I was going for with buttercream. My husband actually helped me create the tie dye designs on these t-shirt shaped sugar cookies and I think they turned out so amazing! Everyone at the party loved them and they fit the theme perfectly!
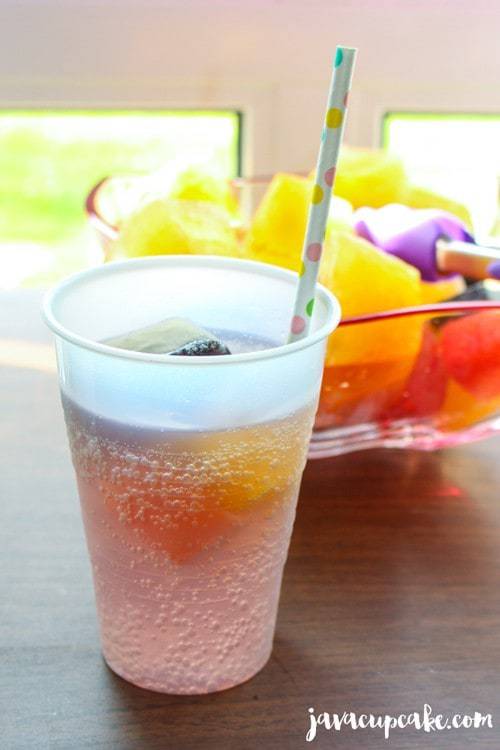
Tie Dye Drinks: Since there was so much sugar to eat, I wanted to keep the drinks simple. I made orange, red and purple ice cubes using unsweetened Kool-aid powder to color the water before freezing in ice-cube trays. Each person put three colored cubes in a cup, poured in Sprite, added a fun paper straw from Sweets & Treats then enjoyed as their drink changed colors! So much fun!
Tie Dye Activities
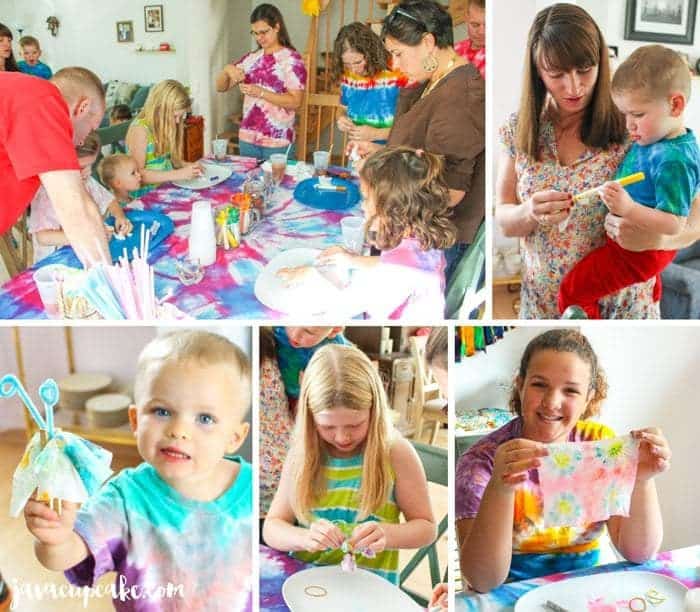
During the party, I had two individual activities and one group/family activity planned. The two individual were at-your-own-pace pace projects while the group was during a specific time. All of them worked perfectly for this party!
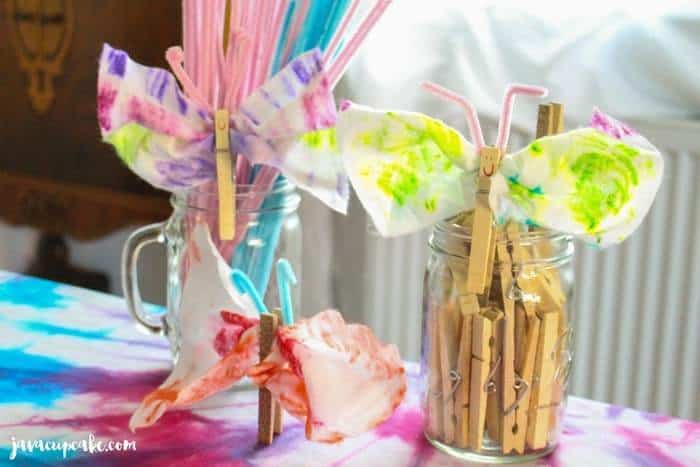
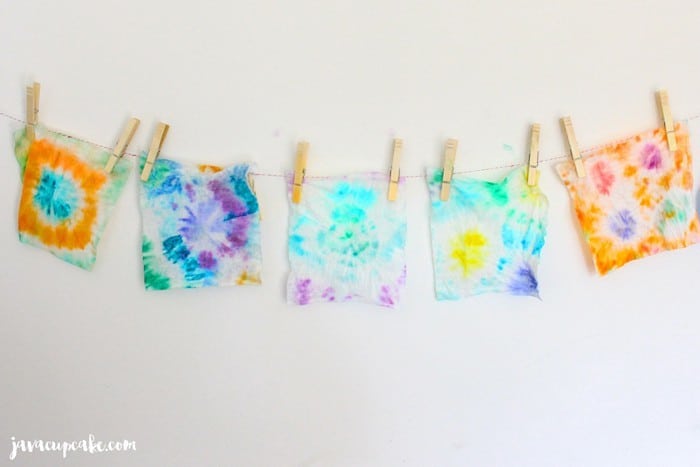
Tie Dye Butterflies: Since I didn’t actually want to dye anything at my tie dye party, I still wanted to have a tie dye craft that any age could do. No dye needed to make these super cute tie dye butterflies but they have the tie dye effect!
Supplies:
- Baby wipes
- Isopropyl Alcohol
- Dropper or baby medicine syringe
- Rubber bands
- Watercolor paint or watercolor markers
- Clothes pins
- Crafting pipe cleaners
- Plastic plates, trays, baking sheets
Technique:
- Set up all your supplies on a table in easy reach of the kids. I used mason jars to hold the markers and all the various supplies. Place a tray or plate where each person will be making a butterfly. You’ll need something to catch the extra alcohol.
- One baby wipe at a time, tie rubber bands in knots all around the wipe. Use the water-color paint or markers to color each section of the wipe making sure to get into the cracks.
- Using the dropper or syringe, squeeze a few drops of alcohol on all the places you added color.
- Untie the rubber bands and unfold the wipe. You should have a beautiful tie dye design!
- Lay or hang the wipe to dry.

- Once dry, bring together the center of the wipe and attach a clothes pin. Draw a face on the pin.
- Fold a 4-5in piece of pipe cleaner into a V shape and twist the ends to create antenna for the butterfly. Attach it at the top of the clothes pin above the head of the butterfly.
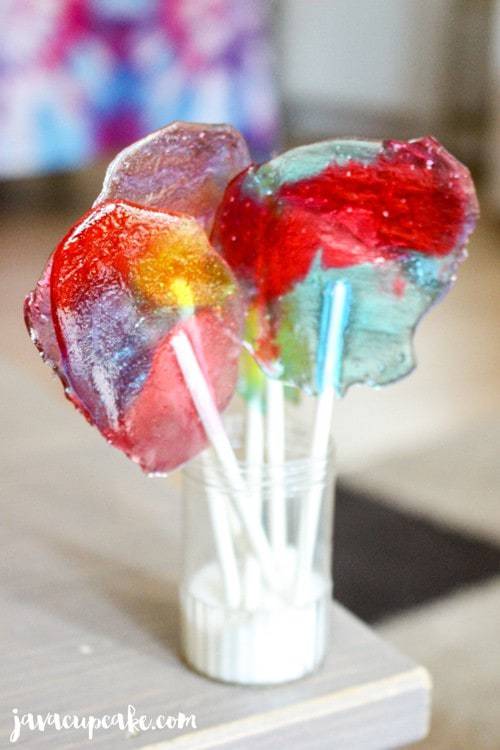
Tie Dye Lollipops: The kids LOVED the end result of this project. And although there’s only one ingredient to make them, these tie dye lollipops are a crowd pleaser!
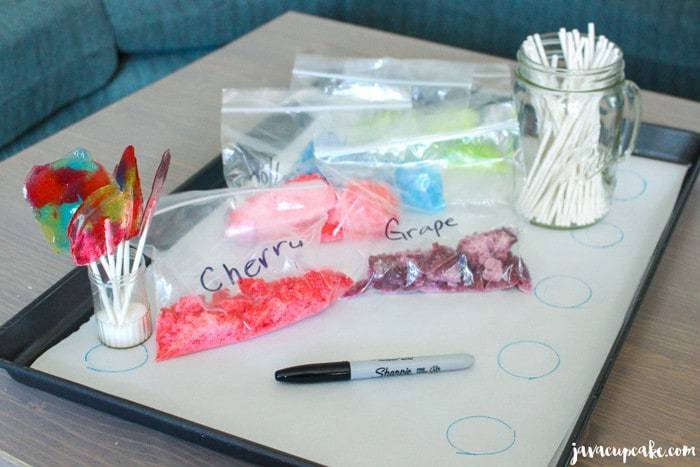
Supplies:
- Jolly Ranchers hard candy in various colors, smashed into pea sized chunks.
- Lollipop sticks
- Baking sheet with parchment paper
- Sharpie
- Oven heated to 225F degrees.
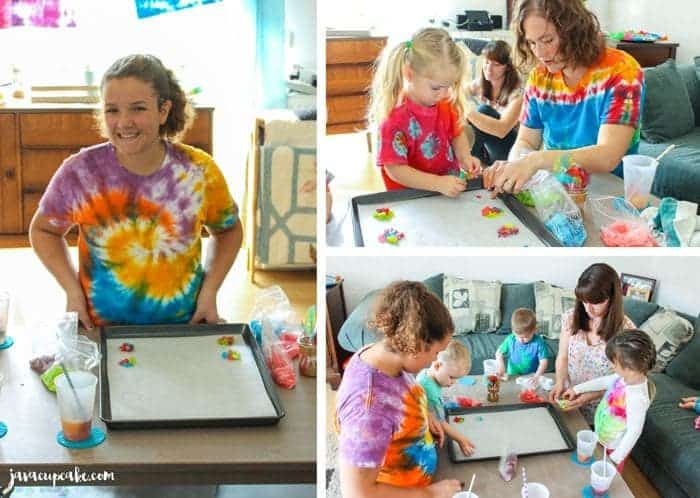
Technique:
- Draw circles at least an inch apart down both sides of the parchment paper. Flip the paper over so the sharpie won’t touch the candy.
- Have each child place any combination of colors of crushed candy onto a circle making sure the circle is full of candy.
- Once the tray is full, bake until the candy begins to soften and melt… about 4-6 minutes. Watch the candy carefully because if they melt too much the suckers will get too thin and run all over the pan.
- Allow to cool completely on the pan before removing. Enjoy!
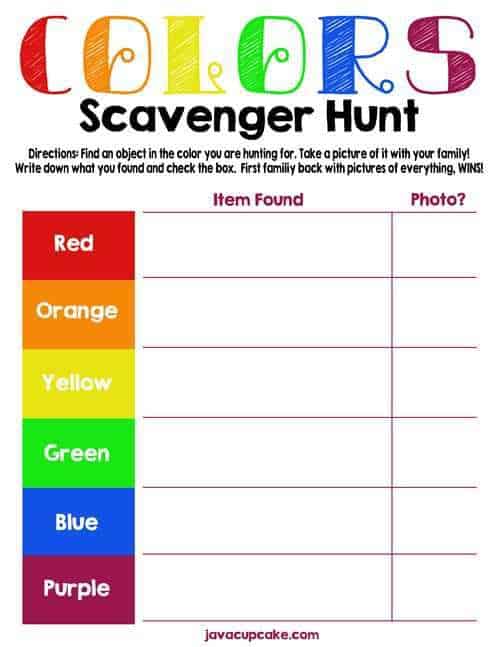
Colors Scavenger Hunt: Each family was given this Colors Scavenger Hunt Sheet (click that link to download and print) and were given the direction to, as a family, find an object that was completely each color on the chart outside in the neighborhood. This could be done indoors too if it’s not nice outside.
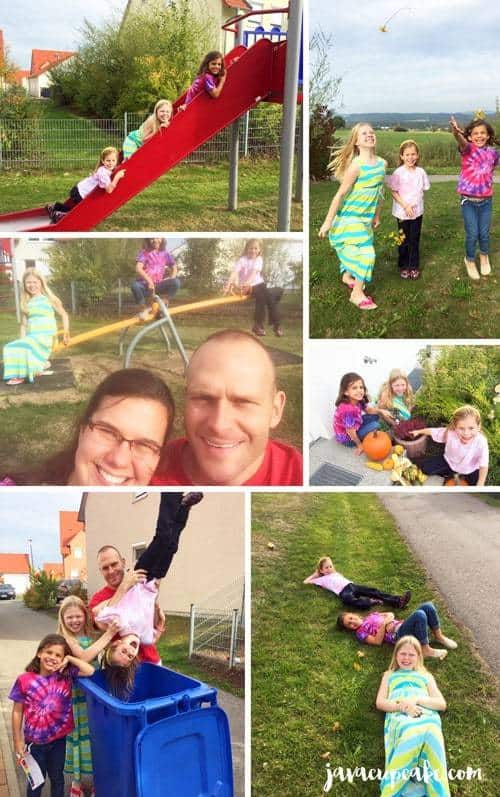
Once they found the item, they were to take a “selfie” or a family photo with the kids or parents with that item. Once each family was done, they met back at the party for a prize!
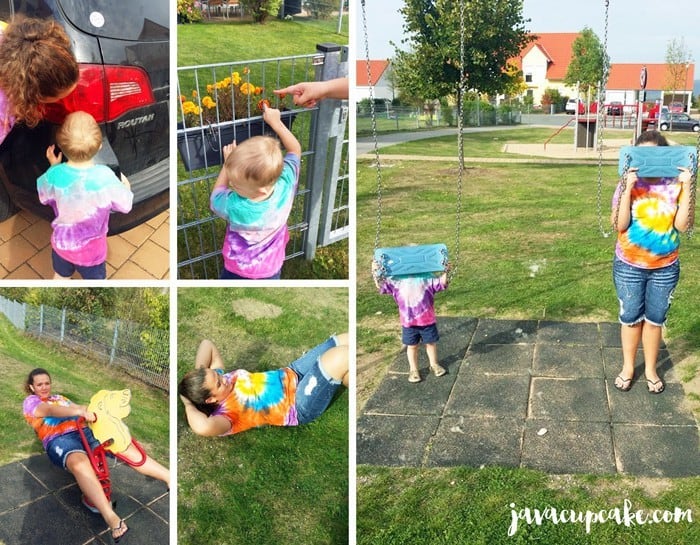
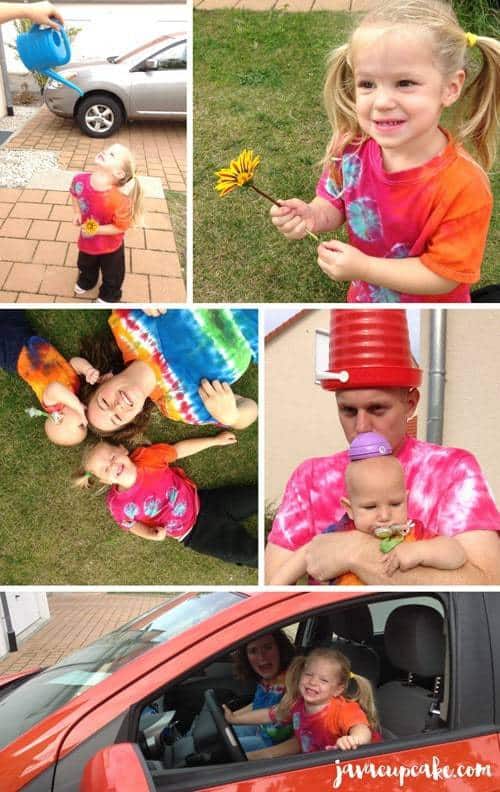
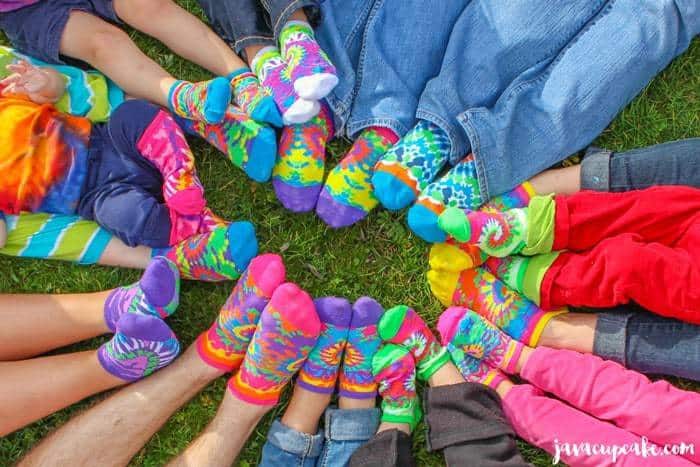
When each family came back, everyone was rewarded with their own set of tie dye socks. I didn’t make these, but instead bought them at the store… they were too cute not to incorporate into the party! These are most of the toes that were at the party! Babies, Moms, Dads and Kids!
Tie Dye Family Photos: While each family was out on the scavenger hunt, I took the large tie dyed table cover and hung it from a large opening in my living room. As each family arrived back from the scavenger hunt, I had them stand as together for a family photo. The day after the party, I sent every family a copy of the picture as a THANK YOU for coming!
Recommended Vendors for Supplies:
Cupcake liners & paper straws – Sweets & Treats Boutique
Dye – Dharma Trading Co.
Baking Trays – Wilton Recipe Right Cookie/Jelly Roll Pan, 17-1/4 by 11-1/2-Inch![]()
Hard Candy – Jolly Rancher Hard Candy Assortment, 5-Pound Bag![]()
Lollipop sticks – Wilton 1912-1001 4-Inch Lollipop Sticks, 150 Pack![]()
Parchment Paper – Wilton Parchment Paper![]()
Watercolor paint – Crayola Washable Watercolors, 8 count (53-0525)![]()
Watercolor markers – Crayola Washable Markers, Broad Point, Classic Colors, 8/Pack (58-7808)![]()
Mason jars – Tastefully Rustic
What an awesome party idea!
Thanks Julie! It really was so much fun for everyone!
All I can say is wow. Most party blogs provide 1 maybe 2 ideas. Your list of ideas is lengthy and well done. Congratulations on being so creative and accomplished in tie dye.
Thanks!
Thanks so much for the ideas, I’m hosting a flower girl/hippie party soon this was great. Thanks!
What a great party idea! Everything looked fantastic!! You are a master tie dyer!!