
Tie Diy Tuesday - DIY Tie Dye Shirts
![]()
Welcome to Tie Dye Tuesday! Starting today and for the next 6 weeks, every Tuesday will be all about Tie Dye! I'll be teaching you how to create beautiful tie dye shirts , table covers & fabric garlands as well as tie dye cupcakes, tie dye cake pops, a tie dye cake & tie dye shirt cake topper, tie dye marshmallows, tie dye cookies and finally a tie dye party!
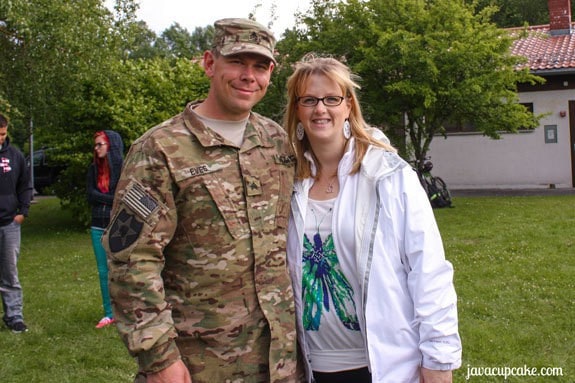
You may be wondering why tie dye? I have to give all the credit to my sweet neighbor Amanda because she is the tie dye queen! This is Amanda and her beautiful family all in tie dye at my tie dye party (that'll you'll read all about in the final installment of this series). She has been tie dying for years and has learned all the best ways to create vibrant, beautiful shirts and agreed to teach me everything she knows.
Today's DIY Tie Dye Shirts tutorial comes from all of Amanda's experience and expertise! Thank you Amanda for taking the time to teach me! I am so excited that your passion has now become my passion and something we will share and remember for ever!

But first things first, we need to learn to tie dye! If you want further details on this technique, visit the Dharma Trading, Co website. All the dyes and further instructions can be found there for Amanda's technique.
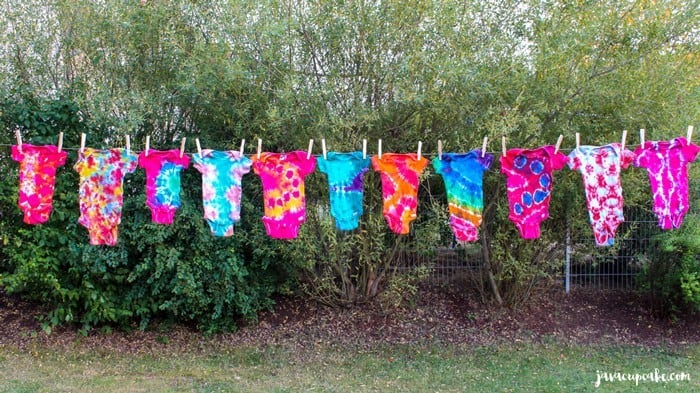
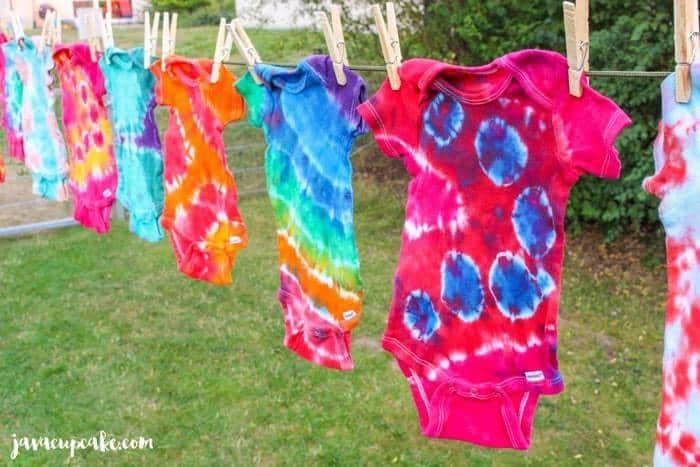
Once you've got the supplies and learned this technique... anything is possible!
Like these baby onsies that Amanda made. Aren't they about the cutest thing you've ever seen?
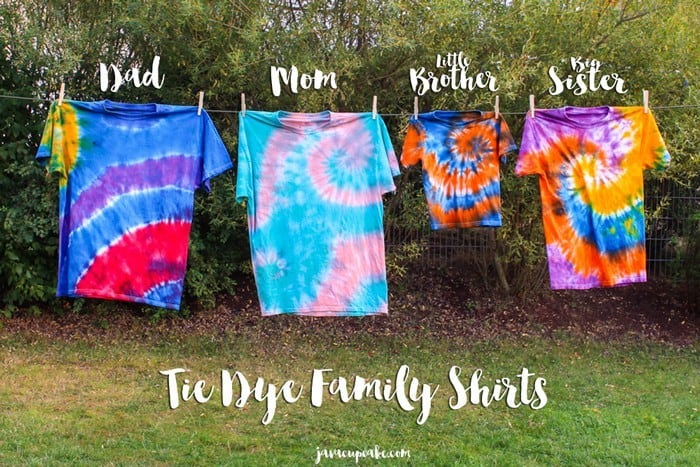
And my family of tie dye shirts. One for Dave, Me, Matty and Emily!
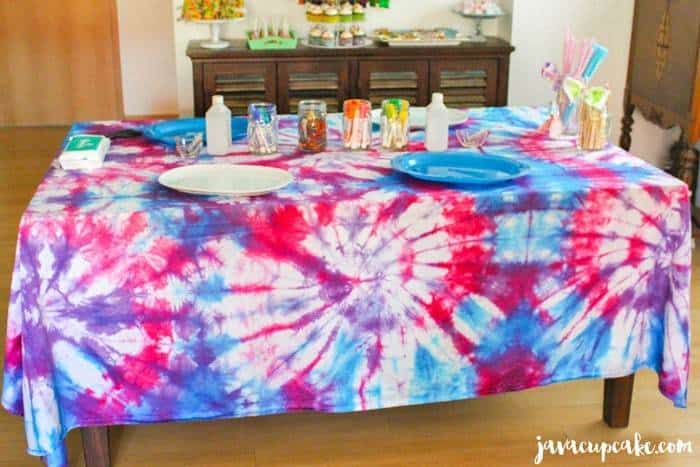
I even made a tie dye fabric garland and a tie dye table cover for a party!
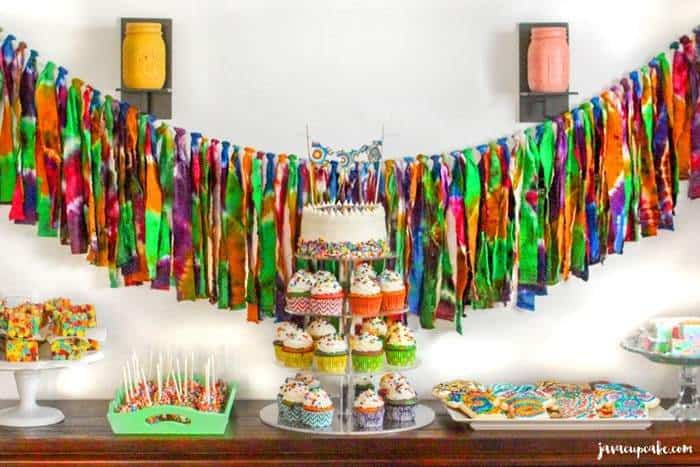
I also used this table cover as a family photo backdrop which you can see in the picture of Amanda and her family above!
So, let's get started!
DIY Tie Dye Shirts Tutorial
Supplies: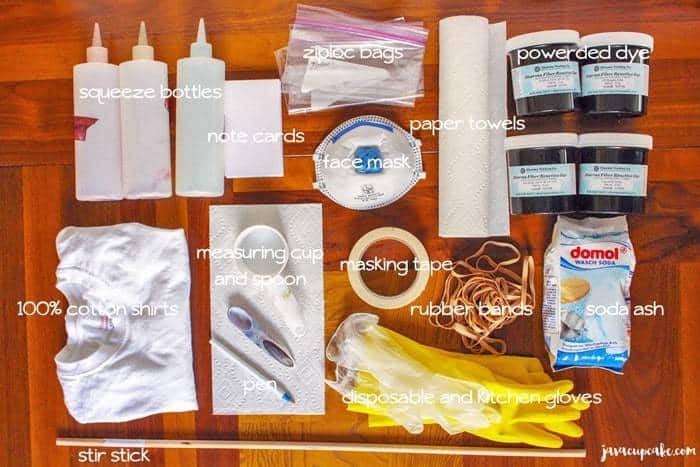
- Anything that is white & 100% cotton like a t-shirt, tablecloth, sheet, etc
- Soda Ash
- Fiber Reactive Procion Dye (I used dye from Dharma Trading)
- 2 Large buckets (not pictured)
- Large bin with grate over the top (not pictured)
- Stir stick
- Face mask
- Disposable gloves
- Kitchen gloves
- Rubber bands
- Measuring cup & spoon
- Funnel or note cards & masking tape
- Masking tape & a pen
- Squeeze bottles with caps
- Ziploc bags
- Paper towels
- Hot water
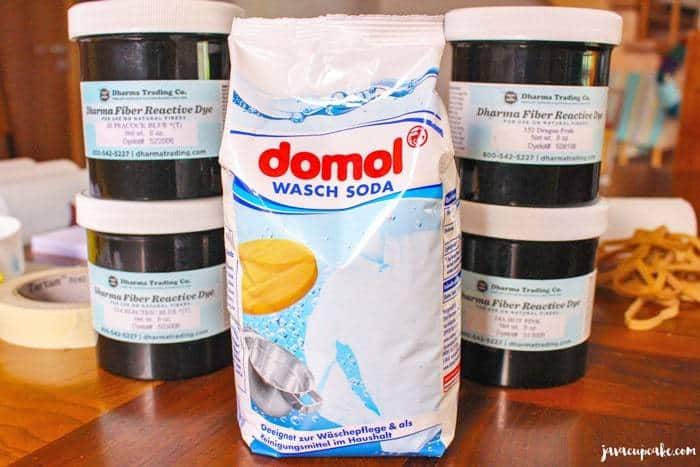
Soda Ash (Wasch soda in German):
Soda ash is the active ingredient in washing soda. The chemical name for it is sodium carbonate and is more basic, that is, less acidic, than sodium bicarbonate or baking soda. The purpose of sodium carbonate is simply to increase pH. Soda ash mixed with water should be used as a pre-soak when tie-dyeing with fiber reactive dye. If you don't use enough, the dye won't yield full strength. Caution! The soda ash solution is mildly caustic - it can irritate your skin. Wear gloves and eye protection. Rinse off at once to avoid eye and skin irritation.
Fiber Reactive Dye
There is no better dye for natural fabrics than Fiber Reactive Procion type Dye. Yes, you can buy dye from the craft or grocery store but it will not yield such bright, brilliant colors as the fiber reactive dye does. This dye creates permanent colors that don't fade, even after repeated washings. After learning this method, I will not tie dye any other way!
Dharma Trading Co. has 130 colors of dye to choose from at reasonable prices. No, they didn't pay me to say this but from the experience I had using their product and by how much Amanda raves about this dye, I don't need to try anything else. Dharma also has starter kits which include everything you need to dye on small and large scales!
Technique
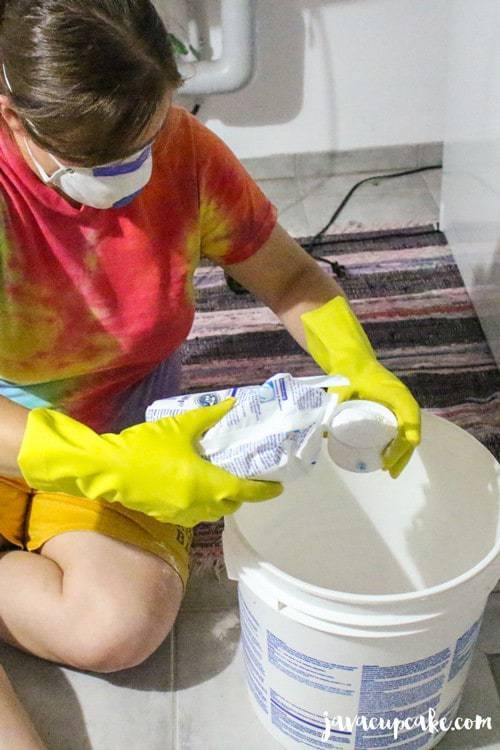
- Prepare your supplies by getting them all out. Pick your colors of dye.
- Put on the face mask & gloves. Prepare the soda ash wash by combining 1 cup of soda ash per gallon of warm water. One gallon will soak 10-12 adult XL shirts.
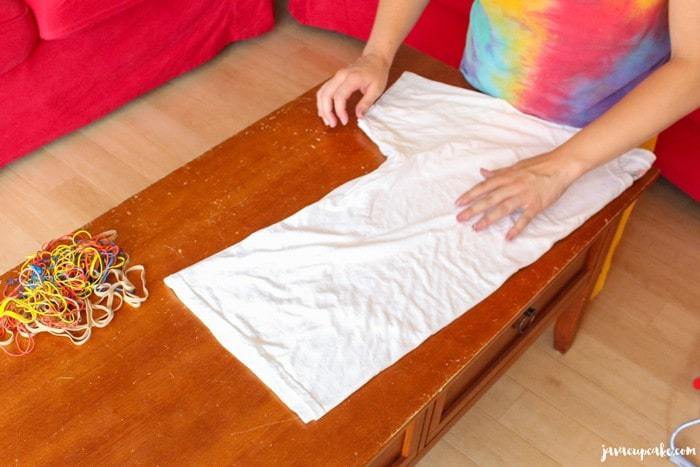
- This is the fun part! Plan the design you want to create and then start tying the rubber bands on your shirt! There are many books & tutorials already on the web to help you pick a design, so I'll just link you to a few here, here and here.My favorite technique that Amanda taught me is the giant swirl. Simply lay your shirt flat then decide where you want the center of your swirl to be. Pinch the fabric there then start twisting it so the fabric wraps around itself. Tuck/fold the edges in and wrap rubber bands across the entire roll of shirt. Place the bands all ways across the shirt. For more details & step-by-step photos on how to create this look, check out this tutorial.NOTE: The tighter you tie your rubber bands, the more white will show at the end. So if you want a lot of white, tie tight and if you want a little white, tie loose.
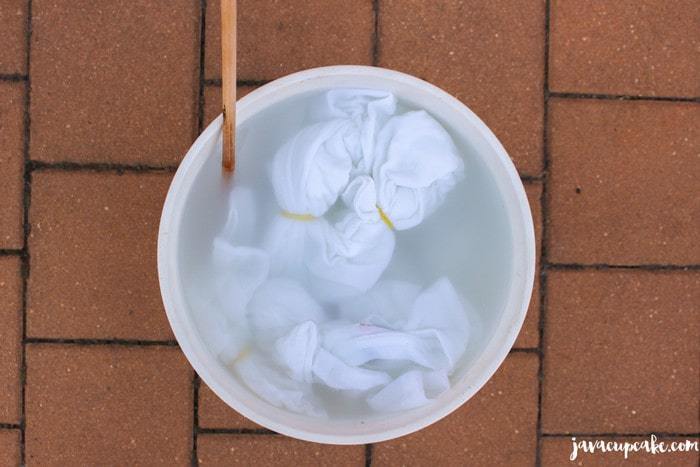
- Soak the tied garments in the soda ash wash at least 20 minutes but can be soaked longer. Squeeze out the garment so it is damp but not dripping. You can reuse solution until gone.
- While the shirts are soaking, prepare the dye in the squeeze bottles according to the manufactures instructions.
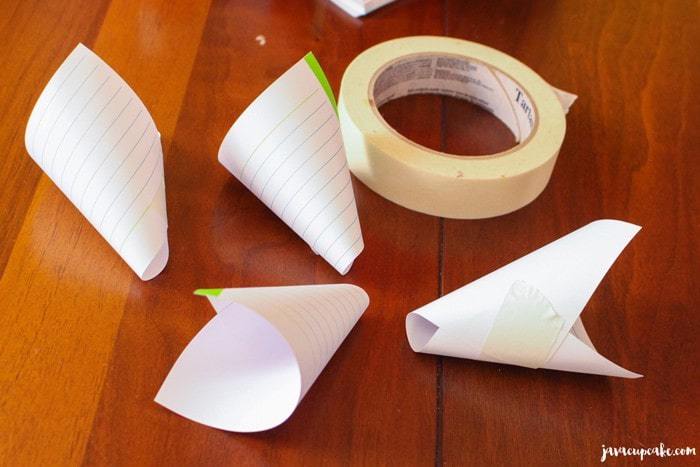
TRICK: If you don't have a funnel, bend a note card into a funnel shape and secure with a piece of tape to create a funnel to scoop the dye into the bottles.
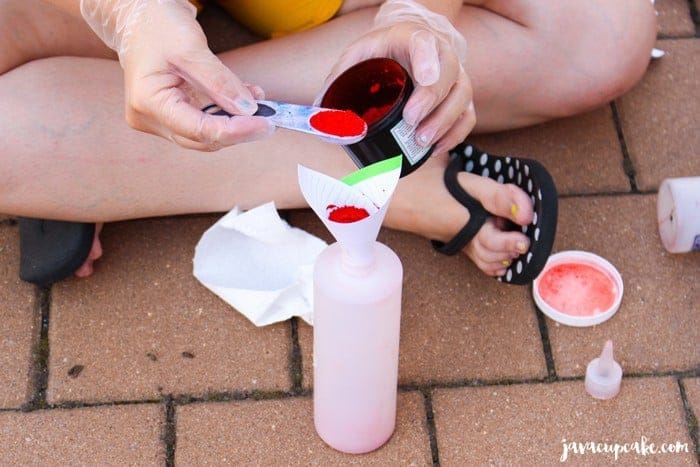
Scoop the required amount of dye (here's the guide for Dharma dyes) into the bottle and mix with warm water.
TIP: Start with ⅓ a bottle of warm water, place the cap and lid securely on top, then shake the bottle to mix the dye. Once mixed, fill the bottle with more warm water.
Place all the bottles in a bucket or similar to transport and keep from spilling on things you don't want dyed.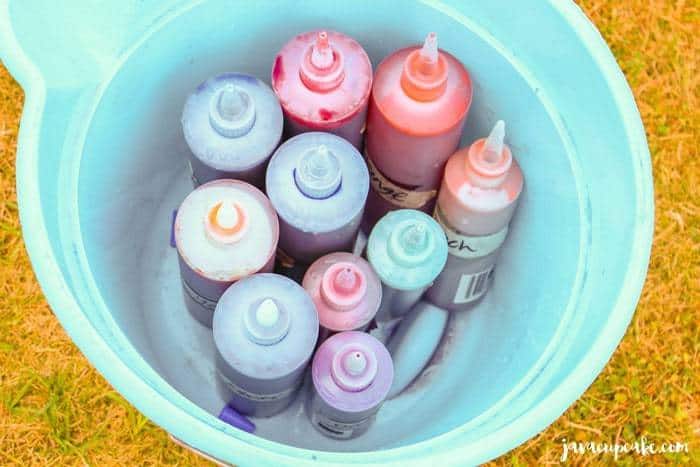
- To dye the shirts, you'll need something to catch the extra dye. Here we've used a large rubber bin and a piece of wire fencing. A tin foil pan with a cooling rack would work the same. Really, any type of setup like this would work.
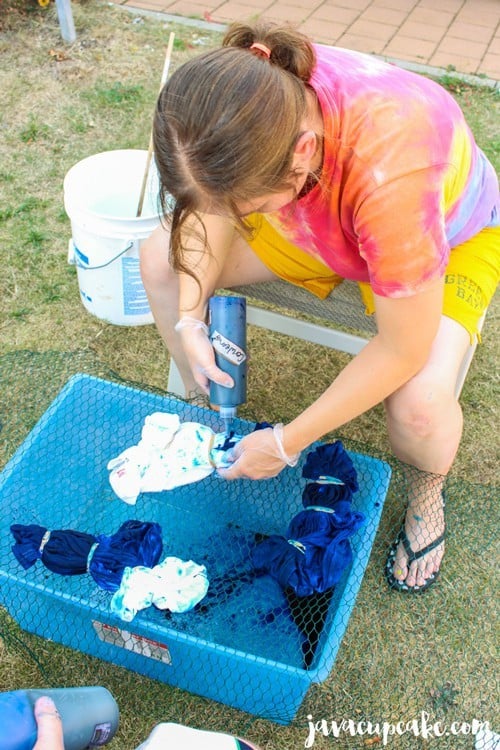
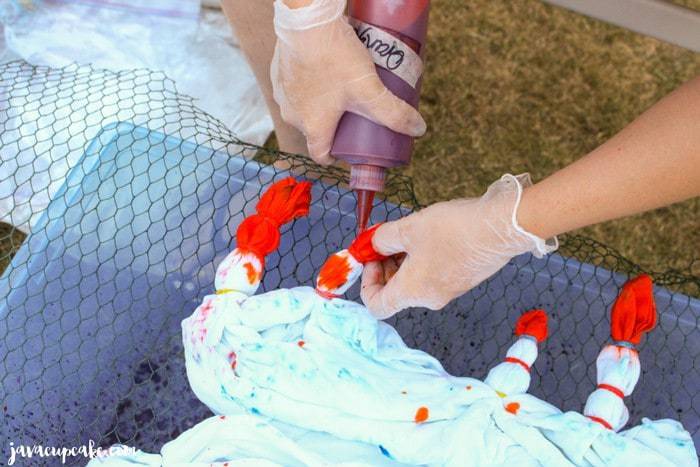
Starting with one color at a time, squeeze the color onto the shirt. The rubber bands create separation in color and will remain white under. Be creative and have fun with this part. There is no right or wrong way to place the color.
TIP: Make sure to get into the cracks of the shirt to ensure that all layers of it get colored.
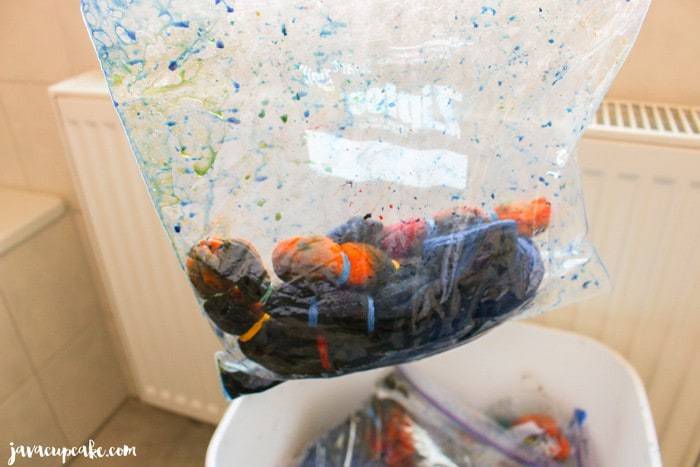
- Place the completely colored shirt in a ziplock bag and set in another bucket. They will need to soak overnight.
- After they have set overnight, it's time to rinse out the dye. The easiest way to do this in a bathtub with a detachable shower head, but a utility sink would work well also. Remember, this is dye so it will stain!
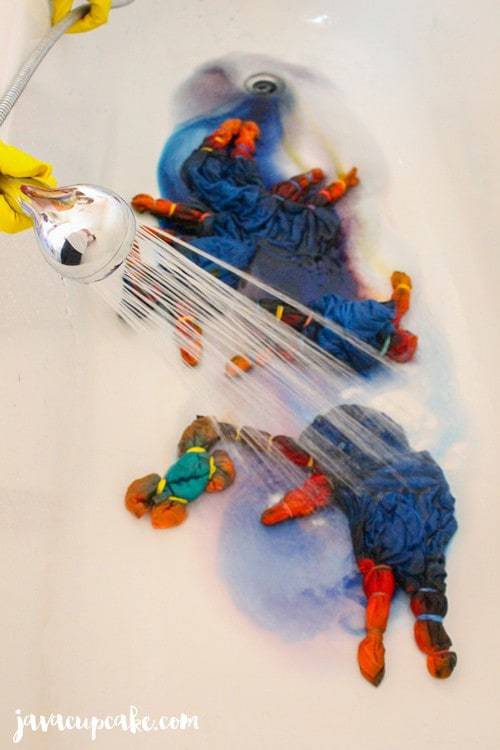
Using COLD water, rinse out as much of the dye as you can while the rubber bands are still on the shirt. Squeeze the shirt several times to help press the dye out.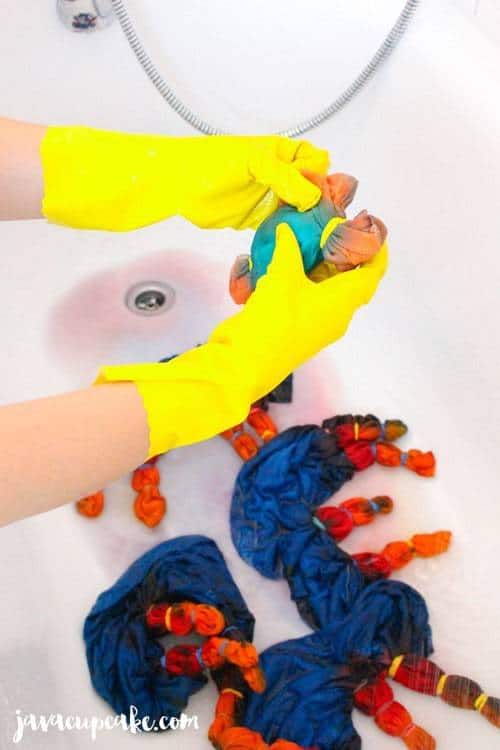
Once most of the dye has been rinsed, remove the rubber bands to reveal your hard work! This is the BEST PART!
Seriously, it's so awesome to open up the shirt and be amazing, surprised and awed at what you just created! - Once all your shirts have been rinsed, wash and dry them normally in your home washer & dryer. As long as you followed these steps and used the fiber reactive dye the color should not fade!
My favorite part about learning to tie dye has been wearing my creations. I've never made my own clothes before, let alone clothes that are bold in color and eye catching! Dying these shirts inspired me to do this blog series and in the coming weeks I'll be showing you cupcakes, cookies, cake pops, a cake and cake topper, homemade marshmallows and how I made the garland and table cover! So make sure to come back next week for more tie dye fun!


I plan on using white cotton muslin for dyeing and make into quilt fabric! Tie dyeing is a project for my great grandkids and I to do this summer when schools out. Considering making tie dyed socks for the grandkids and family for Christmas too. I'm a child of the 60's when tie dyeing first hit it big! Looking forward to the fun.