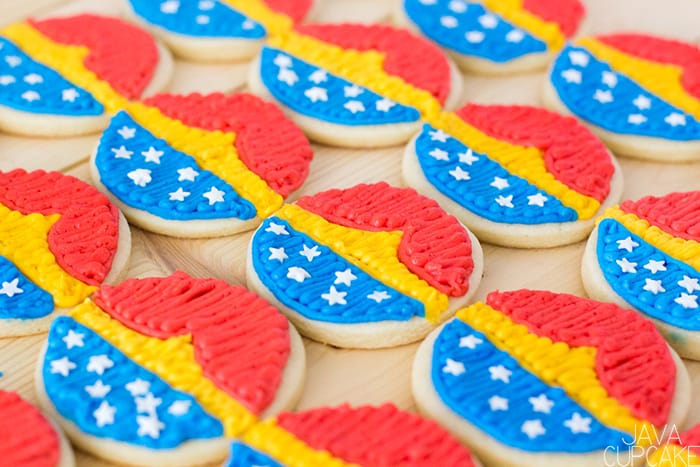
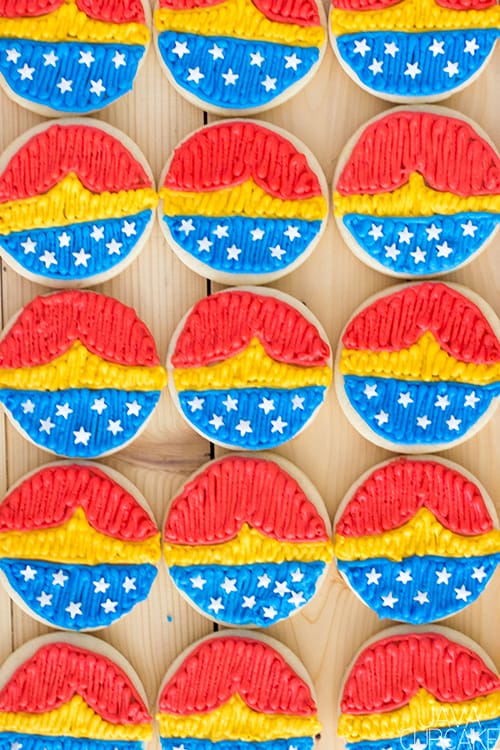
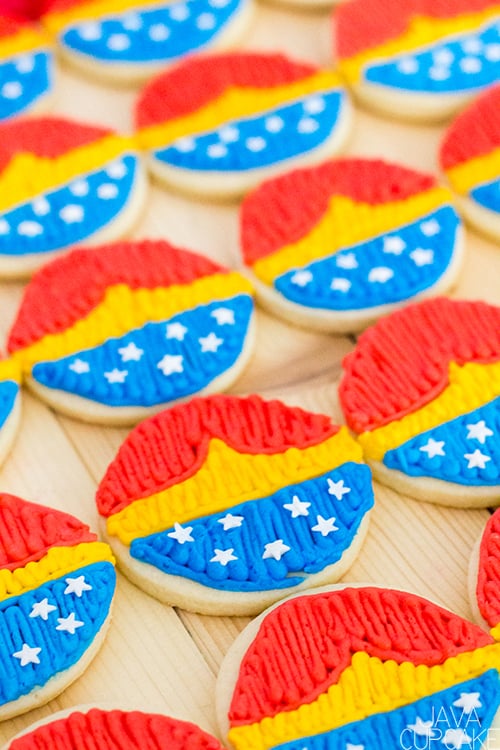
Celebrate the super hero in your life with these easy to make Wonder Woman Cookies!

A few months ago, one of my clients for my consulting business asked if I would make custom Wonder Woman Cookies for an upcoming fundraiser for their colleague who is battling cancer. Of course I said yes!
Immediately, I got to work designing and planning these cookies.

The cookies had to be PERFECT!
Since I don’t use royal icing, I had to come up with a design that could be easily made using buttercream frosting. Simple, but on theme was my goal.
I looked at a lot of images of Wonder Woman, other cookies that have been made, and finally decided on this!

I used my go-go sugar cookie recipe for the dough. The buttercream, however, has added shortening because I wanted them to crust over and not get smushed during transport or while individually wrapped.
I also wanted to add a personal touch to the cookies, so I made a cookie in all blue with the recipients name on them. Super simple to make, but still on theme and totes adorbs! Plus, it’s always more fun to eat food that is personalized!
I also wanted to add a personal touch to the cookies, so I made a cookie in all blue with the recipients name on them. Super simple to make, but still on theme and totes adorbs!

Overall, I’m really happy with how these Wonder Woman cookies turned out and I’m thrilled I could be a part of such a great event for a deserving woman!
Wonder Woman Cookies
Ingredients
Cookies
- ½ cup unsalted butter, room temperature
- ¼ cup shortening
- 1 cup sugar
- 2 eggs
- 1 Tbsp vanilla extract
- 2½ cups all-purpose flour
- 1 tsp baking powder
- 1 tsp salt
- round cookie cutter
Buttercream
- ½ cup unsalted butter, room temperature
- 2 Tbsp vegetable shortening
- 1lb powdered sugar
- 1 tsp vanilla
- pinch of salt
- up to ⅓ cup heavy cream
- gel food coloring in red, yellow, and blue
- white candy stars
- small round piping tip (Wilton #4)
Instructions
Cookies
- In the bowl of your stand mixer, cream the butter and shortening together until smooth. Scrape the sides of the bowl.
- Add the sugar and beat on high until incorporated.
- One at a time, add the eggs and beat well after each addition. Mix on high for 1 minute until pale yellow and fluffy.
- Mix in the vanilla.
- In another bowl, whisk together the flour, baking powder and salt.
- Add this mixture to the butter and sugar and mix until just combined.
- Cover with plastic and freeze 2 hours or chill over night.
- When ready to bake, preheat oven to 400 F degrees and line a cookie sheet with parchment paper.
- On a floured counter, knead the dough 2-3 times until smooth. Roll out cookie dough to about ⅛" thick. Cut out with round cutter and place on the cookie sheet 1" apart. Repeat until all the dough has been used.
- Bake for 6 minutes or until the edges are SLIGHTLY brown. DO NOT OVER BAKE!!
- Allow to cool on the pan for 1-2 minutes before removing to a wire rack to cool completely.
Buttercream
- In the bowl of a stand mixer, cream the butter.
- Add the powdered sugar and mix on high until smooth.
- Mix in the vanilla and salt. Scrape the sides of the bowl.
- Add up to 1/3 cup of heavy whipping cream until you reach your desired consistency. If you like it thicker, add less cream. If you want it thinner, add more cream.
- Whip on high for 2 minutes.
- Separate frosting into three bowls. Color the frosting in red, yellow, and blue.
Assembly
- Attach the small round piping tip to a piping bag and fill with the frosting. Repeat for the other two colors.
- Begin by piping the outline of the middle, yellow section of the design. Fill it in with back and forth strokes of buttercream.
- Repeat with the blue on the bottom and red on the top.
- Using tweezers, place the white stars onto the blue frosting.
- Allow cookies to set for several hours or over night so the frosting hardens before storing.