
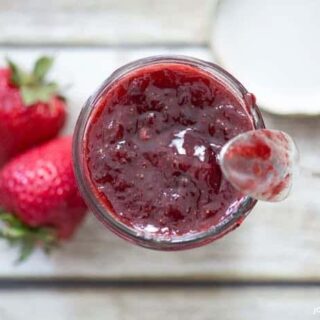
Homemade Strawberry Preserves
When the strawberry season peaks, there's nothing quite like the sweet satisfaction of making homemade strawberry preserves. It's a tradition in my family, one that brings us together with laughter and sticky fingers.
Join me on a journey from farm to fork, starting with a road trip to Westmoreland Berry Farm in Colonial Beach, VA, where the berries are as sweet as the scenery-and yes, the goats are adorable!
Why Homemade Jam is Simply the Best
Making your own preserves might seem daunting, but it's surprisingly simple and incredibly rewarding. With just three ingredients and a bit of patience, you can capture the essence of summer in a jar.
Why do I make my own jam?
It's not just about the unbeatable taste; it's about creating lasting memories. Whether it's picking berries with my kids or stirring the pot while they recount their latest adventures, these moments are priceless.
The Recipe: Simple and Sweet
Ingredients:
- Fresh strawberries
- Sugar
- Lemon juice
Directions:
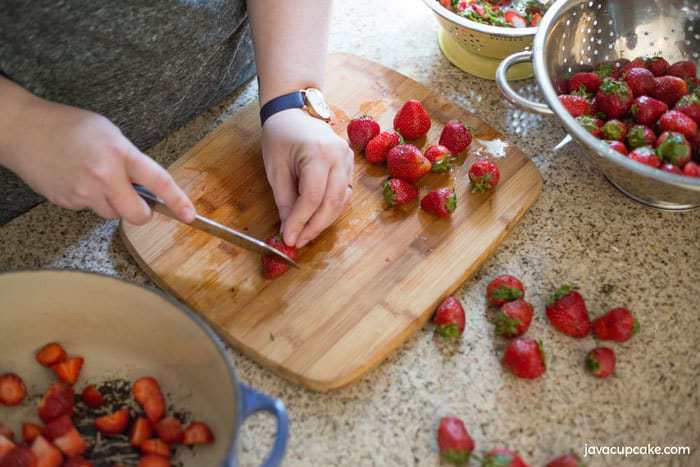
- Prepare the Strawberries:
Wash and hull your berries. If you like a smoother jam, chop them smaller. - Cook the Berries:
Combine strawberries and sugar in a saucepan over medium heat. Stir occasionally until the berries release their juices. - Add Lemon Juice:
As the mixture boils, add lemon juice to enhance flavor and help the gel set. - Test the Set:
To check if your jam is ready, drop a spoonful on a cold plate. If it wrinkles when pushed, it's set! - Jar It Up:
Pour the hot jam into sterilized jars and let them cool. Seal and store.
A Day at Westmoreland Berry Farm
This year's trip wasn't just about the strawberries. Westmoreland Berry Farm is famous for its playful goats and family-friendly atmosphere.
While the kids might argue that the goats were the highlight, for me, every aspect of the day contributed to the pots of gold (aka strawberry preserves) we later enjoyed.
#becausegoats indeed!
FAQs
Why is my jam runny?
It might not have cooked long enough or the fruit was too ripe. More cooking time or a touch of commercial pectin could help.
Can I reduce the sugar in this recipe?
While you can reduce sugar, keep in mind it helps with preservation and set. For less sweet alternatives, consider using a sugar substitute suitable for cooking.
More Than Just Preserves: Sharing the Love
After cleaning up the kitchen and letting the jars cool, I'm left with the perfect batch of strawberry preserves-each jar a potential gift that says 'I love you' in the sweetest way.
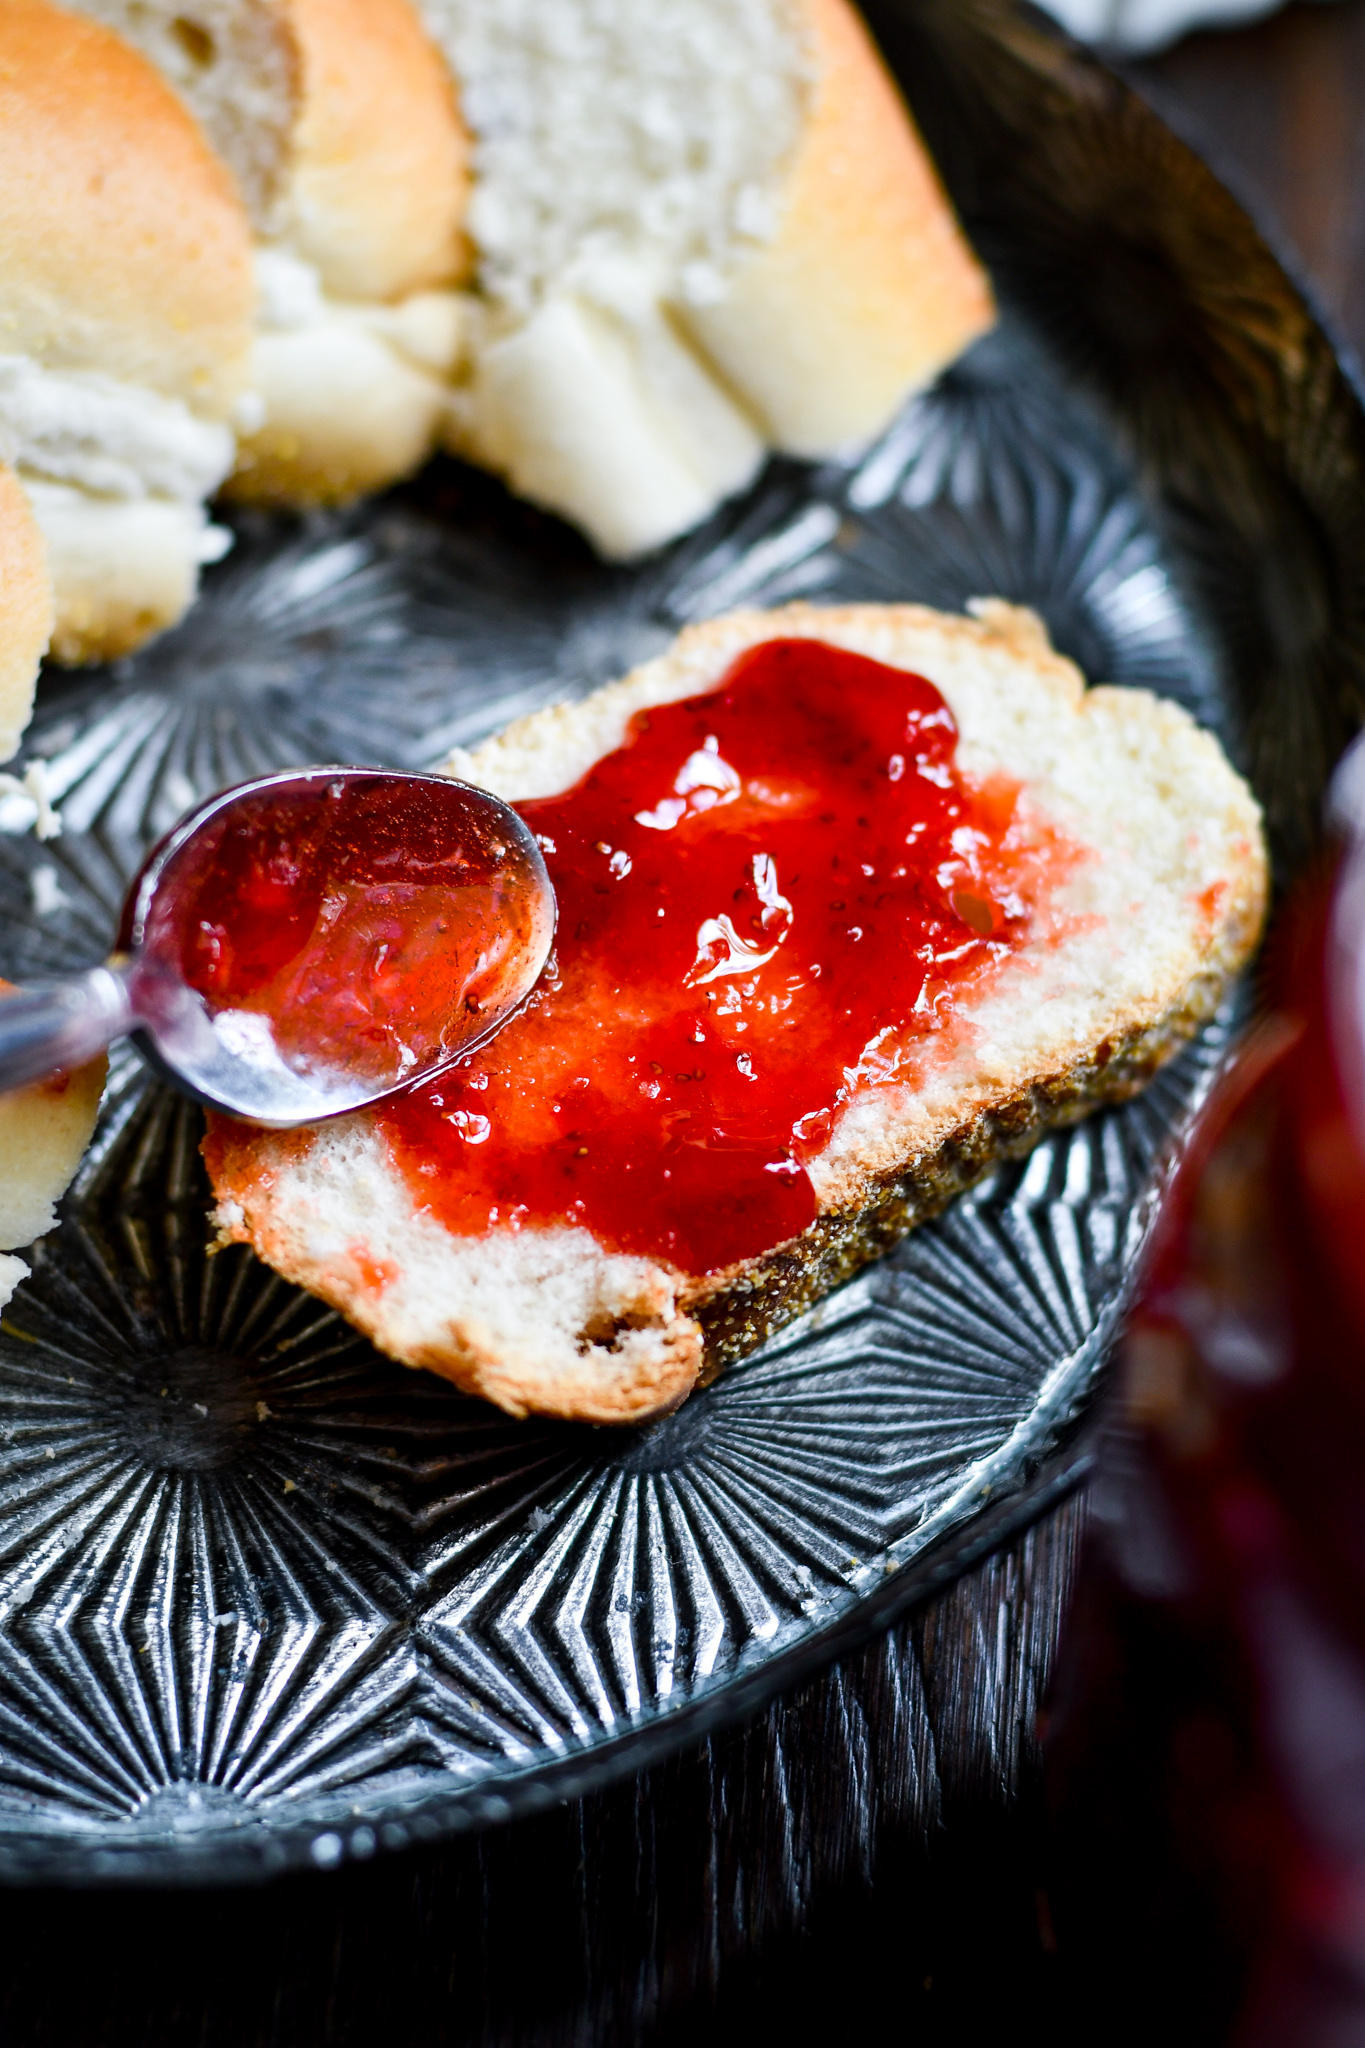
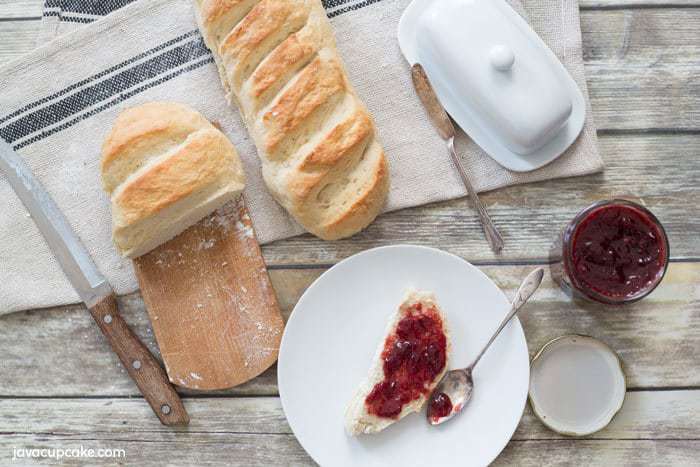
Spread it on toast, swirl it into yogurt, or enjoy it straight from the spoon-every bite brings a smile.
Homemade strawberry preserves aren't just about savoring flavor; they're about savoring moments. Whether you're spreading it on warm, farm-fresh bread or gifting it to a friend, it's the little things that make life so rich.
Seriously, so good.
Love This Recipe?
If you enjoyed this recipe, check out my Strawberry Freezer Jam for a quicker, equally delicious alternative. Or dive into savory territory with Onion and Bacon Jam, perfect with cheese and crackers!
Did you make this jam? Share your stories, tips, or ask questions in the comments below. I love hearing from you!
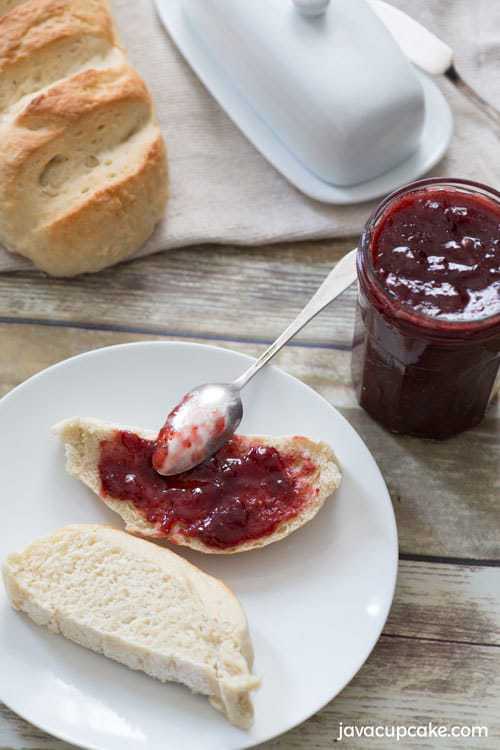
Strawberry Preserves
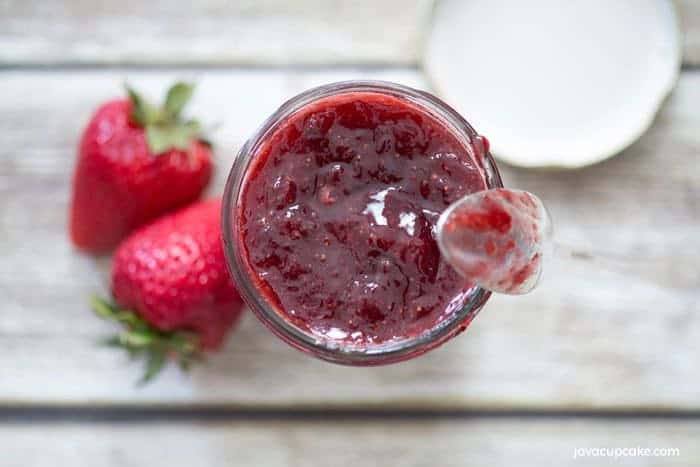
This recipe for Homemade Strawberry Preserves uses only farm fresh berries, lemon, and sugar and is incredibly simple and delicious!
Ingredients
- 9 cups cleaned, halved fresh strawberries
- 6 cups granulated sugar
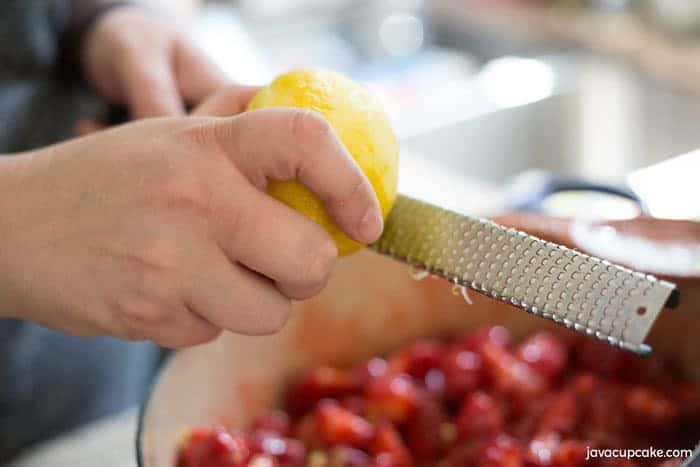
- 1 lemon, zested and juiced
- heavy bottomed pan or crock
- potato masher
- 3 jam jars with lids
Instructions
- Clean and half the berries and place them in the pot.
- Sprinkle over the sugar, zest, and juice. Stir to combine.
- Using a potato masher, gently break up the strawberries. Keep at least half of the berries intact.
- On high heat, cook the mixture for 5 minutes while stirring frequently to help break up berries and bring out the juices.
- Continue cooking until the mixture comes to a boil, stirring occasionally.
- Bring the temperature down to a medium/low simmer. Continue to stir occasionally.
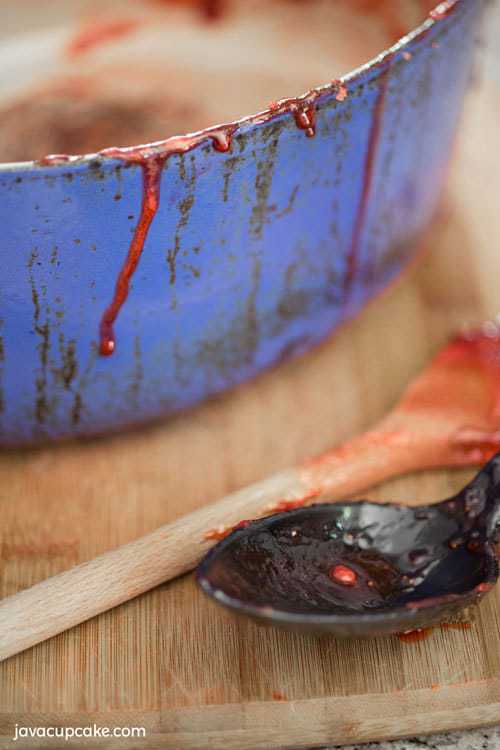
- When a pink foam appears on the top of the mixer, use a spoon to scoop it off. This step isn't necessary; however, sometimes, chunks of pectin will be in the preserves if you skip it.
- Continue to cook on medium/low for about 90 minutes.
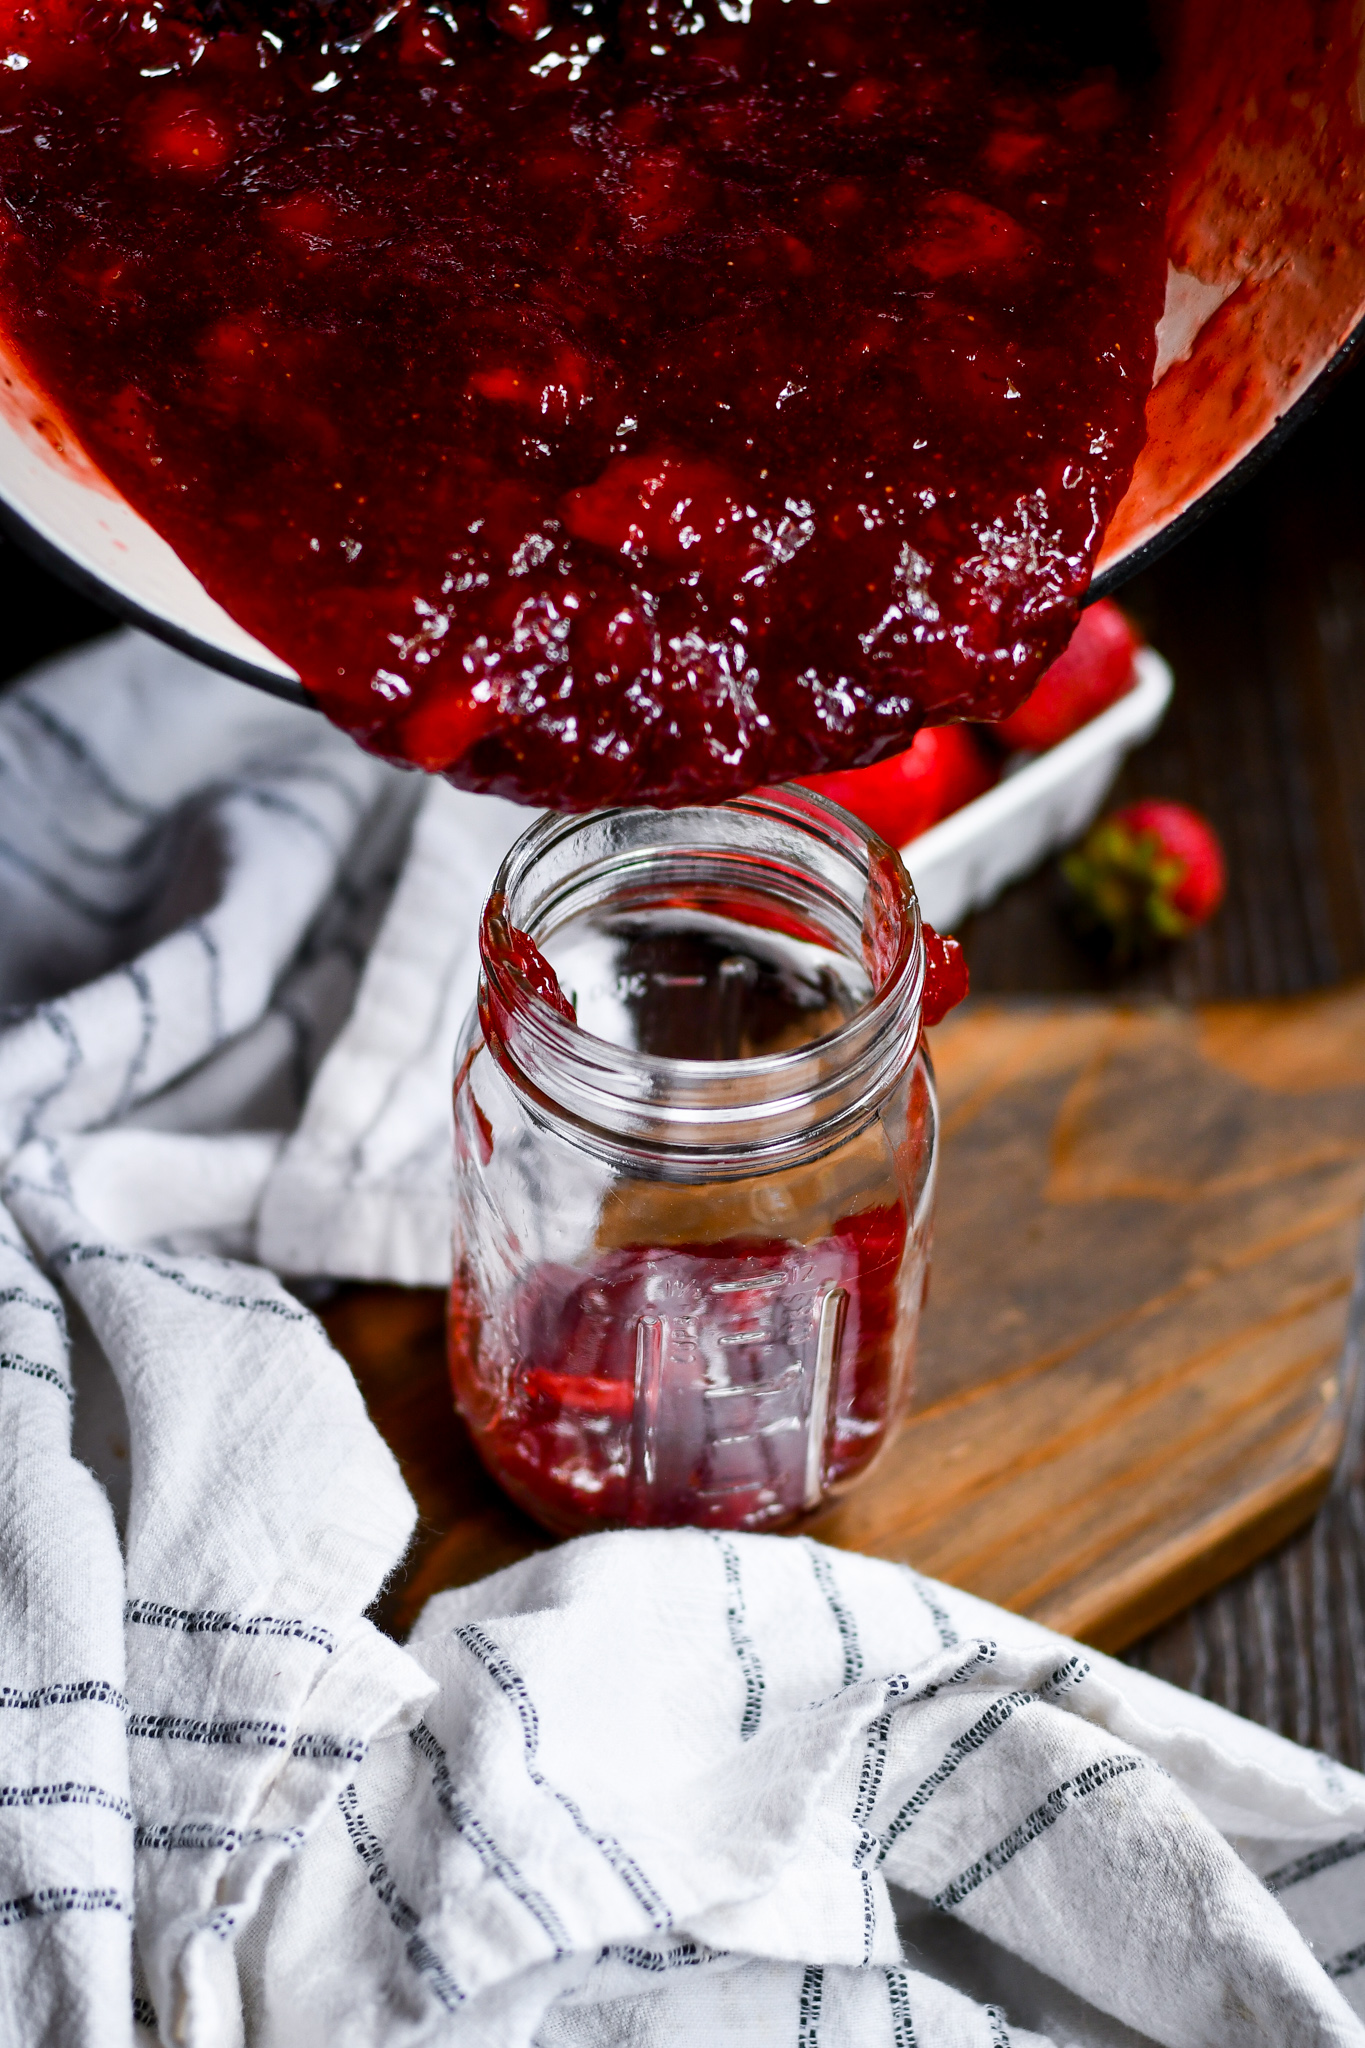
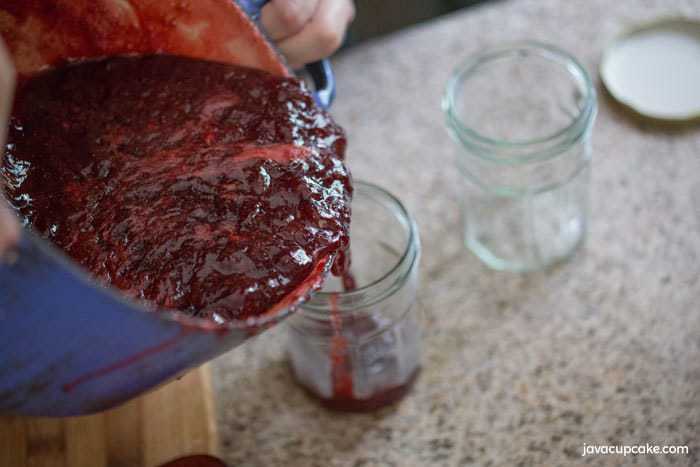
- After about 90 minutes or until it has reduced and thickened, pour the preserves into clean, dry jam jars. Allow the jam to cool completely before putting the lid on.
- Store in the refrigerator for up to 2 months.


I really want to try this recipe, but i am curious if you would know how much of the sugar i can reduce out of it? I cant tolerate sugar well as a diabetic, and i cant tolerate artificial sugars at all, so I've been eating a low sugar version from smuckers. It OK, but i would love to make my own so i know whats in it all the way. Any advice would be welcome as this will be my first attempt into making preserves. Thank you ahead of time!
I'm not a jam making expert, so I'm not sure. I'd suggest looking up on google some low-sugar preserves recipes from bloggers and see what the ratios of berries to sugar they use. They'll have tried the recipe and will know it works. 🙂 Sorry I couldn't be of more help.
@Samantha, use less sugar and make a small amount of cornstarch mixed with water and add it a little at a time into your boiling jelly mixture until it thickens to your desired consistency.
I would use pectin to accommodate.. there us a low sugar on box..I saw last yr I just didnt use so I dont rem..
I love the intensity of the strawberry flavor and that I don’t have to worry about pectin. Highly recommend!
I've never made preserves before because I don't know how to can. However, I had a 1/2 flat of strawberries on my hands so I decided to try making preserves. This was the recipe with which to start. Absolutely delicious.
I followed the recipe to the "T" and they came out perfect for us! Spread evenly and not lumpy. I did skim the foam constantly and the preserve was beautiful! However....I think I need to curb/reduce the amount of sugar next time...maybe half! It was extremely sweet for us (sugar sweet, not fruit sweet) even though the strawberry intensity was there. Otherwise, it will be great a dessert topping more so than a spread.
I get the comment about the sugar often - It's just a preference, I think. I like the way it came out with this recipe - but others may want to reduce sugar. 🙂 Happy jam-making!
When cooking, on step 8, do you remove the pot from heat for 90 minutes of keep on heat? Thanks.
Just updated the steps in the recipe for clarity. Check it out!
Do you leave it on low heat for 90 minutes? Or do you remove from the heat for steps 7-8
Great question. I've updated the steps for clarity. 🙂
AWESOME! Thank you so much for sharing your recipe!!!
You are so welcome!