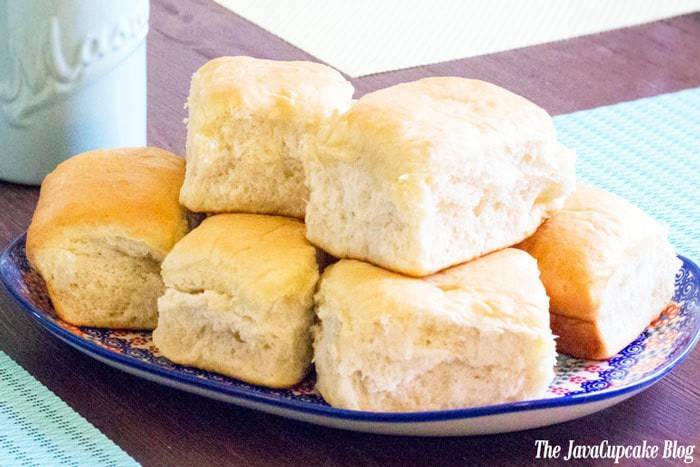
Fluffy, soft, and delicious are three words that my husband used to describe these Yeast Dinner Rolls. He also said they’re the best dinner rolls he’s ever had!
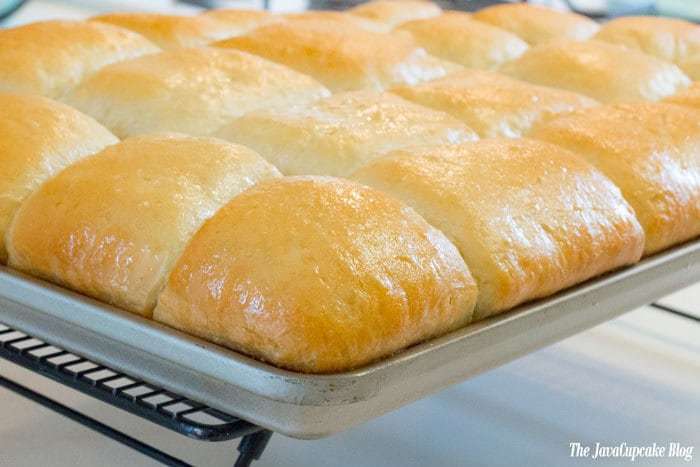
I had dinner at Golden Corral for the first time a few weeks ago and fell in love with their over-sized dinner rolls. If you’ve never been there, it’s an all you can eat buffet where you can pig out on everything that’s horribly bad for you yet so delicious.
Out of all the things I ate at GC, I went back for seconds (okay, thirds) for their yeast dinner rolls!
After eating enough dinner rolls for four people, I decided it was finally time for me to delve into the world of yeast once more. I’ve you’ve followed me for some time you’ll know that I am afraid of yeast.
Seriously. Almost every time I’ve tried to bake with it, I mess it up. So taking on yeast dinner rolls was no small undertaking!
The most difficult part about the process of making these yeast dinner rolls was being patient. Waiting for butter or milk to cool so it wasn’t too hot or waiting for the dough to rise. I just wanted to hurry up and get it all done now!
Unfortunately, when making a good yeast dough, patience and time are two things that create a perfect result… not rushing!
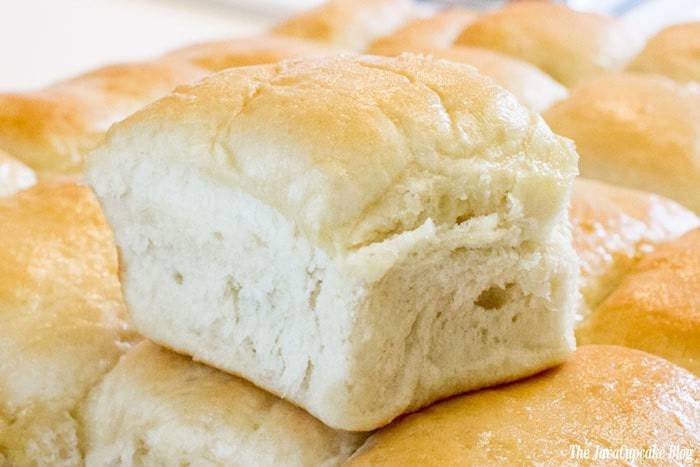
In the end, though, this dinner roll was so incredibly delicious and so light and fluffy I seriously could have consumed the entire tray of them on my own.
Well, I would have been able to if my husband didn’t eat them first. Dave was so incredibly impressed that I made this bread that he made me promise I would make them again!
Of course, I will… just not today.
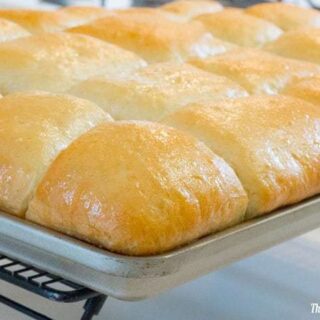
Yeast Dinner Rolls
Ingredients
- 4 tsp active dry yeast
- 1/2 cup warm water (warm, but not scalding hot from the tap is fine)
- 1 tsp granulated sugar
- 2 cups milk scalded and cooled to lukewarm
- 1/2 cup sugar
- 7-8 cups flour (plus more for the work surface)
- 3 Tbsp unsalted butter, melted & cooled
- 2 large eggs, whisked
- 2 tsp salt
- 1/2 cup unsalted butter for greasing the pan
- 1/4 cup unsalted butter, melted
Instructions
- In a small sauce pan, bring the 2 cups of milk almost to a boil then cool down to lukewarm. This is called "scalding the milk".
- In the bowl of your stand mixer fitted with the dough hook, dissolve yeast & 1 tsp of sugar in the warm water.
- Add the scaled, now lukewarm, milk and 1/2 cup of sugar along with 2 1/2 cups of flour and mix thoroughly.
- Untouched, allow the mixture to stand until light and foamy, about 8-10 minutes.
- Melt the butter and allow it to cool while the mixture is getting foamy.
- Add the cooled melted butter, whisked eggs and salt and beat well until combined.
- Add remaining flour and mix until it forms a soft ball. Let the dough rest for 10 minutes.
- Spray the inside of a large bowl with non-stick oil spray.
- Turn the mixer on medium high speed and allow the dough hook to knead the dough until it becomes smooth and satiny.
- Turn out the dough into the oiled bowl. Turn it over a few times to coat the dough with the oil.
- Cover bowl tightly with plastic wrap and put in a warm place to rise until the dough is doubled in size. This should take about 90 minutes.
- Punch dough down with your fist.
- On a lightly floured surface, roll out the dough into a large rectangle that is 1/2-in thick.
- Fold the dough in half onto itself, short side to short side, and gently roll together to seal.
- Let the dough rest for 10 minutes.
- Grease a large baking sheet with butter. When I say large, I mean it... a giant one with tall sides.
- Using a pizza roller, dough scraper, or a knife cut the dough in straight lines creating rolls. Remember, the dough will rise and double in size again so keep that in mind when cutting. Place the rolls on to the greased baking sheet.
- Cover the rolls with a clean, damp towel and set in a warm place until they double in size... about an hour.
- Preheat oven to 350F degrees and place rack in the center of the oven.
- Bake rolls uncovered for about 15 minutes or until the tops are rich, golden brown.
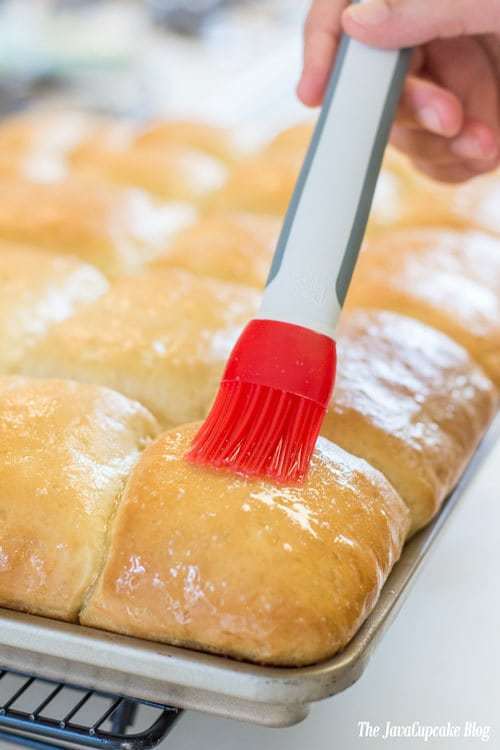
- Remove from the oven and immediately brush melted butter over the top of the rolls.
Notes
Recipe originally from 365 Days of Baking and More.
Delicious!
It only took you 6 years to comment on my blog. Thanks, husband!
I love fresh dinner rolls! Yum!
Congratulations on the dinner rolls! They look spot on!
I used to be very afraid of yeast as well. Then the church bake sale came along a couple months ago, so i started baking more…. I knew people would want things that were not sweet as I heard a customer say that last year….. So I tried yeast rolls and artisan bread. I took them to a house party and nobody believed I made it by hand! They thought it was store bought !! They loved it so I made some for the sale. I was happy to see a lady buy the bread AND rolls. I heard that all of my items sold and this sale was the best year yet!
That’s amazing! I really want to try baking more bread…. I’m just so impatient! They take soooo long to make!
These look so amazingly delicious! Well done! (I, too, am terrified of yeast!)
Oh I’m just dying looking at these. That melted butter {LOVE}. Well done!
These look so fluffy and delicious! I could live on dinner rolls and these are definitely going to be tried!
There is nothing like homemade dinner rolls. These look SO good!
Now those are some delicious looking rolls!
ohhhh these rolls are GORGEOUS-so fluffy and buttery!
For someone afraid of yeast, these rolls look amazing! I love how light and fluffy they look!!!
Is the flour used all purpose or self rising?
My mom used to make dinner rolls like these, but over the years she’d forgotten steps and her rolls started getting flatter and denser. I’m making rolls for the first time today, so I really, really appreciate the detail you’ve gone into for the recipe! I’ll try it out, then try to figure out how to post a pic and review.
Wish I could post a pic… my yeast and milk mixture is little lumpy, and I’m waiting for it to get light and foamy… I think I already messed up. ????
I’m having trouble picturing what you mean when you say “short side to short side”…so I’m going to take my rectangle and make it a square, basically? And about how long did you knead your dough in the mixer, just a ballpark? I’m not sure I would know smooth and satiny when I see it, just not enough experience. 😉