Spring Painted Candy Jars
Last year in my Glam Easter Brunch & Tablescape, I used upcycled jam jars filled with candies and topped with a porcelain bunny as a part of the decor. This year, since I'm still in love with the filled-jar concept, I wanted to do something a littler different.
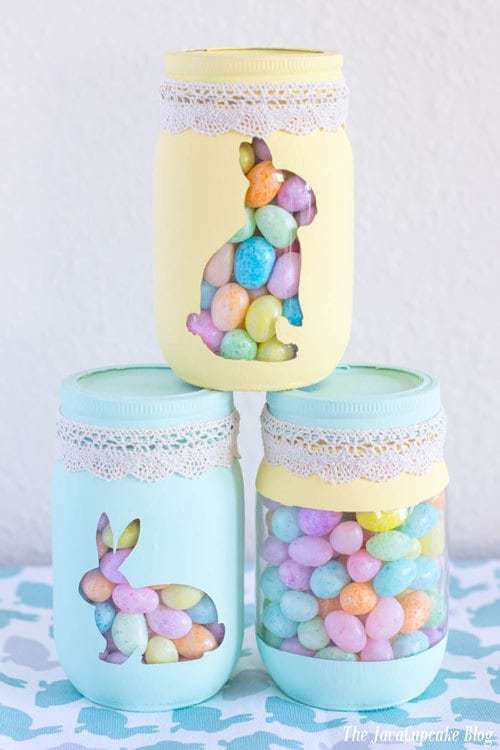
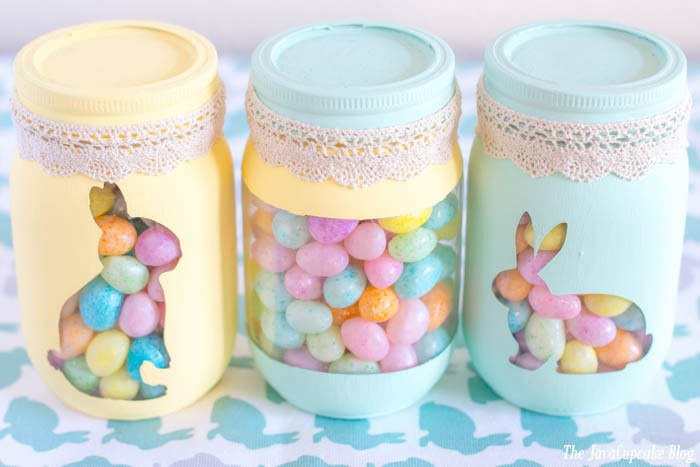
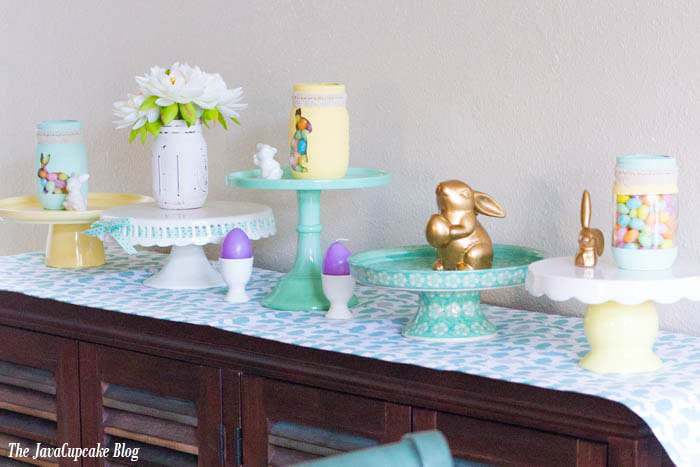
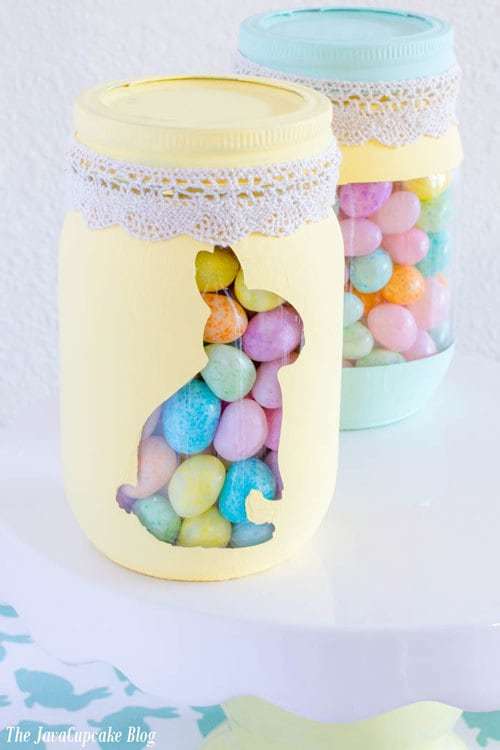
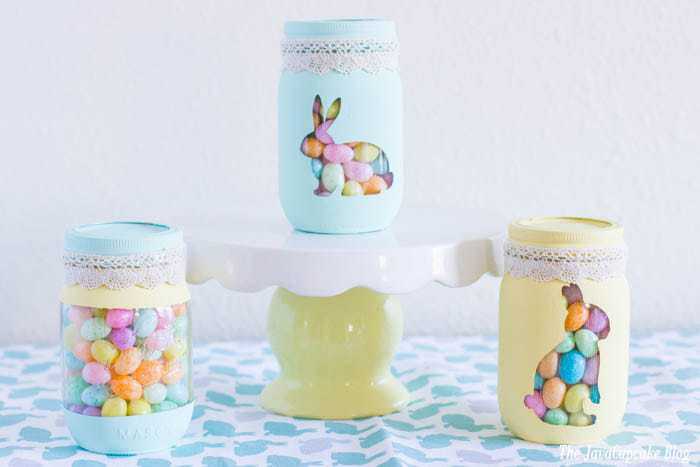
I created a set of Spring Painted Candy Jars filled with pastel jelly beans which became the centerpiece of my entire home decor for the season.
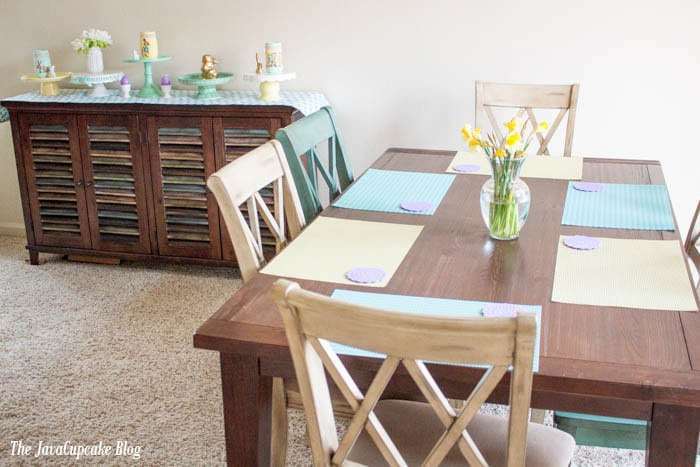
They are absolutely adorable and I actually ended up going to Home Goods after I made them to buy a coordinating table runner (the bunny one in the pictures) and placemats for my dining table! I'm obsessed with the mint and yellow pastels this season!
Supplies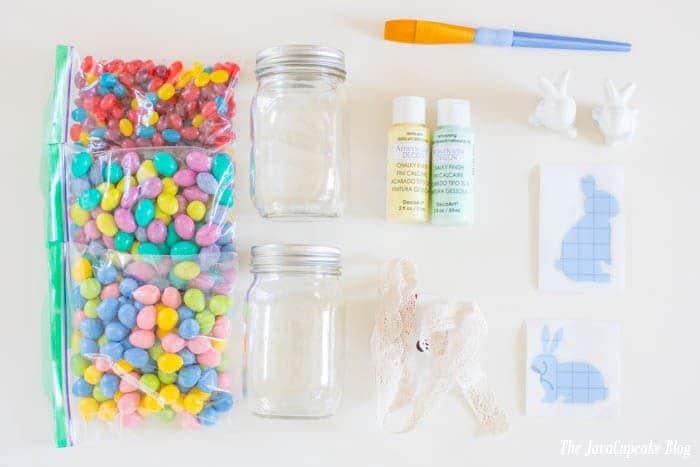
To make these jars, you'll need only a few things...
- Pint mason jars with lids, clean & dry
- Chalk paint (water-based)*
- Paint brush
- Paper plate or paint tray
- Q-tips or small cloth rag
- Vinyl stickers (template here & here)
- Lace or ribbon
- Scissors
- Hot glue gun & glue
- Spring candy
- Porcelain bunny
*I chose the chalk paint because I love the look of it when it's dry. You can use any water-based paint you want for these jars.
Instructions
- Using these templates (tall bunny & short bunny), cut out the bunnies using a vinyl sticker cutting machine to the size of your jars.
- Apply the vinyl stick onto a clean jar.
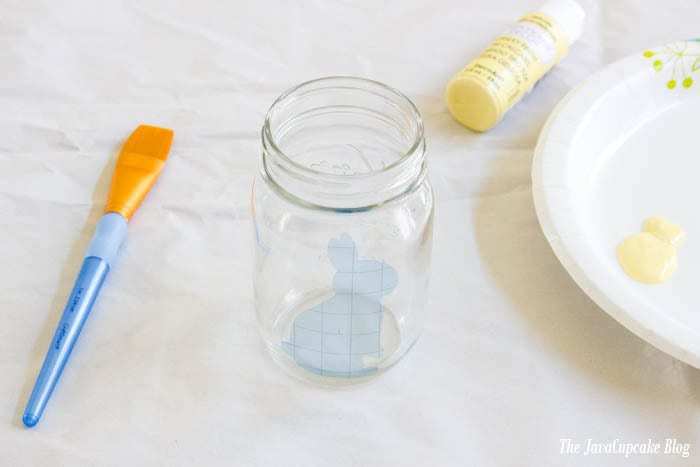
- Paint the outside of the jar. Do not worry about painting the bottom, you won't see it when it's finished. Wait a few minutes before adding a second coat of paint. Repeat with a 3rd coat if necessary.

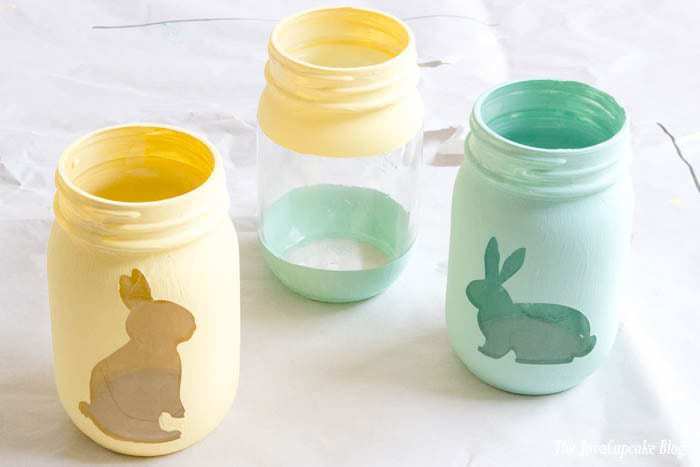
- While the paint is still a bit sticky and before it is completely dry, gently peel off the vinyl stickers. Do not wait until the paint is completely dry because it may chip when you pull the vinyl away.
- Using a slightly wet q-tip or a damp towel, clean up any edges where the paint may have seeped under the vinyl.
- Touch up the edges with the paint brush if necessary.
- Paint the jar lids also with at least 2 coats. Allow the paint to dry completely on all parts before assembling.
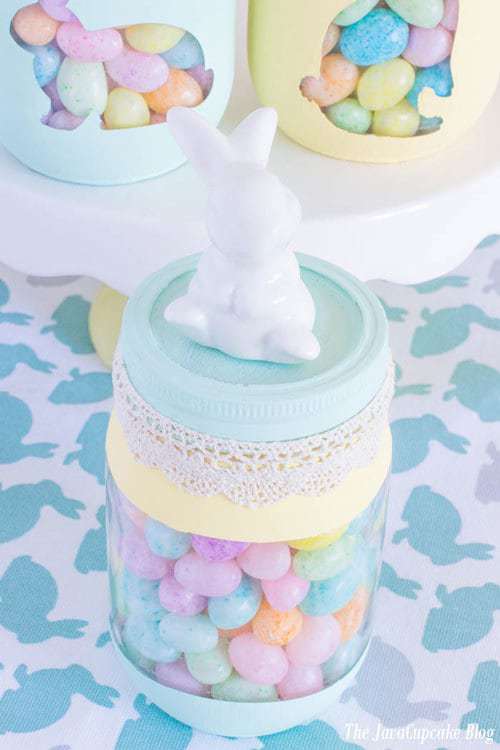
- Fill the jars with candy and screw on the lids.
- Cut a piece of lace or ribbon to fit the size of the lid of the jar. Place it around the lid and apply a small dollop of hot glue onto the jar and press the ribbon into place. Hold for a few seconds to secure.
- Optionally, hot glue a porcelain bunny to the top of the jars.
I am not a painter by any means, so I did this project with zero skill or knowledge of what I was doing. Which means ANYONE can do this! I learned a few things along the way that hopefully will make it easier for you if you try it.
Helpful Tips
- You don't have to make your jars look exactly like mine. Let my jars be an inspiration to you! Pick colors you love, candy you love, and ribbon you love! Make it your own!
- If you don't have access to a cutting machine, try having them custom made from a vendor on ETSY. My neighbor, Robby of Drapela Designs, made mine for me for very inexpensive. You can find him on ETSY here and Facebook here if you'd like him to make them for you too!
- Size the bunnies before cutting them. Measure your jar and decide what width and height will work best for your jars.

- Do not lift up the vinyl sticker once you have placed it. Make sure you know exactly where you want it before you press it down. Lifting it up will cause the edges to get dirty and dusty and will allow the paint to seep under the sticker. Also, try to keep the sticker on the flattest part of the jar. If you a place it too high or too low it will not lay flat where the jar curves.
- Like I said above, do not let the paint dry all the way before removing the vinyl stickers. This step is very important! I made the mistake of doing that and I had a lot of touch-up work to do. You want the paint still tacky and wet so that it does not crack when you remove the stickers. A toothpick or tweezers can be helpful when trying to remove the vinyl.
- Take your time! When I get really excited about a project, I often try to rush things. Don't do that here. Take your time, enjoy the process and make sure you do good work the first time!
- Enjoy and have fun!
![]()


