Last week I had my first adventure in making a real cake. Not just slapping on frosting and calling it a day… but really putting time, thought and effort into creating something beautiful. I researched and read about how to make i am baker‘s vertical layer cake and frosted it using her rose buttercream tutorial. It turned out beautifully (click here for the whole blog post on that cake)! It also left me with a half a cake that needed frosting since I only used half for the rose cake.
My neighbors daughter, Katie, celebrated her 4th birthday this weekend and I offered to frost my extra cake for her party. Katie’s party theme was rainbow and I had a pretty good idea of how to decorate it. Immediately, I turned to i am baker again and searched for a cake she made that looked like it had little pom poms of frosting in a rainbow of colors all over the cake. The cake used a Wilton grass tip to create the little pom poms that completely covered the came. Seemed simple enough.

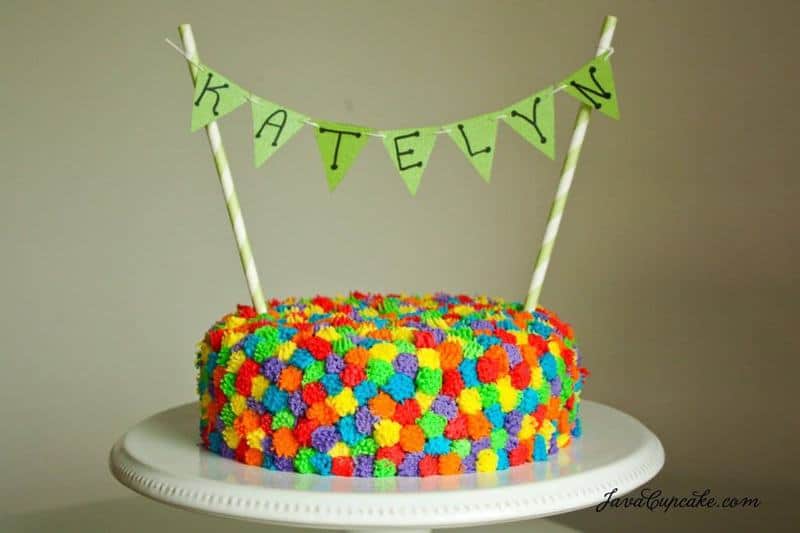
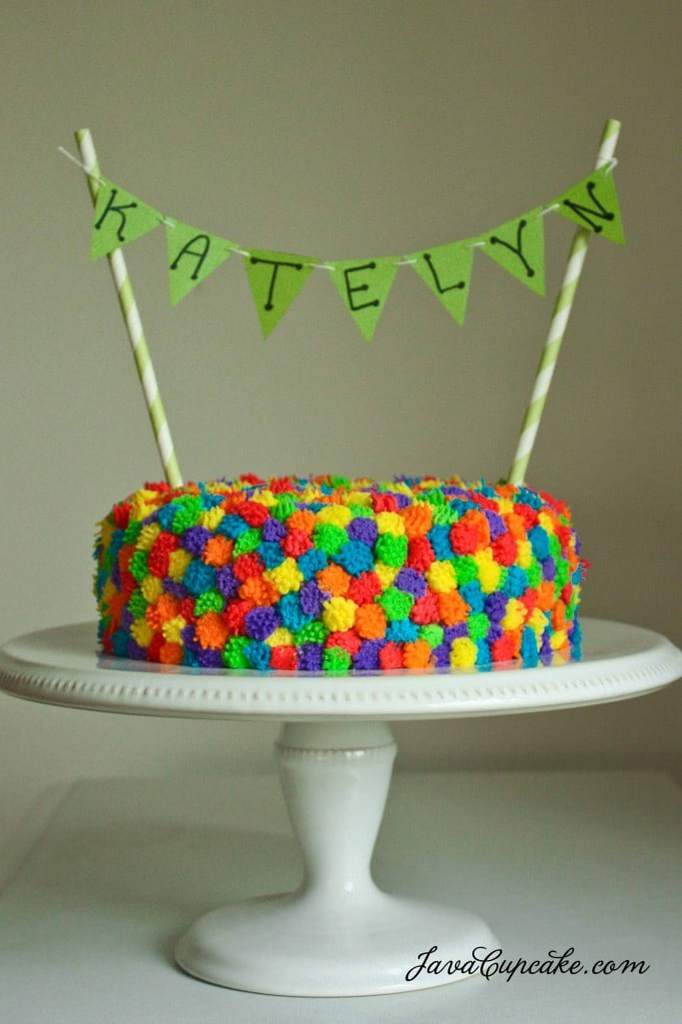
So, I took my extra cake and made a batch of buttercream frosting. I separated the frosting into 6 bowls and used Wilton Gel Coloring in every color of the rainbow… red, orange, yellow, green, blue and purple… then put that frosting into disposable bags fitted with a coupler to fit Wilton tip #233, the grass tip.
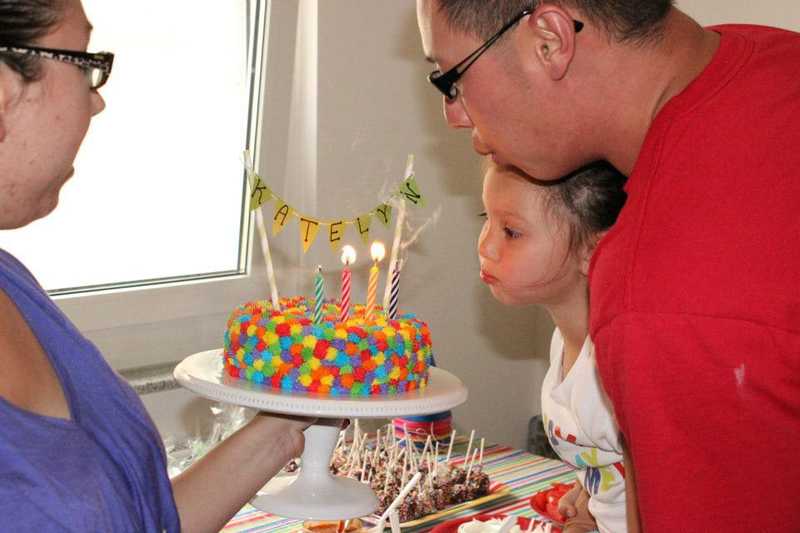
And… off to frosting I went! This cake took about an hour to completely cover, but it was well worth it. It came out beautifully and the birthday girl LOVED it!
The cake was so cute, but it didn’t have much height so I decided to add a banner to the cake. I’d never made one before, but I figured it couldn’t be too difficult. I turned to Joy the Baker for her tutorial on how to make cake banners. I cut triangles out of card stock, wrote the birthday girl’s name on them and attached to string. I used two paper straws to anchor them to then placed them on top of the cake. Super cute, easy and added the height I wanted to the cake!
Here’s the breakdown on how I made this cake…


This looks just too cute 🙂