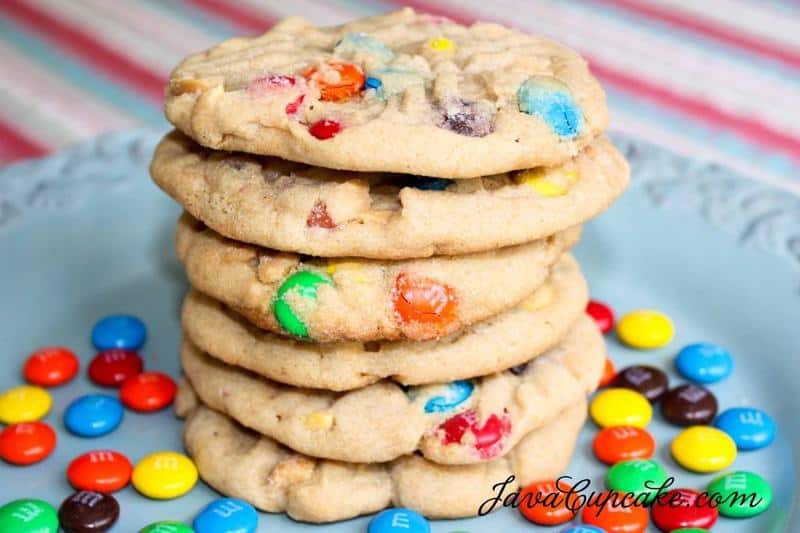
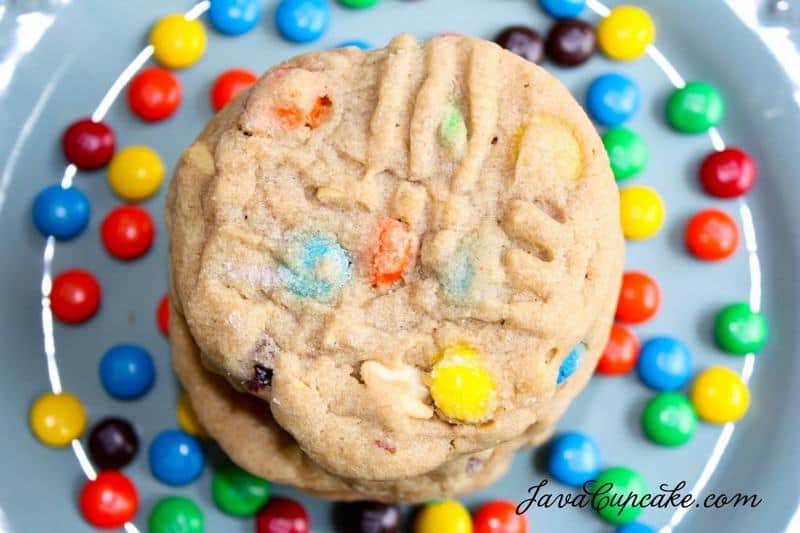
I don’t know what my obsession with M&Ms is lately, but I seem to be buying out the stock of them in the store and baking EVERYTHING with them. Maybe it’s because I like how colorful they make my cookies rather than using chocolate chips…. maybe it’s just cause I love chocolate… or maybe… well who cares, I just love them!

I’m pretty sure a lot of you have seen the chocolate chip cookies that have been floating around Pinterest and the internet that require 36 hours of chilling before baking. I had often wondered myself what all this chilling really does for a cookie… I have never really tried it with a cookie other than my Chocolate Crinkle Cookies, but reading all these blogs talk about how amazing their food was after a prolonged chill… I got to wondering if this would work with other cookie dough recipes?
Peanut butter cookies are similar in ingredients to the chocolate chip cookie, brown sugar, butter, egg, flour, etc etc so I thought it might work. Plus, everything I’d read about this long chill, the cookies turn out crisp on the edges and chewy in the centers… which is exactly what I wanted for these peanut butter cookies.
So, I’m patient… but I’m not THAT patient. I didn’t chill these cookies for 36 hours, I made it about 19 hours. But… I’m thinking that it’s a perfect amount of time because the cookies turned out perfect!! Chewy in the middle, a bit crisp on the edges, golden brown and so good!
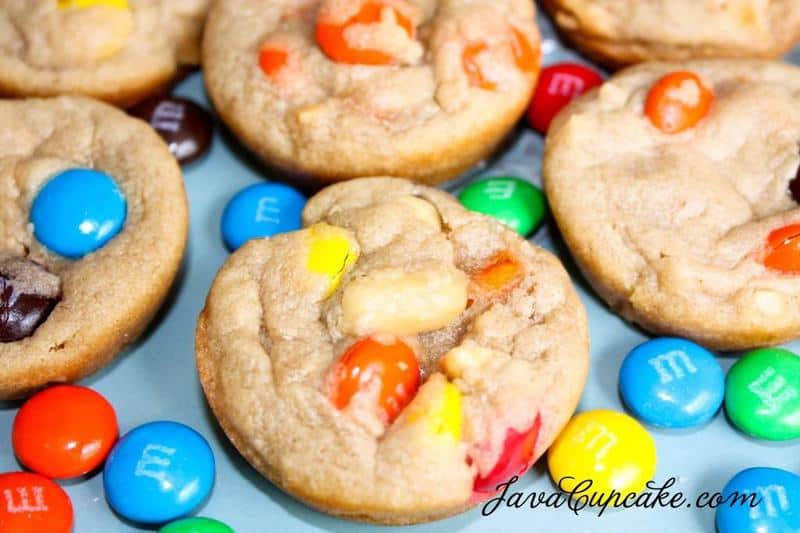
Chunky Peanut Butter M&M Cookies & Cookie Bites
These peanut butter cookies are the perfect combination of crisp edges with chewy centers with a peanut & M&M in every bite!
Ingredients
- 2 1/2 cups flour
- 1/2 tsp baking soda
- 1 tsp baking powder
- 1/2 tsp salt
- 1 cup unsalted butter, slightly soft but still cold
- 1 1/2 cups brown sugar, packed
- 1/2 cup sugar
- 1 cup creamy peanut butter
- 3 eggs
- 1 Tbsp vanilla
- 1 cup unsalted peanuts, chopped into chunks
- 1 12.6oz bag of M&M candies
- 1/2 cup sugar for rolling cookies
Instructions
- In a medium bowl, sift together the flour, baking powder, baking soda and salt. Mix in the chopped peanuts and set aside.
- In the bowl of an electric mixer, cream together the peanut butter, butter and sugars for 3-4 minutes.
- Add the eggs one at a time and vanilla and cream for another 3 minutes. Make sure to scrape the sides of the bowl often to ensure everything is incorporated.
- Add the flour mixture in two parts, mixing until just combined.
- Fold in the M&Ms using a spatula (NOTE: You can use your mixer for this, but make sure you do it on low so the M&Ms don't break.)
- Cover dough and refrigerate overnight or at least 18 hours.
- Preheat oven to 350 F degrees and line cookie sheets with parchment paper.
- Roll out 2 inch balls of dough and coat with sugar.
- Place balls on cookie sheet 2 inches apart and press down with a fork in a criss-cross pattern until slightly flattened.
- Bake for 10-12 minutes or the cookie is slightly golden brown. NOTE: DO NOT over bake these cookies!! You want the middles to seem gooey still! I baked mine exactly 11 minutes, but every oven varies.
- Allow to cool on pan for 3-4 minutes before removing to wire rack to cool completely. (Or if you're like me, you'll eat them straight from the oven!)
- Keep dough refrigerated between batches so it stays chilled.
Cookie Bites:
- Spray lightly the insides of a mini muffin pan with cooking spray.
- Place 1in balls of cookie dough into each opening.
- Bake at 350 F degrees for 7-9 minutes or until the edges are slightly golden brown.
- Allow to cool at least 5 mins in pan. Use a toothpick to pop out each bite. NOTE: If you try to remove the cookie bites too early, they may fall apart. You want to give them enough time to set up before removing.


Oh i love the cookie bite idea, my next kitchen thing just might have to be a mini muffin pan.
Those look sooo good..I always wonder about that chilling business because I’m not that patient when it comes to cookies… and I tried doing it for just a couple of hours and of course that didn’t make any difference. 🙂 Someday I’ll try the longer chilling and see what happens…. thanks for the good looking pics and recipe!