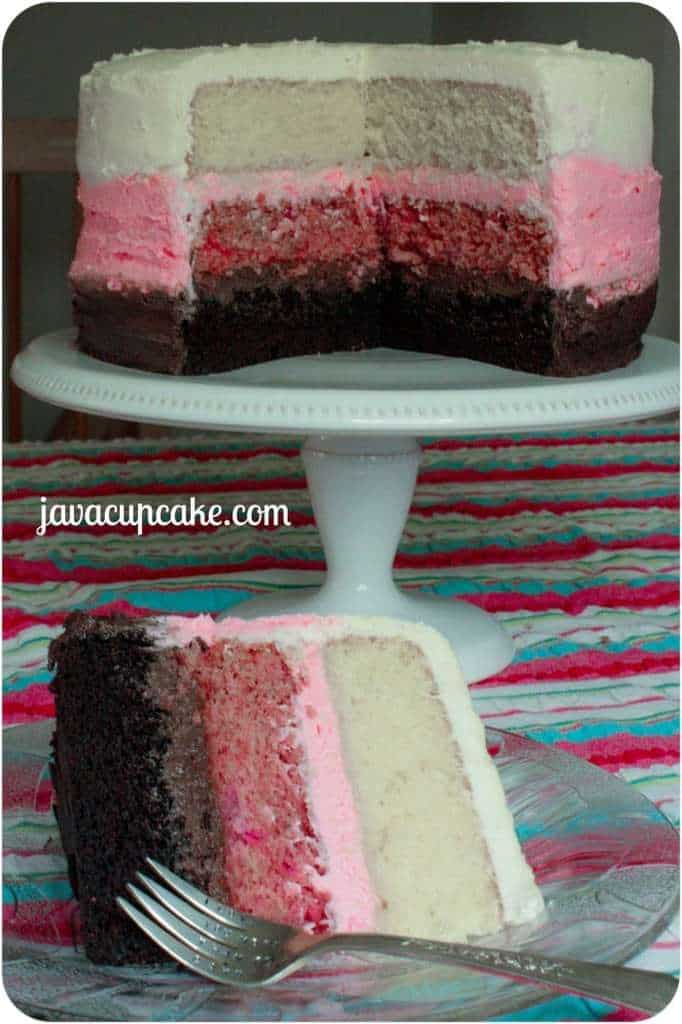
 Ooooooooooooh I’ve been in a funk. A baking fun. Last week I make a double chocolate layer cake but since then… nothing. I haven’t even been motivated to make rice krispy treats. (I have 4 boxes of Rice Krispies – thank you WIC.) So today, I opened up my baking cookbooks, browsed Pinterest and checked out a few of my favorite blogs. One of the themes I saw running across all of them – Neapolitian. Chocolate, Strawberry and Vanilla together to make one delicious dessert. So, with Mother’s Day this past weekend, I decided that I’d make a Mother’s Day Neapolitan Layer cake to celebrate.

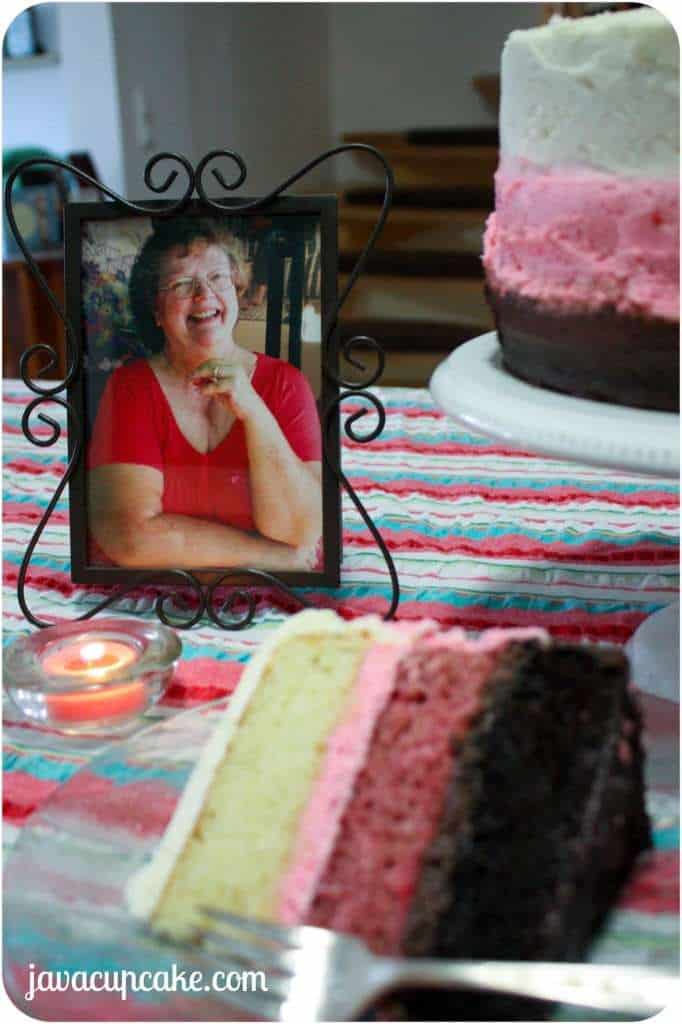
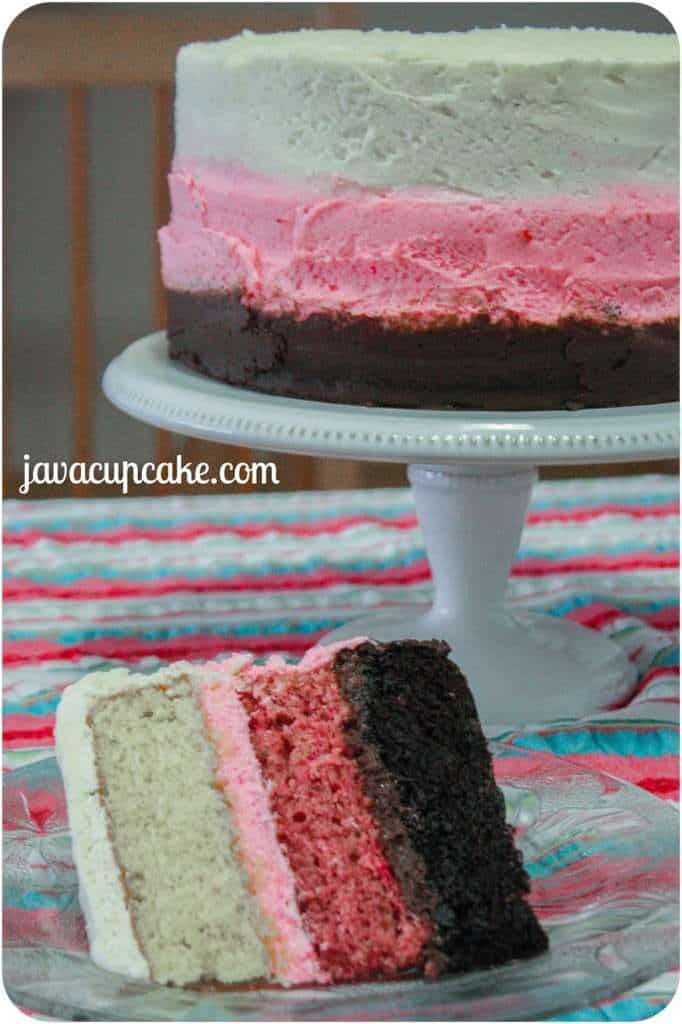
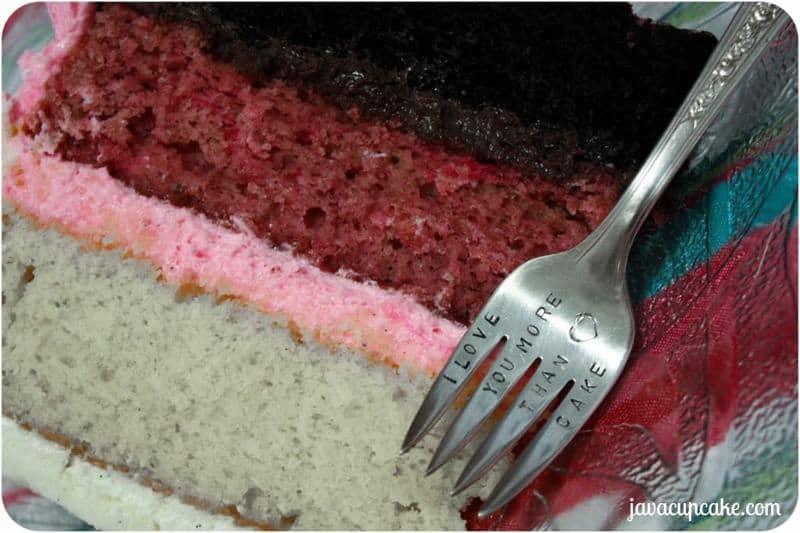
My mom passed away 3 years ago… so she was definitely on my mind as I was making this cake. Especially when it was time to sit down and enjoy a slice. I’m certain she would have enjoyed this cake with a big glass of milk! Three layers of decadent cake filled with chocolate and strawberry frosting and topped with vanilla buttercream. Eat bite has a unique flavor…. it’s like a party in your mouth with every bite!
What really inspired me to make this particular cake was one of my most favorite bloggers, Amanda of i am baker with her Neapolitan Rose Cake. I’ve used her tutorials to make a rose cake before, but this one was going to be different. I was going to make the neapolitan cake, but I wasn’t going to do roses. Instead, I’d just smooth out the three flavors of frosting over the three different layers of cake. But still, that’s a lot of work! I had a feeling thought it was going to be so worth it in the end. And ya know what… all the hard work was TOTALLY worth it in the end because this cake was delicious!
So, instead of posting detailed recipes for this cake, I decided to write a tutorial on how to assemble and make this cake. I’ve posted the chocolate and vanilla cake recipes several times before, but tried a new strawberry recipe… I’ve linked to all of them below. You’ll also see what supplies you need to make this cake and a detailed tutorial to assemble it.
Enjoy!
{Tutorial} Neapolitan Layer Cake
For the chocolate cake:
I used THIS RECIPE for the chocolate cake. It actually makes too much batter… so when you prepare it, measure out a dozen cupcakes first and then pour the rest in your 9-inch round cake pan. Bake as directed in the recipe.
For the chocolate frosting:
I used my basic chocolate buttercream recipe, found HERE. You’ll probably use ALL of this for the cake, so you might want to make extra to frost the extra cupcakes.
For the strawberry cake:
I tried a new recipe for this cake and I think it turned out amazing! Thanks to the blog, I made that! for the recipe!
For the strawberry frosting:
I took my basic vanilla buttercream recipe and substituted about 1/4 cup strawberry puree (that I had reserved from the cake recipe) for the cream. I also added 1 tsp strawberry extract instead of vanilla extract. It was super yummy!
For the vanilla cake & frosting:
I used a whole batch of batter using my favorite vanilla cupcake recipe. It made a very tall cake & I trimmed off a lot of extra cake. So next time, I’d scoop out 6 cupcakes first, then pour the rest into the pan to bake. I also used this same recipe for the vanilla frosting, but I doubled it.

Supplies needed to assemble the cake:
-Cake layers and frosting
-Offset spatula
-Wax paper
-Cake stand or cake turn table
-Paper towels
-1 cup measuring cup
-Spatula/scraper
Assembling the Neapolitan Cake:
- Trim the three cake layers so they are the same height.
- Place a piece of wax paper on your cake turn table and place the chocolate layer with the trimmed side up.
- Place 2 cups of chocolate frosting on to the first layer and spread evenly over the top.
- Set the strawberry layer, trimmed side up, on to the chocolate frosting and gently press down.
- Place 2 cups of strawberry frosting onto the top and spread evenly.
- Place the finally vanilla layer, trimmed side DOWN, onto the strawberry frosting and gently press down.
- Crumb coat each layer of cake with the coordinating frosting and place in the freezer for 20 minutes.
- Once the cake has set – begin frosting the outside of the cake starting with the chocolate on the bottom and working your way up to the top with the vanilla. Use 2 cups of vanilla frosting on the top layer of the cake. If you need an idea of how to apply the frosting, check out my Ombre Cake Tutorial – see steps 3-6 for how to apply the frosting in layers on the side of the cake.
- Make sure to clean off your spatula often with the paper towels. Mixing flavors at the seams will result in smears of color onto the wrong layers.
- Using your offset spatula, do your best to smooth the sides of the cake without smudging the colors together. This process takes a steady hand and a lot of time. GO SLOW. Unlike the ombre cake, you don’t want the colors to collide together to create the gradual change of colors… you want three distinct color layers – but still want a smooth, finished look.
- To transfer the cake to your cake plate, gently and carefully pull the wax paper and cake off the edge of the cake turn table. Place your hand under the cake as your peel away the wax paper and pull the cake completely off the stand. Transfer the cake to the cake stand and use any additional chocolate frosting you have to touch up the bottom edges.

i love neapolitan! your cake looks so pretty! and i bet tasted great! thanks for sharing the tutorial!
I love it too!! Chocolate layer is my favorite though!
Lovely cake as a Mother’s Day tribute for your mom! I think the picture of you on your “about” page and this photo of your mom show a strong resemblance (eyes maybe or smile?).
🙂
This cake is just absolutely gorgeous!
Hey; reckon this could be done for a vegan? We’re trying to go all out on a cake and a Neapolitan sounds like just the thing. Thanks!
Maybe…. but I’m not sure how!