
Spring is here and that means BASEBALL has begun! I am a HUGE baseball fan and have been a lover of the Seattle Mariners my entire life! GO M’s! But can you believe that this is the first time I’ve ever made baseball cookies?

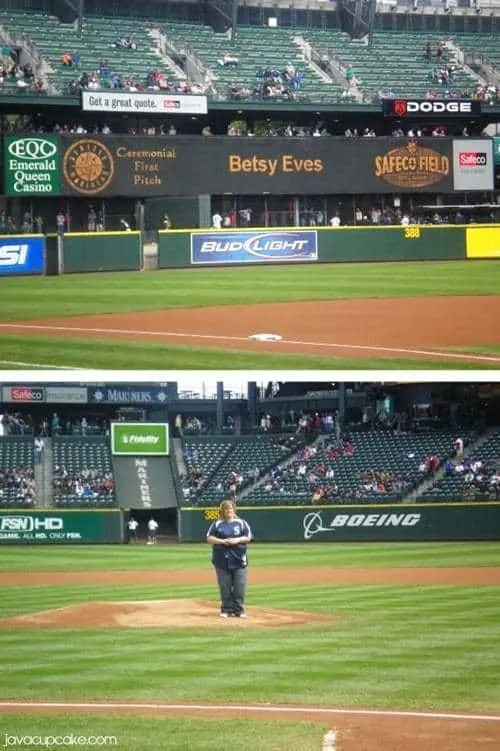
I have been a baseball fan since birth. My older brother Robert used to take me to Seattle Mariners games on the local city bus all throughout my childhood. He’d teach me the ins and outs of the games, the line ups and I loved every minute of it. We’d play catch out in our front yard where he’d quiz me on the Seattle Mariner players, their positions and numbers. It’s really one of my fondest childhood memories. I thought of Robert when I made these cookies… and I was happy. Did you know that I threw out the Ceremonial First Pitch at a Mariners game back in 2008? Probably one of the coolest things I’ve ever done in my life!

When I decided I wanted to make these cookies, I looked online for examples of other peoples work and I found everyone makes baseball cookies using royal icing. I am not a fan of royal icing. In fact, I don’t like the way it tastes so much that I refuse to really even learn to work with it. I mean, what’s the point of making it if I’m never going to eat it?
I started these cookies with my go-to recipe for sugar cookies. You’ve seen this recipe a dozen times before on my blog and I’ll probably use it a dozen more times. It really is that wonderful. And for the frosting, I used my traditional buttercream frosting.
I posted a picture of these cookies on my Facebook page and on Instagram and got some feedback that they looked sloppy and homemade. The person also said that people prefer royal icing because it looks more professional. Well, I tried not to comment negatively on Facebook to this womans feedback… but I feel like I want to say something here.

I am a home baker. I am not a professional. I am a blogger who loves to bake, try new things in the kitchen and share my results with my readers! I am not striving for perfections or to look like every other store-bought cookie-cutter cookie or cupcake out there. I truly enjoy that the things I bake look like I made them from home. That truly is the entire point of my blog… to show that anyone at home can make things that are not only delicious, but beautiful. So yeah. thanks for pointing out that it looks homemade… cause that’s what I was going for. :)
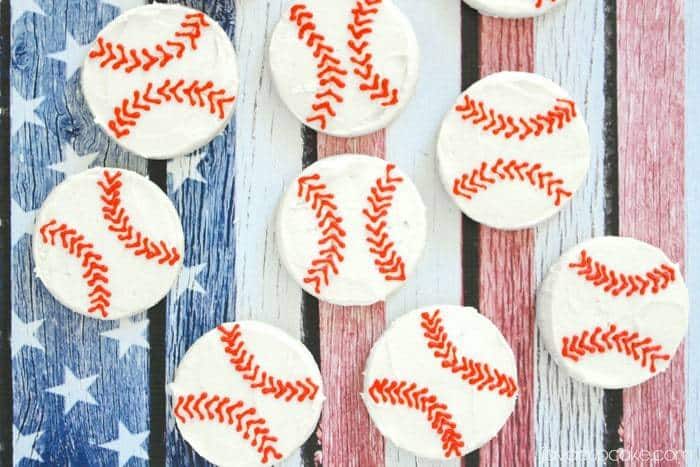
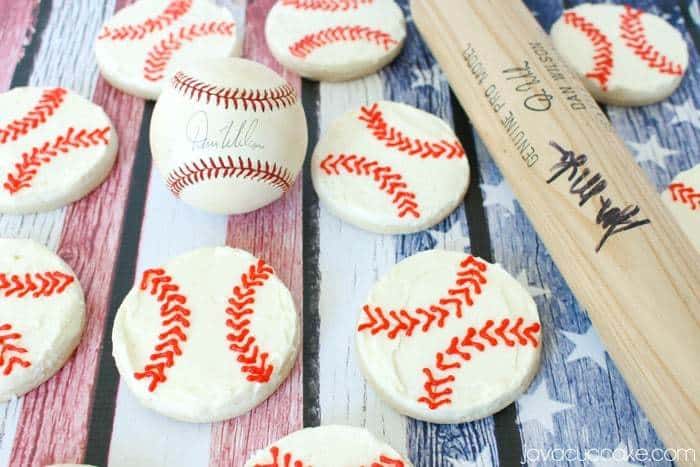
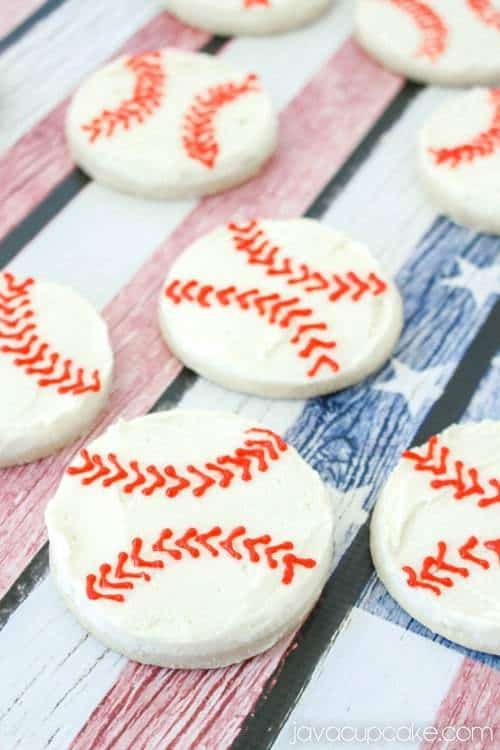
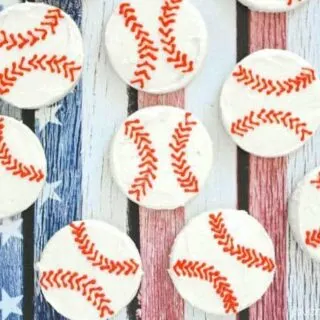
Anyways… back to the cookies. I really LOVE how these baseball cookies turned out. I only wish I lived closer to my brother so I could share them with him.

Easy Buttercream Baseball Cookies
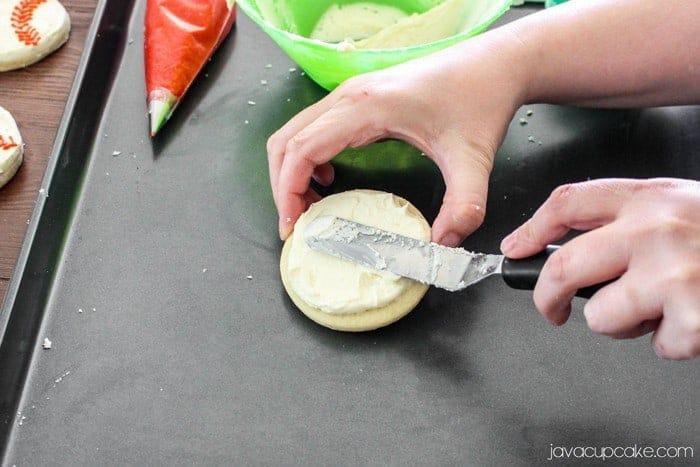
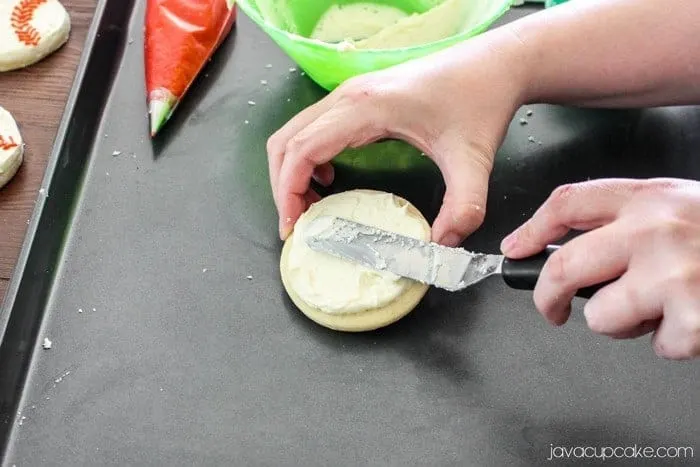
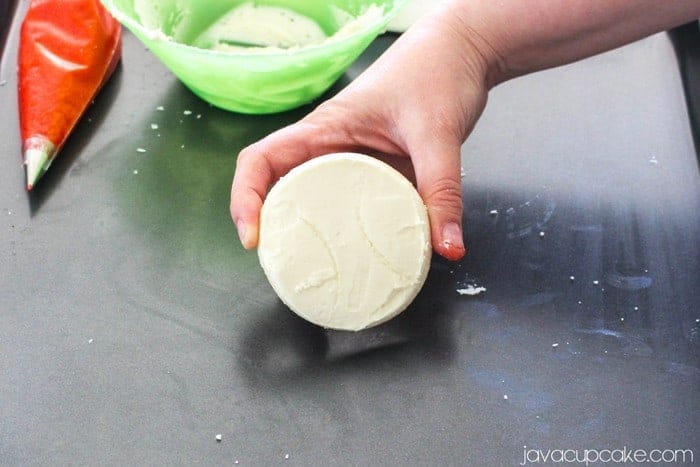
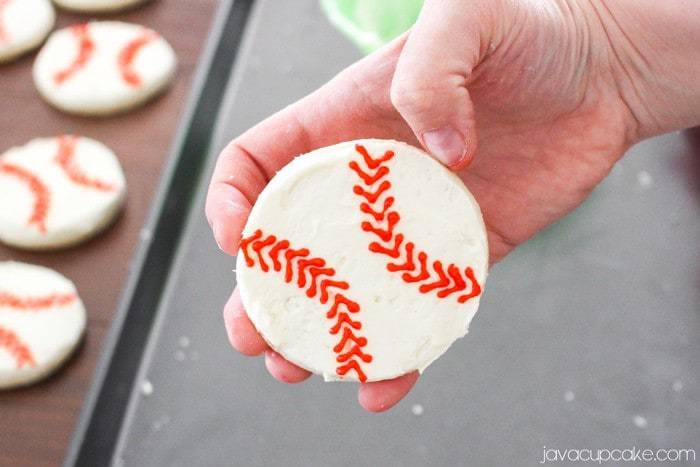
Step One – Frost the Cookie
Spread an even layer of buttercream on the cookie. Make sure you create a flat top and sides creating a disc of frosting. Using the flat side of the spatula or a bench scraper works well for this.
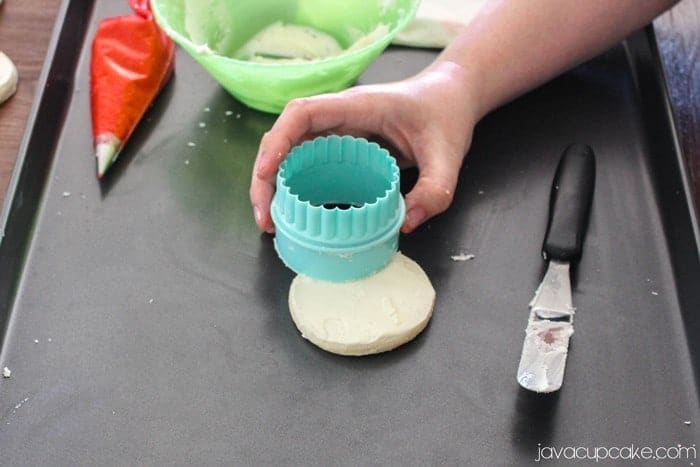
Step Two – Create the Stitching Pattern
Using the cookie cutter, press the side gently into the buttercrea creating a patter to pipe the stiching of the baseball. Do this on both sides of the cookie. NOTE: Press gently into the buttercream, you only want a faint pattern, not one that goes deep into the buttercream.


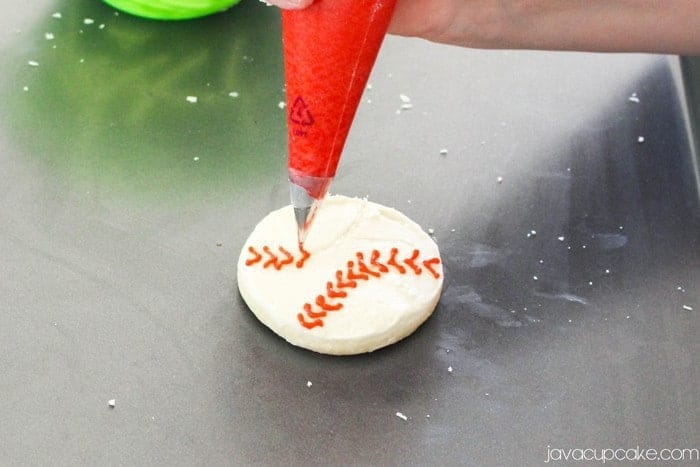
Step Three – Pipe the Stitching
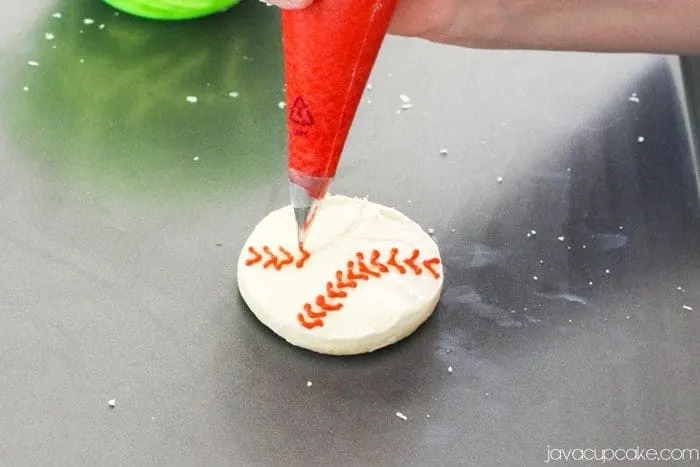
Using the red buttercream in a piping bag fitted with the Wilton #1 tip, pipe the stitches onto the cookies. Using the pattern you pressed into buttercream, frost a “V” shape along the line making sure the tip of the “V” lands on the pattern line.


Flip the cookie over and recipe the sticthing on the other side making sure the stitches so in the opposite direction.
Step Five – Allow Frosting to Set
Allow the cookies to sit out for a couple hours until the frosting has firmed and set before putting away or serving. You don’t want the red frosting to smear all over the place.


Easy Buttercream Baseball Cookies
Ingredients
Cookies
- ½ cup unsalted butter, room temperature
- ¼ cup shortening
- 1 cup sugar
- 2 eggs
- 1 Tbsp vanilla extract
- 2½ cups all-purpose flour
- 1 tsp baking powder
- 1 tsp salt
Buttercream Frosting
- ½ cup unsalted butter, room temperature
- 1lb powdered sugar
- 1 tsp vanilla
- pinch of salt
- up to 1/2 cup heavy cream
- red gel food coloring
- Wilton #1 piping tip
- Disposable piping bag
Instructions
Cookies
- In the bowl of your stand mixer, cream the butter and shortening together until smooth. Scrape the sides of the bowl.
- Add the sugar and beat on high until incorporated.
- One at a time, add the eggs and beat well after each addition. Mix on high for 1 minute until pale yellow and fluffy.
- Mix in the vanilla.
- In another bowl, whisk together the flour, baking powder and salt.
- Add this mixture to the butter and sugar and mix until just combined.
- Cover with plastic and refrigerate 2 hours or over night.
- When ready to bake, preheat oven to 400 F degrees and line a cookie sheet with parchment paper.
- On a floured counter, knead the dough 2-3 times until smooth. Roll out cookie dough to about ⅛" thick. Cut out 3" circles with a cutter and place on the cookie sheet 1" apart. Repeat until all the dough has been used.
- Bake for 6-7 minutes or until the edges are SLIGHTLY brown. DO NOT OVER BAKE!!
- Allow to cool on the pan for 1-2 minutes before removing to a wire rack to cool completely.
Buttercream
- In the bowl of a stand mixer, cream the butter.
- Add the powdered sugar and mix on high until smooth.
- Mix in the vanilla and salt. Scrape the sides of the bowl.
- Add up to ½ cup of heavy whipping cream until you reach your desired consistency. If you like it thicker, add less cream. If you want it thinner, add more cream.
- Whip on high for 2 minutes.
- Separate 1/3 cup of frosting out and color it red with the food coloring gel. Place this red buttercream in a piping bag fitted with a Wilton #1 small round tip.
Gail
Friday 24th of June 2022
Can you freeze these cookies? I am making them for a baseball party which is on Sunday July 3rd.
Thank you
Gail
Betsy Eves
Friday 24th of June 2022
Absolutely! My recommendation would be to freeze the cookies before frosting them. Make the buttercream the day before the event, frost them, and leave them covered overnight for the buttercream to firm up before transport. Do not stack the cookies after frosting. :) Good luck!
Madilyn
Monday 8th of February 2021
Hi I am making these cookies for somebody in the same day as I am for delivering do you think that will work??
Abbeea
Wednesday 16th of September 2015
How many dozen cookies does this make?
marc carrillo
Wednesday 10th of June 2015
Hi love how those cookies look would love to bake some and ship to my nephew and nieces! My question is are they ok for shipping they leave a few states away and woried about it being perishable. Thank yiu
Betsy Eves
Wednesday 10th of June 2015
Hi Marc - I'm not too sure how these would ship. I usually leave them out overnight for the frosting to stiffen up, but it's still pretty soft. I'd suggest layering them with wax paper to prevent them from sticking to eachother. And make sure there isn't a lot of wiggle room in the box for them to move around and break, smear, smudge. Let me know how it works out for you! Happy baking!
marc carrillo
Wednesday 10th of June 2015
Yikes i meant they live a few states away thank you
Renee
Friday 24th of April 2015
These cookies look adorable! so cute!! I love them. As a huge baseball fan I can certainly appreciate them :) Don't listen to those haters They have nothing better to do. I totally agree with you. I don't like Royal icing either. It's way too sweet and artificial tasting. Homemade cookies or anything is best! I can't wait to try this recipe!
Betsy Eves
Friday 24th of April 2015
Haters Gonna Hate! Right? Maybe that should be my next decor for cookies or a cake! HA! :) I hope you try these cookies. They really are AMAZING!