
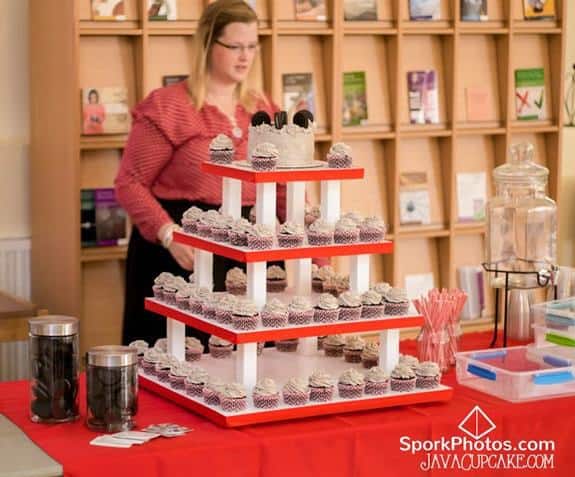
I’ve never owned a large cupcake tower. I know, that’s crazy-talk since I’ve made so many cupcakes for so many years! But I’ve never had a real need for a stand that held more than a couple dozen cupcakes. Until now. Last week I participated in Cupcake Wars, a community fundraiser for my husband’s Army unit, and needed a cupcake tower to hold at least 5 dozen cupcakes! So, my husband, Dave, and I took a 4 day weekend and put together my very own DIY Cupcake Tower!
Sign up for my newsletter and never miss another post or recipe… SIGN UP HERE!

Typically, a cupcake tower of this size will cost anywhere from $250-500 depending on materials, size and manufacturer. I was not about to spend that kind of money on a stand, homemade or store bought. Dave and I ended up spending about €100 (about $130) on this cupcake tower, but I think that if we would have been in the USA, the supplies would have been even less expensive. Our local hardware store here in Germany did not have a big selection of press board, plywood or anything similar, so we were stuck with the one kind they did have and pay their prices.

The entire process took about 5 days from start to finish. We didn’t use any tutorials or online step-by-step instructions to build it either. We simply looked at the supplies we had at our disposal and figured it out as we went along.
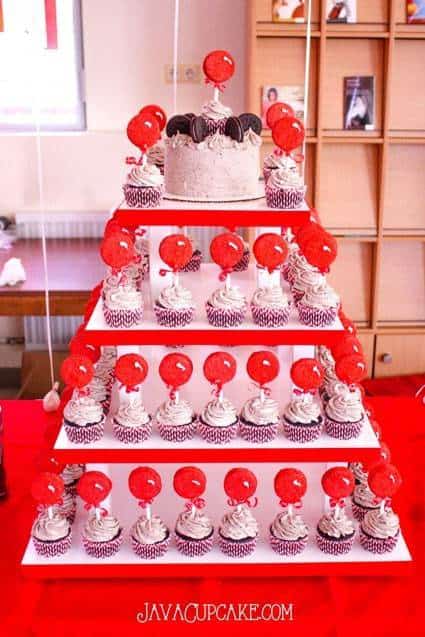
I did however, ask some of my other baking friends what sizes each of the shelves should be so we made it big enough and that is how we determined the sizes of each level of the tower. The way this stand came together, 6 dozen cupcake fit easily around the edge of each shelf of the tower. Several dozen more cupcakes could have fit behind that, so I guess that this size tower could easily fit 10 dozen cupcakes, with a small cake on top!
The great thing about this process is that you could easily make this stand larger or smaller, depending on your needs and access to supplies!

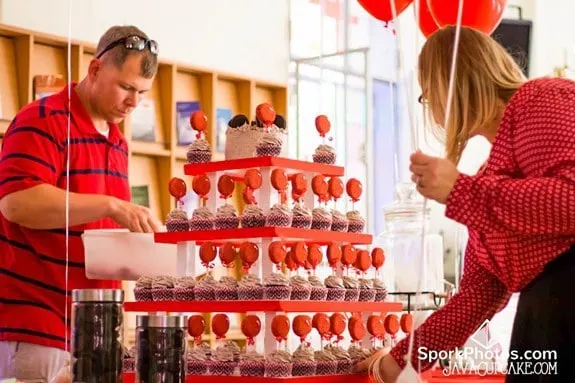
Thanks to Jacob at Spork Photos for taking pictures at Cupcake Wars and providing me with some great shots of my DIY Cupcake Tower!
Now, because this was a DIY project, I wasn’t going to stop in the middle just to take pictures of the process with my fancy camera, so I whipped out my smartphone and snapped pictures and posted to Instagram along the way!
Enjoy!
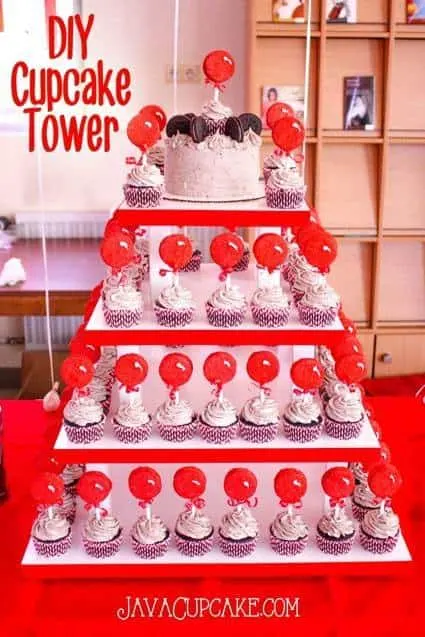
DIY Cupcake Tower
Materials Needed:
* = more details below
4 – Pieces of square finishing boards 12mm thick*
16 – Solid wood square posts*
4 – Rubber feet*
4 – Screws*
1 – Quart white paint*
Small paint rollers
Paint tray
Rubber gloves
Wood glue
Finishing Nails
Sand paper
Hammer
Drill & Screw Driver
25 – Meters ribbon (optional)
Double sided tape dispenser
Time – at least 4-5 days
Square Finishing Boards:
Have your hardware store cut to size 12mm thick finishing press board to these sizes…
Top shelf: 28cm x 28cm (11in x 11in)
3rd shelf: 38cm x 38cm (15in x 15in)
2nd shelf: 48.25cm x 48.25cm (19in x 19in)
Bottom shelf: 58.5cm x 58.5cm (23in x 23in)
Square Posts:
Have your hardware store cut solid wood 2.5cm x 2.5cm square poles into 16 15.25cm long pieces.
Rubber Feet & Screws:
Round, rubber feet about 2.5cm (1in) in diameter with a screw hole in the middle. Depending on the feet you choose, find a screw that will go at least 2.5cm (1in) past the bottom shelf into the square post
Paint:
Use pure white paint with a glossy finishing. Choose a paint that has a top coat finish included.
Process:
NOTE: These directions are meant to guide you to success as you build you own cupcake tower! If you find an easier way to do it… go for it! :)
- Sand every piece of wood (shelves and poles) that will be used for this project until there are no more ruff or jagged edges or surfaces using sandpaper.
- Using paint rollers, paint 3-4 coats of white paint on all surfaces of the the wood following the drying times on your paint can between coats. Wait at least 24 hours after final coat has been applied before beginning the assembly process. Wear your rubber gloves for this, paint gets messy and you’ll want to stay as clean as possible during this project!
- Determine where you want the poles between each shelf to be. I chose to measure 3 inches from each corner of every shelf to position the poles. This way, they will be the same distance from the edge on every level and will create a uniform appearance when you look at the entire stand. Mark this position with a pencil on the top side of each shelf.
- Begin with the smallest, top shelf. To attach a pole, hammer a nail through the top of the shelf until it just presses through the bottom. Squeeze a dollop of wood glue where the nail and pressed through then press the pole into position. Repeat this process with all four poles on each shelf. Gently hammer the nails into the poles until they are flush on the top. Repeat this process with the remaining shelves until the tower has been completely assembled. NOTE: Be patient with this process. This was probably the most difficult and stressful part of the process for us. We wanted everything to be perfect so measuring was done many times and we took each pole slow.
-
- To attach the feet to the bottom of the base of the tower, drill holes through the base into the bottom poles. Place the feet in place then use the drill to screw each in place. NOTE: You’re screwing these into the base up into the poles so the screws will not show on the bottom shelf.
- Allow the wood glue to set overnight.
- Paint over the finishing nails with the white paint. Several coats may be needed to cover them. Allow 24 hours for the paint to dry before adding trim.
-
- Adding a ribbon trim is optional. To apply, attach the double sided tape to the side of each shelf. Press the ribbon into place. Begin and end the ribbon on the backside of each shelf.
If you use my tutorial to make your own cupcake tower, I’d love to see the pictures. OR… if you’ve made a DIY tower yourself, send me the pictures!! betsy at javacupcake dot com!
Happy Building!

Lisa @ Garnish with Lemon
Thursday 25th of September 2014
What a fun project! Love seeing it from start to finish.